Hi Chipp,
re:
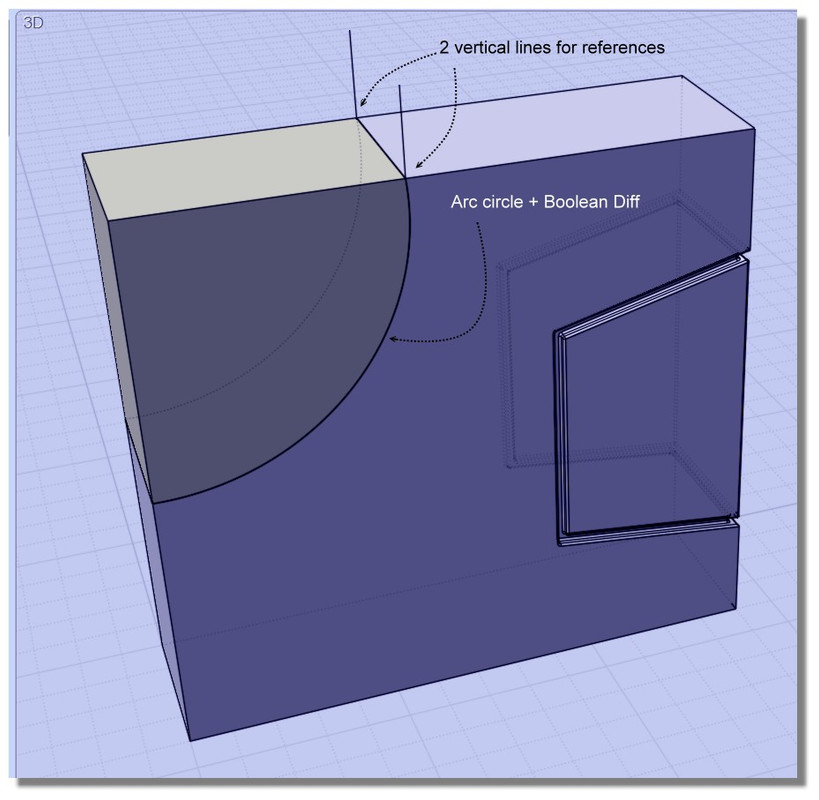
> But I want a separate solid, which can have different properties while retaining it's 'solid' attributes
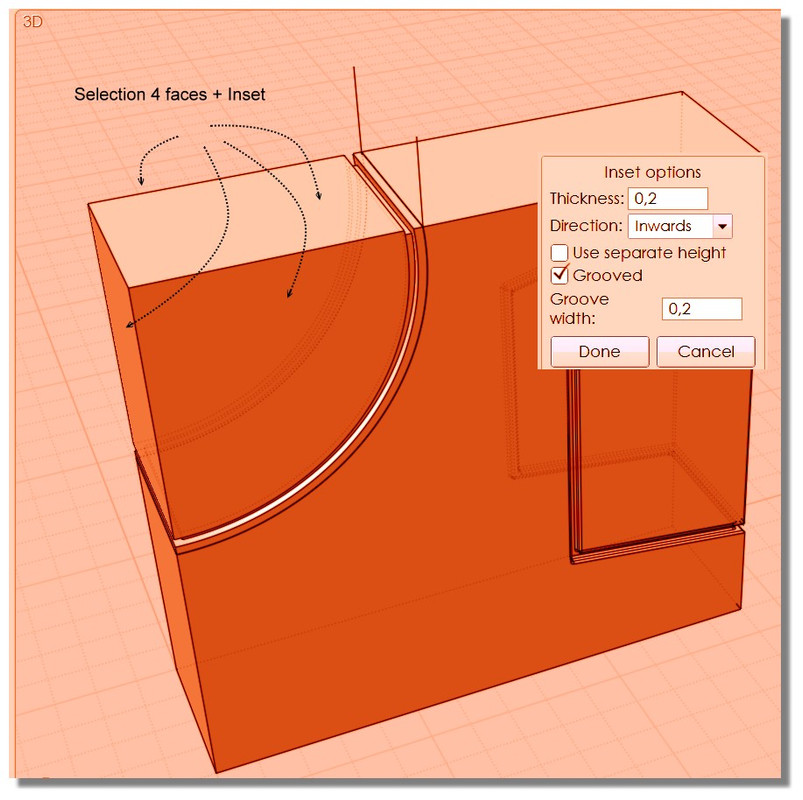
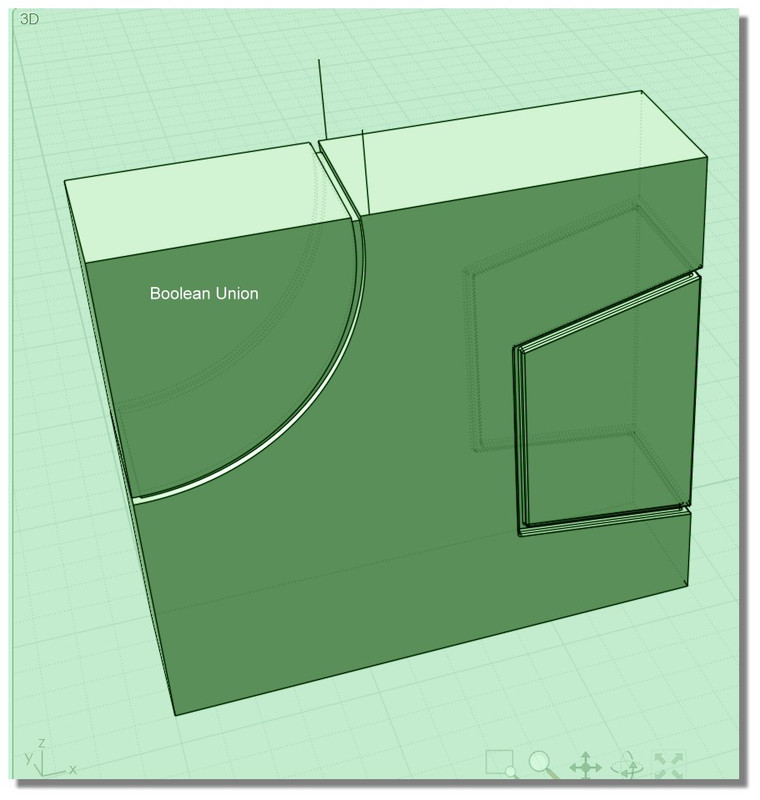
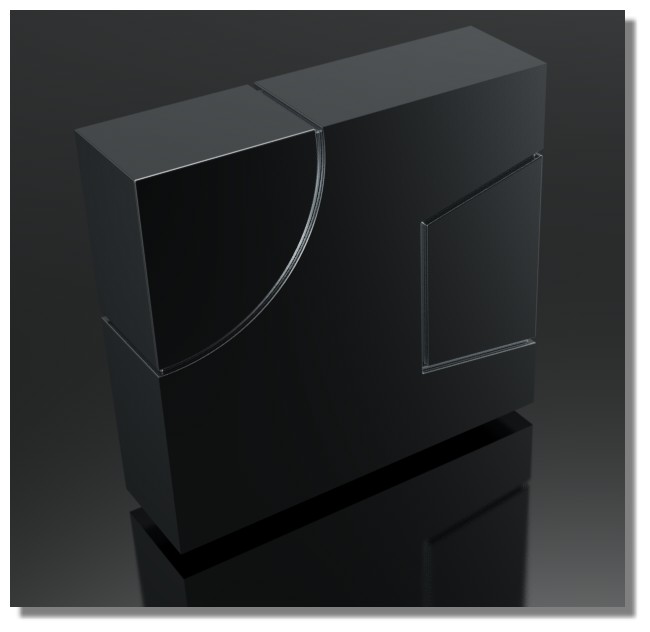
Just to make sure you know - it is possible in MoI to assign different style properties to individual faces within a single solid. Just make a face sub-selection and you can then assign the styles of just those faces.
But it is a common limitation in CAD programs in general that you usually can't do that though, and so you will often times lose those sub object styles if you use a CAD file format for data transfer.
If you use OBJ format for your transfer into Keyshot though, the sub-object styles will be preserved and that should allow you to have different material treatment for particular faces within a single solid without needing to make things as totally separate solids just for styling/material assignment purposes.
- Michael
|