Hi Anis, check out the sweep documentation here:
http://moi3d.com/1.0/docs/moi_command_reference7.htm#sweep
for an example of the Maintain tangent option.
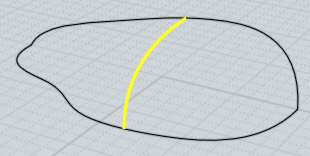
That shows this example:
The curve set up:

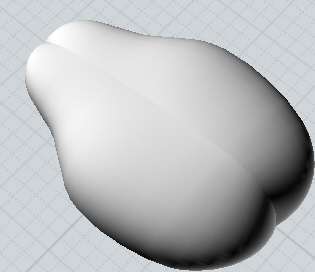
After sweeping that and doing a mirror the default sweep gives this result:

If you turn on control points of the sweep you can see the reason why:

Notice how the control points for different stations along the sweep kind of twist around, sort of like this:

That happens because of the different shapes and lengths of the 2 rails that are being swept along. When doing a 2 rail sweep the shapes slide along each rail and makes new profile curve at the connections between those rails. When the rails are of different lengths and shapes then the connection points travel at different speeds along them so there can be some slanting like that.
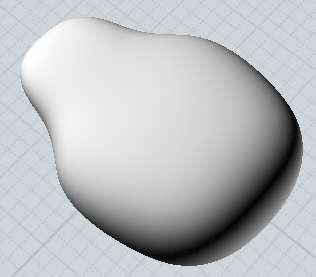
The "Maintain tangent" option can eliminate that, in this case using maintain tangent and then doing a mirror produces this result instead (as seen in the documentation page):

Now if I turn on control points of this sweep, you will see these points:

Notice how there is no lateral slanting there at all in this case? Each of those control points are lined up in a planar section that is in the same plane as the starting profile.
With the maintain tangent option, profiles are generated by an intersection of the rails with a set of parallel planes rather than by sliding along each rail.
But you can only use it the situation where all your profiles are on parallel planes, and they all share a common tangent direction where they touch along one rail. If those cases are not met in your curve setup, then turning on "Maintain tangent" does not have any effect.
- Michael |