Show messages:
1-12
…
173-192
193-212
213-232
233-252
253-272
273-292
293-312
…
493-503
From: Frenchy Pilou (PILOU)
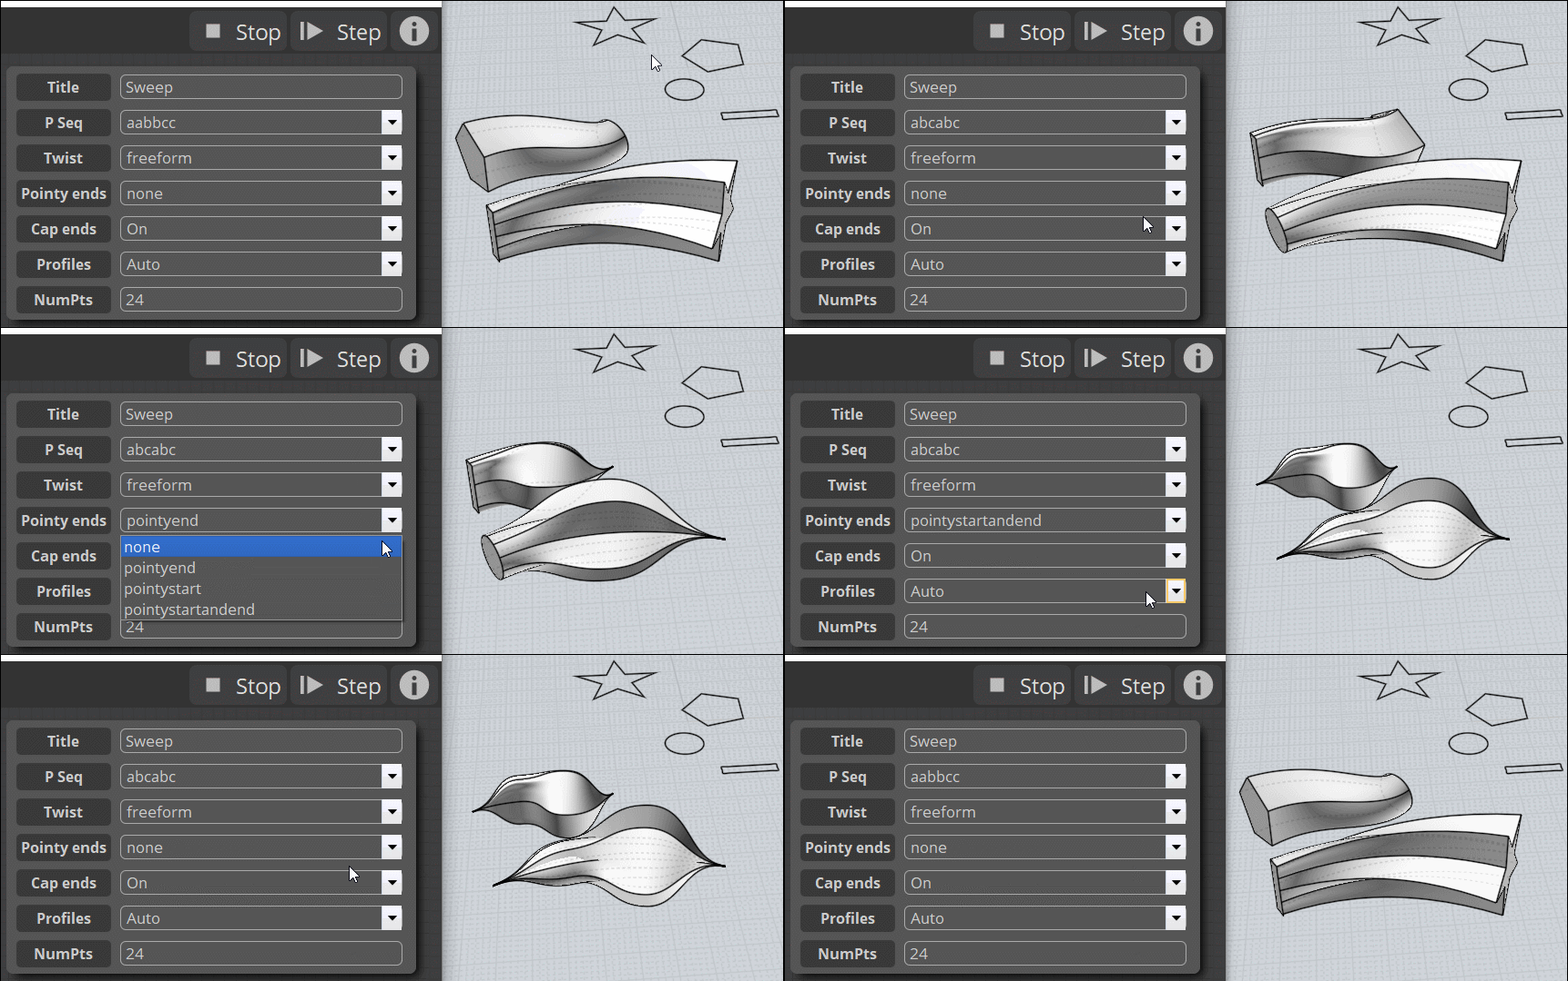
Even better the Info is inside the Node Sweep itself by Right Click on the Node!
(I am affraid that is not the same for the other extension Nodes! There is the Info but it's empty for the other nodes! ;)
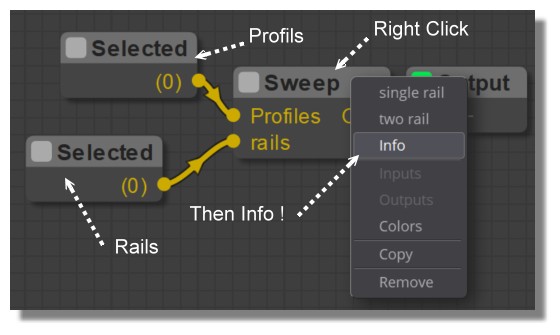
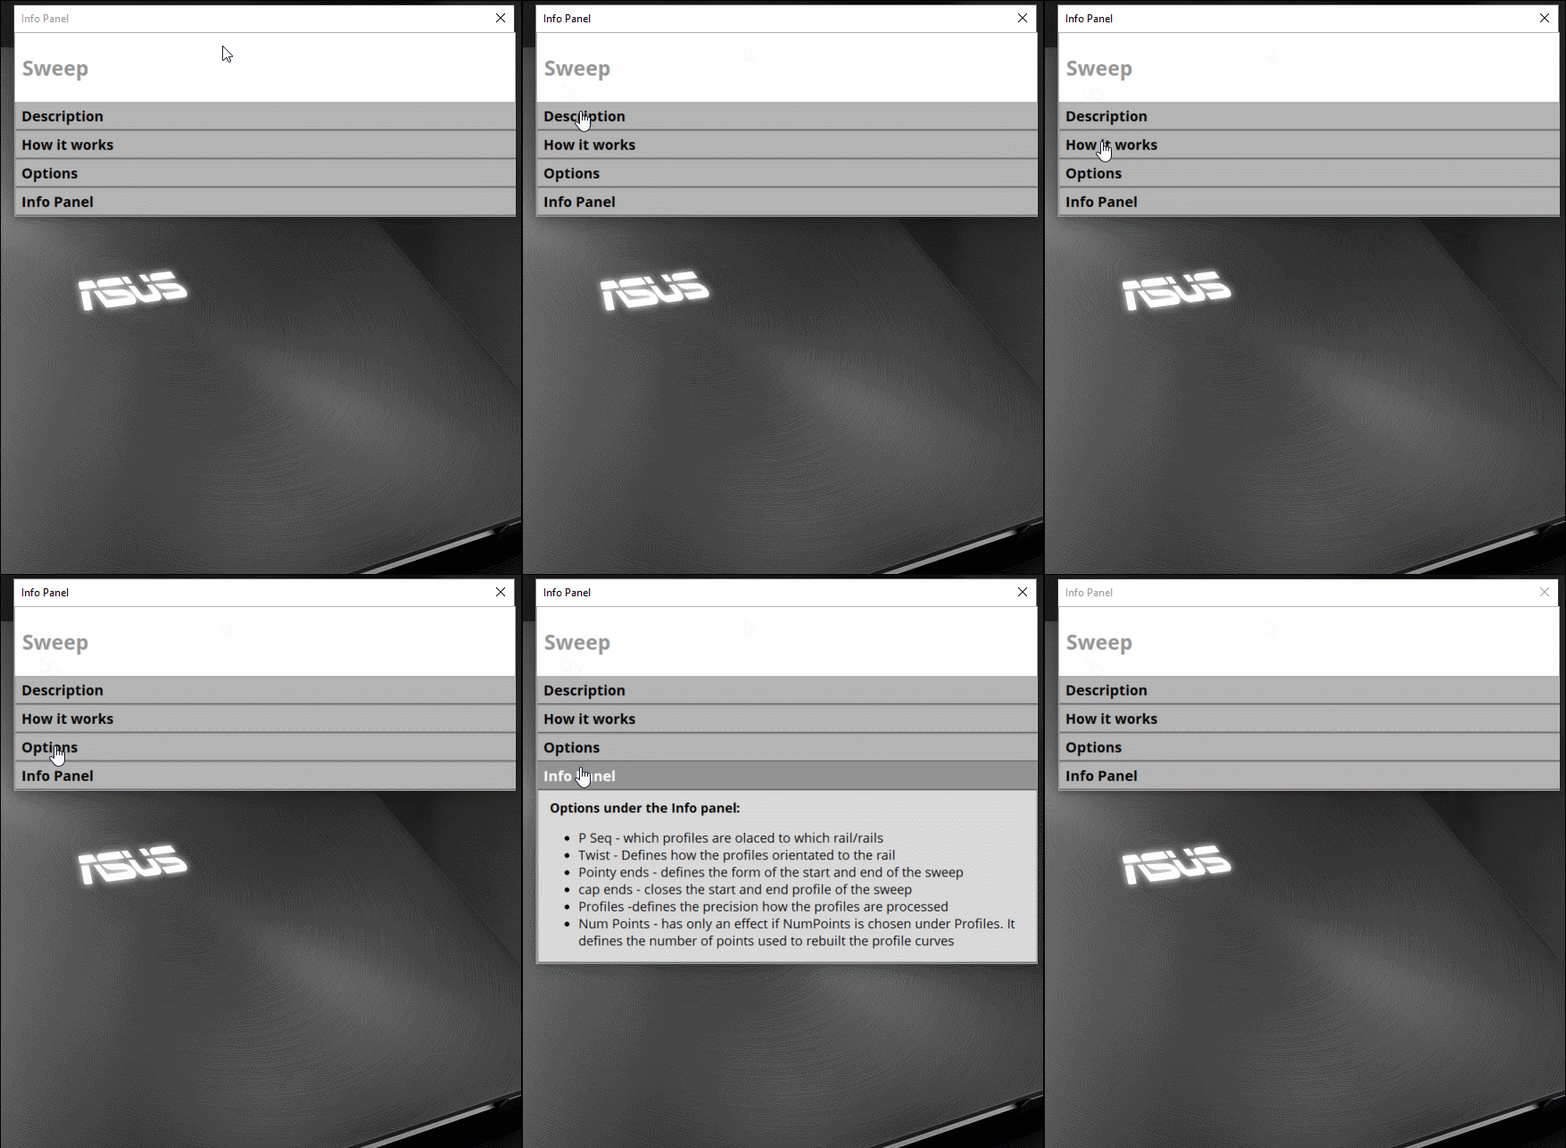
Clicking Info open this on the Node Editor!
Sorry for the Subliminal Asus publicity! :D
From: bemfarmer
The Sweep node Information available by Info selection, was created by Karsten, here:
https://moi3d.com/forum/index.php?webtag=MOI&msg=7777.1377
I made a few posts shortly thereafter.
The sweep.html is in the EN subdirectory of nodeeditor.
Other language versions would be located ???, and accessed by ???
I had some problem with access in light nodeeditor, but see that the info works in James light version, so need to review the situation.
As far as I know, nobody has written any .html info file for the other nodes.
Documenting the documentation...
- Brian
From: Michael Gibson
Hi Pilou, just to make sure your question is answered:
re:
> What is the last line NumPts? Seems there are not the Numbers of Profils' Pts (become 3 for the "star") seems not the number of sections --- ???
That would only have an effect if the Profiles option is set to NumPoints mode. There is some information in the help file about the profiles option in the Loft command reference here:
http://moi3d.com/3.0/docs/moi_command_reference7.htm#loft
- Michael
From: Frenchy Pilou (PILOU)
@Michael
I have seen that from the help inside : Num Points - has only an effect if NumPoints is chosen under Profiles. It defines the number of points used to rebuilt the profile curves.
I will make some tests for confirm the result because i am not sure to have seen that on my first try :)
@ Bem I am supposed to make a sort of help documentation of each node in this repository! :)
Of what i understand myself ! ;)
And also in French of course! :)
From: Frenchy Pilou (PILOU)
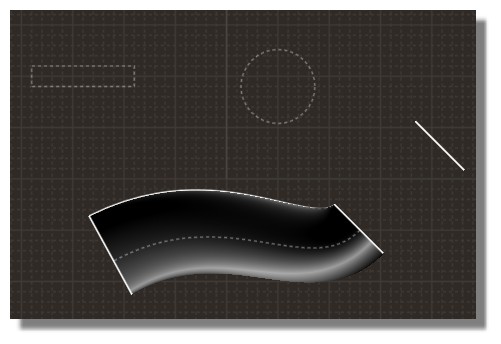
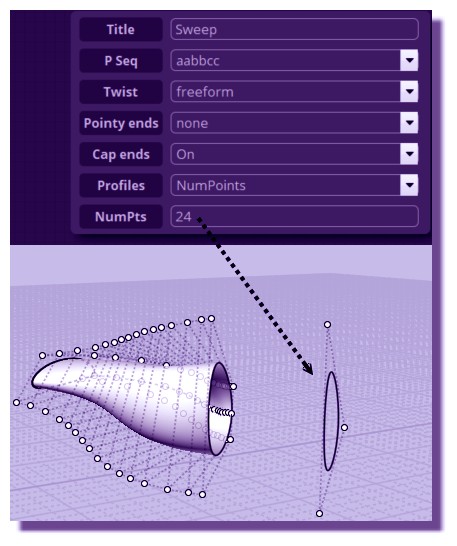
I see only 3 points against 24 asked! :)
But maybe it's not possible to see them ...maybe used only for calculate ???
And funny that a circle will be not more a circle at the "end" of the sweep with number of pts like 24...
From: Michael Gibson
Hi Pilou,
re:
> I see only 3 points against 24 asked! :)
Do you have multiple profile curves for the sweep? If there is only one profile then sweep does not need to do any work for making a unified structure as needs to be done with mulitple profile curves. The Profiles options controls that unification process.
- Michael
From: Frenchy Pilou (PILOU)
Just a rectangle and a circle...one curve rail...
this internal cooking of number of pts is not very important for the moment...
it was just for try to understand in deepth
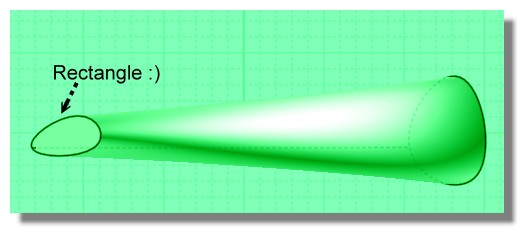
<< the "# Points" mode is another style of rebuilding that samples a uniform number of points along the curve for the reconstructed curves. You can choose how many points are used.
<< This mode results in very smooth output, but small details in the profiles tend to be lost.
I understand that and funny to see a rectangle becomes a section of a wing's plane! :)
From: Michael Gibson
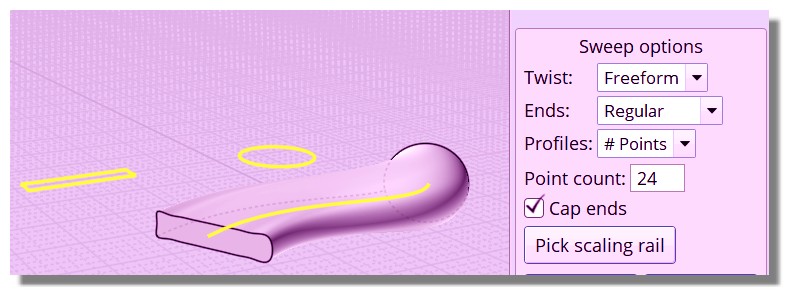
Hi Pilou, testing with the regular Sweep command if you do a one rail sweep from a circle to a rectangle and set the "Profile: # Points" option, the number of points entered in does have an effect.
If it's not doing it with the Node editor possibly there is a bug in the node editor sweep handling somewhere.
- Michael
From: Frenchy Pilou (PILOU)
Indeed it's not exactly the same! (with of course the same rectangle, circle & curve rail & Number points)
Here the native Sweep...so there is a glitch somewhere or the result wanted in the extension will be an other thing...
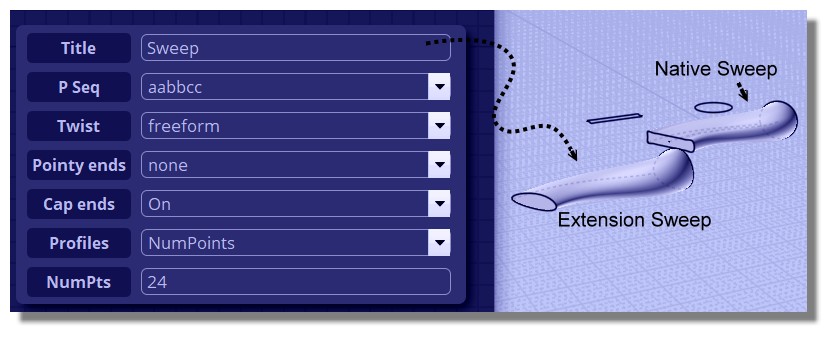
Rectangles and circles are very not the same! :)
From: James (JFH)
Pilou,
EXT: Construct2/Sweep2 works similarly to native Sweep with "Profiles" option set to "Auto" or "Refit".
However, it is necessary to move profiles away from rail curve. See below, profiles positioned at X:999* Y:0 Z:0.
If "Profiles" option set to "NumPoints" it will rebuild Nurbs as defined by the number input (12 is default)

Does this help?
James
https://www.instagram.com/nodeology/
*I use 999 because it is easy to type, but can be anything as long as it is well away from rail curve
Image Attachments:
 Screen Shot 2019-10-03 at 8.27.gif
From: Frenchy Pilou (PILOU)
Yes that works for the normal options but not for the last "number point" option! ;)
I remade your example that is falling again like above!
From: James (JFH)
Pilou,
>> Yes that works for the normal options but not for the "number point" option! ;) <<
I had preempted this query with additional note in previous post. The NumPoints option allows for rebuilding of input curves. In the instance of sweeping from a circle to a rectangle the resulting surface will be a polysurface with multiple seams. If however a single surface is desired it can be achieve by rebuilding the profiles so they have similar control points. Of course unless the number of points is set extremely high the polyline shapes such as the rectangle with lose definition.
If this still not clear perhaps Michael could phrase what I am trying to say more eloquently.
James
https://www.instagram.com/nodeology/
From: Frenchy Pilou (PILOU)
Else for the other options

From: Frenchy Pilou (PILOU)
@James But have you the same result than me for the "Point" Option ? say for 24
If yes i don't search more! :)
The only perturbating (for me) is that was not the same result ...than the native one for this...not more...i like also the form resulting! :)
From: Frenchy Pilou (PILOU)
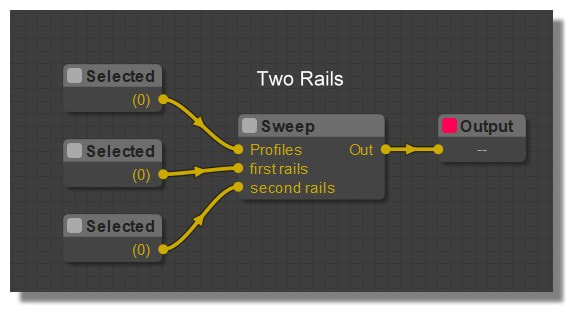
Extension Sweep Node (English - French) Thanks James (?) for the Documentation
http://moiscript.weebly.com/construct2.html#sweep

From Star to Circle (Free SimLAb)

(Free TwinMotion) Make beautifuly animations! (real time screen work animated is yet absolutly amazing)

From: Frenchy Pilou (PILOU)
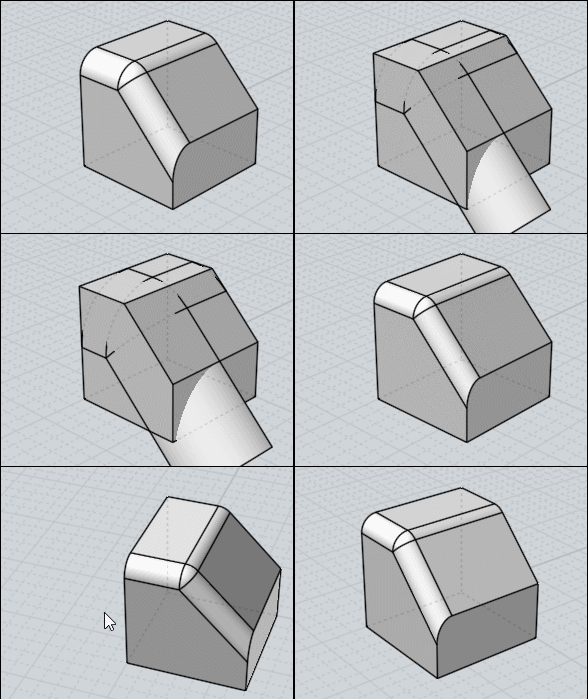
Construct2 / Blend - Fillet - Total mystery! :D
But refound old posts with some tricks! :)
https://moi3d.com/forum/index.php?webtag=MOI&msg=7777.940
From: Frenchy Pilou (PILOU)
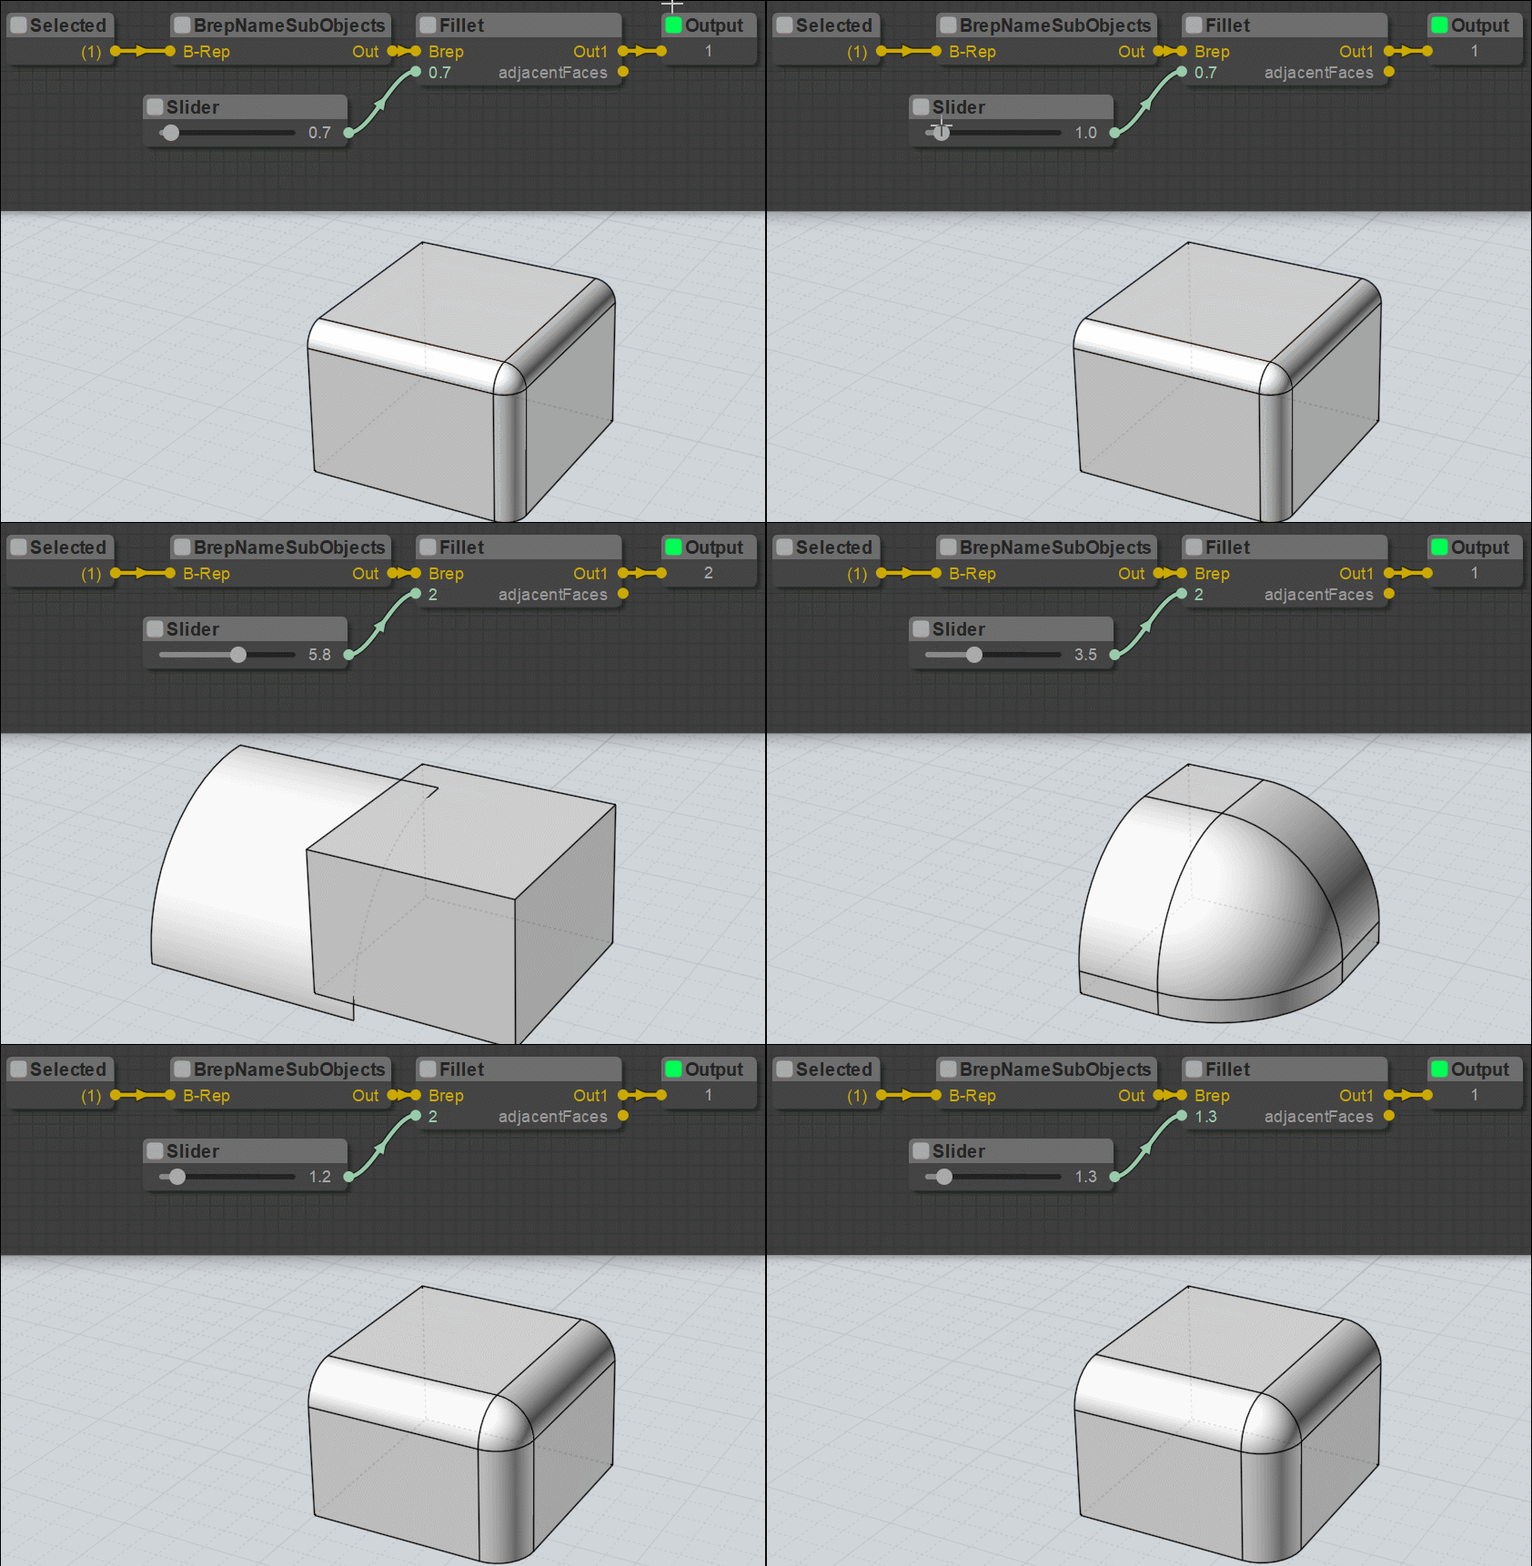
Ok after many trials because all that is very very very sensitive!
Fillet is resolved but it's some anxiogenic because if you inverse or miss something no result!
Seems step by step obligatory! Seems several volumes in the same time impossible!
Fillet Node
English French
http://moiscript.weebly.com/construct2.html#fillet
- Draw or take an existing volume
- Select It
- Call the NodeEditor
- Drop Objects / Selected Node so yet enabled because something is yet selected so no need to Update!
- Drop a Slider from Widget if necessary and with limits if you don't want see the volume disappear! :)
- Run the NodeEditor indispensable!!!
- Drop Objects2/ BrepNameSubObjects Node
- Link Selected Node with BrepNameSubObjects Node : a blue volume appears
- Select Edges wished on this blue volume (who becomes Yellow) to Fillet
- Drop Construct2 / Fillet Node
- Link BrepNameSubobjects Node to Fillet Node
- Drop Basic / Output Node
- Link Fillet Node to OutPut Node : a temporary volume appears... kill the blue one
- You can link the Slider Node to Fillet Node and search your best form!
et voilà .... 14 steps to learn... miss a Step you must remake! :)
I am affraid that Blend must be a similar headache! :)


From: Frenchy Pilou (PILOU)
Blend resists at my hundred tests in many directions! :)
From: Frenchy Pilou (PILOU)
OK I have the Blend Node! :)
English
http://moiscript.weebly.com/construct2.html#blend
Another time some special! :)
Works only on "Surfaces" so if you have 2 cubes A & B and want Blend their tops
- Select Top cube A / Separate
- Call NodeEditor
- Drop Objects / Selected Node - Update (cube A) selected face disapears
- Select Top cube B / Separate
- Drop Objects / Selected Node - UpDate (cube B) selected face disapears
- Inverse Selection / Hide ... not obligatory but more practical for future selection of edges!
These 6 steps above can be made with some variations of order but...
- Run NodeEditor
- Drop Objects2 / BrepNameSubObject Node (for cube A)
- Link Selected Node (cube A) to BrepNameSubObject Node... face becomes blue
- Drop Objects2 / BrepNameSubObject Node (for cube B)
- Link Selected Node (cube B) to BrepNameSubObject Node... face becomes blue
- Drop Construct2 / Blend Node
- Link BrepNameSubObject Node (cube A) to Blend Node
- Link BrepNameSubObject Node (cube B) to Blend Node
- Select Edge (cube A) becomes yellow
- Select Edge (cube B) becomes yellow
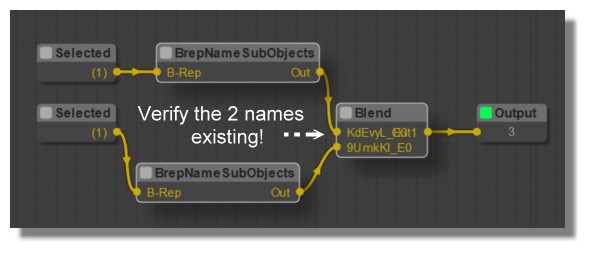
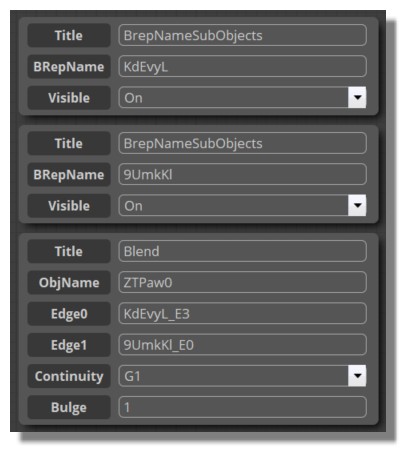
- Click on Blend Node for verify that is 2 names objects are existing
- Drop Basic / Output Node
- Link Blend Node to OutPut Node
- Unhide and Join depending of what do you want...
et voilà : If you miss a step better to remake! :)

If there are not names...something is wrong somewhere!


From: Frenchy Pilou (PILOU)
Next will be Offset...seems more easy!...but who knows! :)

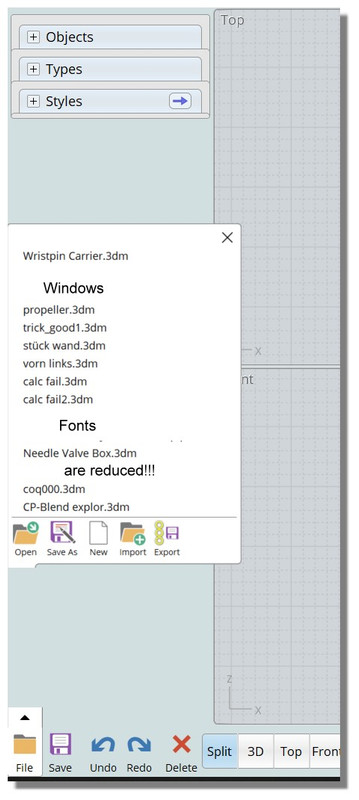
PS I remake something very frequently
when you return to Moi from or after use of the Node editor
size of the File Menus of the bottom barr are reduced!!!
And never come back normal before a close pf Node Editor!
Not a big deal! :)

Show messages:
1-12
…
173-192
193-212
213-232
233-252
253-272
273-292
293-312
…
493-503


![]() Screen Shot 2019-10-03 at 8.27.gif
Screen Shot 2019-10-03 at 8.27.gif
