ALSO NOTE: There are a few other settings found in the Options dialog that can make modeling more comfortable on the eyes (or more interesting).
I set "Edge Coloring" to "Darkening" at 0.32 which allows the surface curves to be more visible, especially when using mid-level colored object material settings.
Also, as you may notice with other high-end 3D modeling programs, the background is often a darker gray. In art design,
this is done to bring out more color depth and object visibility to your work.
I noticed that the default setting is nearly white. This is indeed "bright and cheery", and works with the natural darkness of MoI's object shading, but yes,
you are allowed to change this Background color in your Options dialog.
I also changed my Hidden Lines to solid (they were dashed). This was a personal preference and is set in the .ini file.
The dashes were hard to discriminate for tinier objects.
Below are some example of the different looks you can achieve just with a few easy tweaks.
I created this strange looking model shown for the purpose of reflecting the light sources in different ways.
It looks like some kind of crystal-powered back massager, but it was really just a free-form object using Sweeps, Blends and a Flow.
You can find a .3DM file for my lighting test widget here:
http://www.mediafire.com/file/cmeoo15qosb9i8z/lighting_options_test_widget_01.3dm
Phlatt5th has provided this handy .PDF version if the following Lighting Options:
Please download: http://moi3d.com/forum/get_attachment.php?webtag=MOI&hash=8a6a02426a8fd81b41eda15ea9a6f97e&filename=Moi3D_Lighting%20options_Scripts.pdf
for your reference.
Install the LightingThemes script by Dinos!
Visit the post below:
http://moi3d.com/forum/index.php?webtag=MOI&msg=5222.43
for the script link and usage instructions.
(Original post:
http://moi3d.com/forum/index.php?webtag=MOI&msg=5222.25)

Thanks to Dinos, you can now access all of the UI Lighting Option configurations (in this thread) - in one easy drop-down list.
This very useful script can be brought up by key command!
Here are my pre-made lighting combinations ::::
You can use Dino's script to access them when you wish, or program each mini-script (listed under pic) as a favorite key command.
Aluminum:

Lighting options for Aluminum - Script code:
script: /* Set lighting options for Aluminum */ var v = moi.view; v.lightingStyle = 'MoreFill'; v.specularHighlights = true; v.specularBrightness = 0.38; v.specularFocusSize = 0.73; v.metallicLighting = true; v.fixedLightPositions = true; v.customKeyLightLevel = 0.0; v.customFillLightLevel = 0.0;
Car Body:
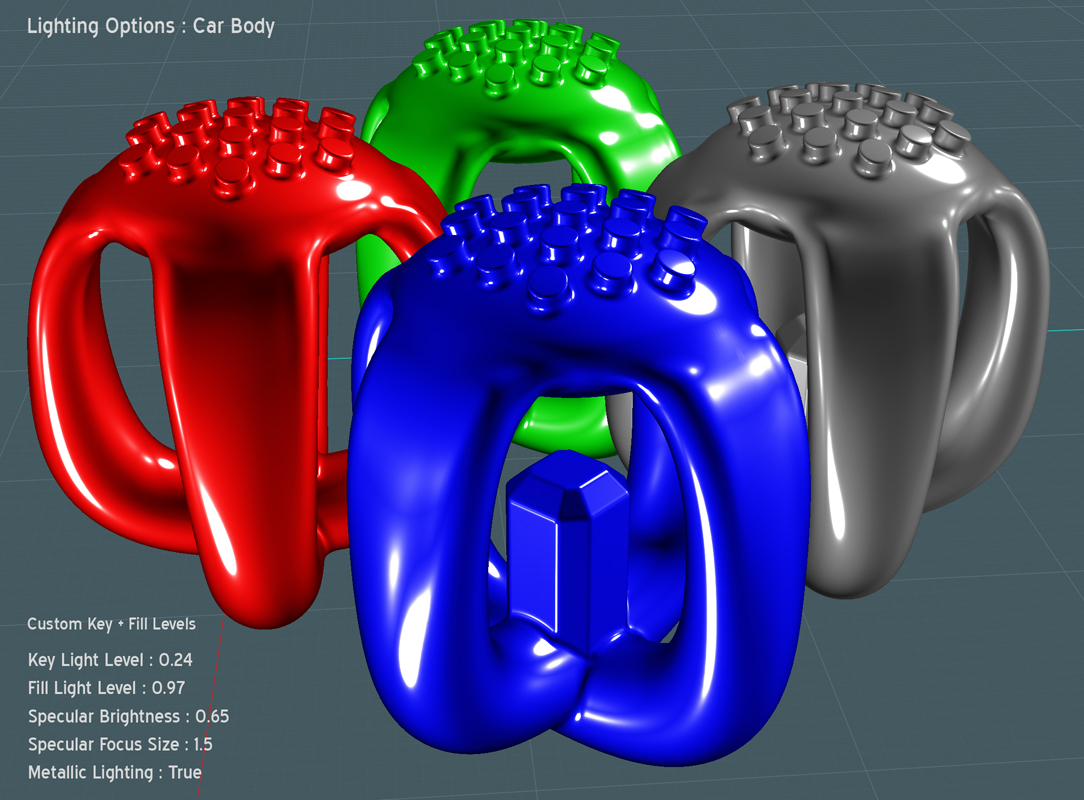
Lighting options for Car Body - Script code:
script: /* Set lighting options for Car Body */ var v = moi.view; v.lightingStyle = 'CustomLevels'; v.specularHighlights = true; v.specularBrightness = 0.65; v.specularFocusSize = 1.5; v.metallicLighting = true; v.fixedLightPositions = true; v.customKeyLightLevel = 0.24; v.customFillLightLevel = 0.97;
Chrome:
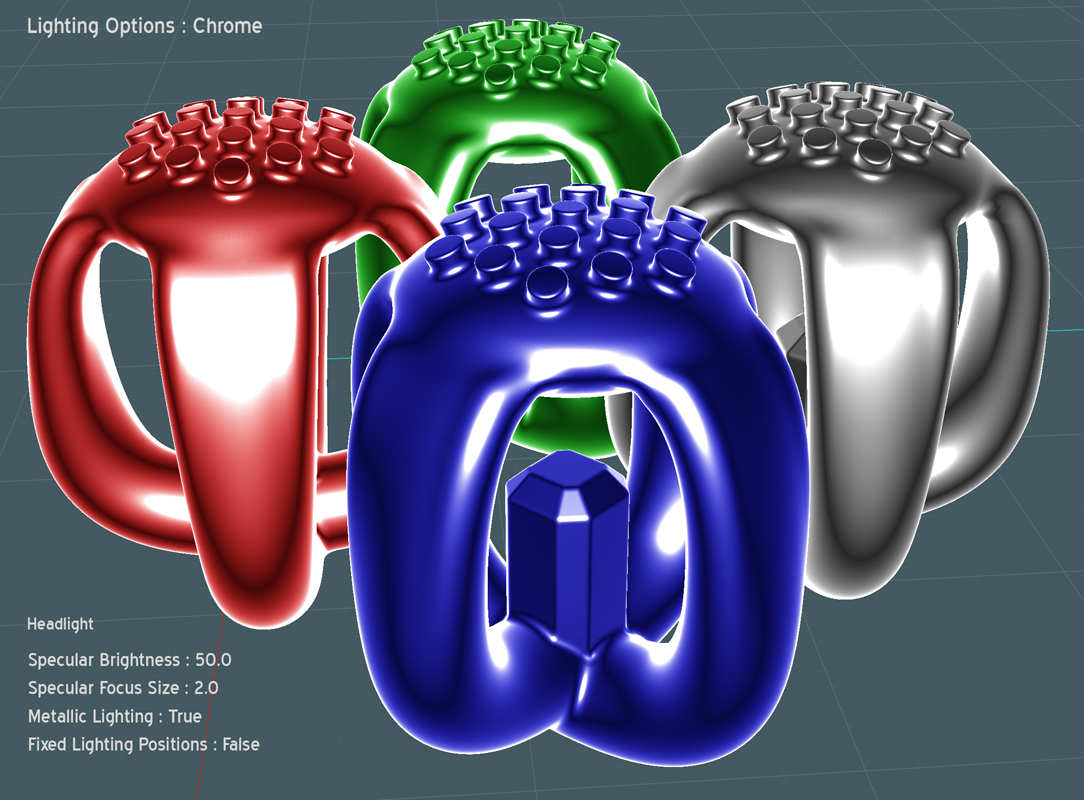
Lighting options for Chrome - Script code:
script: /* Set lighting options for Chrome */ var v = moi.view; v.lightingStyle = 'Headlight'; v.specularHighlights = true; v.specularBrightness = 50.0; v.specularFocusSize = 2.0; v.metallicLighting = true; v.fixedLightPositions = false; v.customKeyLightLevel = 0.0; v.customFillLightLevel = 0.0;
Clay:
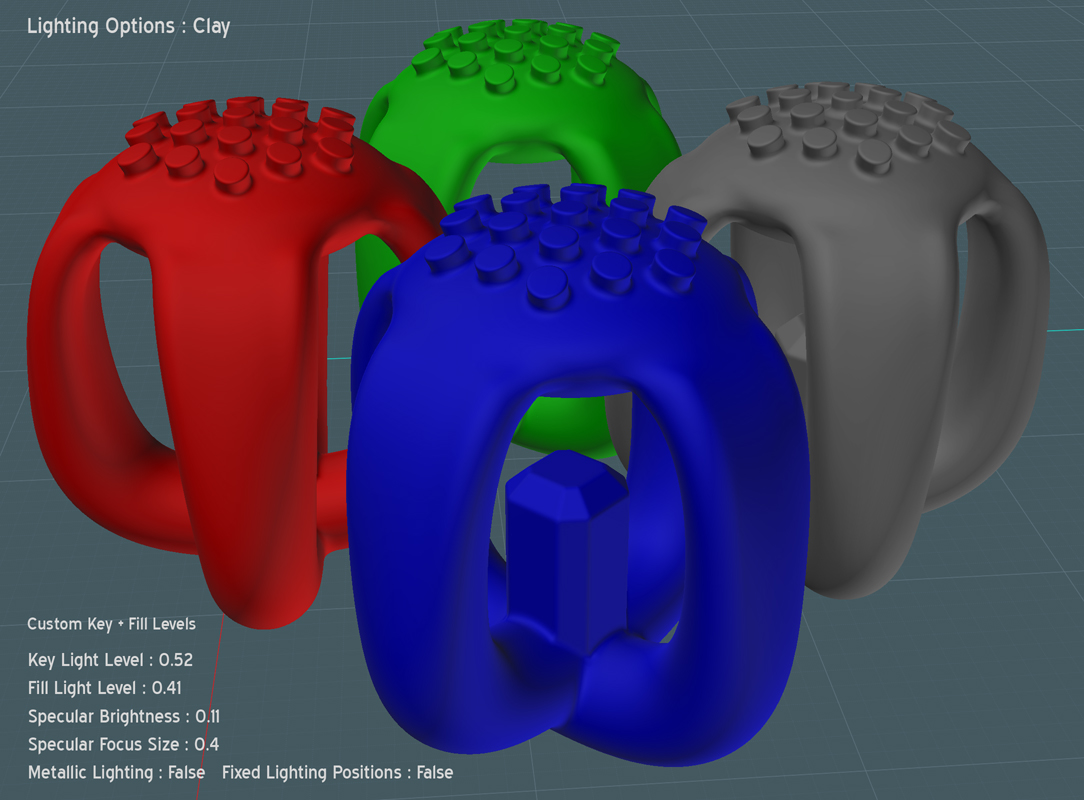
Lighting options for Clay - Script code:
script: /* Set lighting options for Clay */ var v = moi.view; v.lightingStyle = 'CustomLevels'; v.specularHighlights = true; v.specularBrightness = 0.11; v.specularFocusSize = 0.4; v.metallicLighting = false; v.fixedLightPositions = false; v.customKeyLightLevel = 0.52; v.customFillLightLevel = 0.41;
Draft:
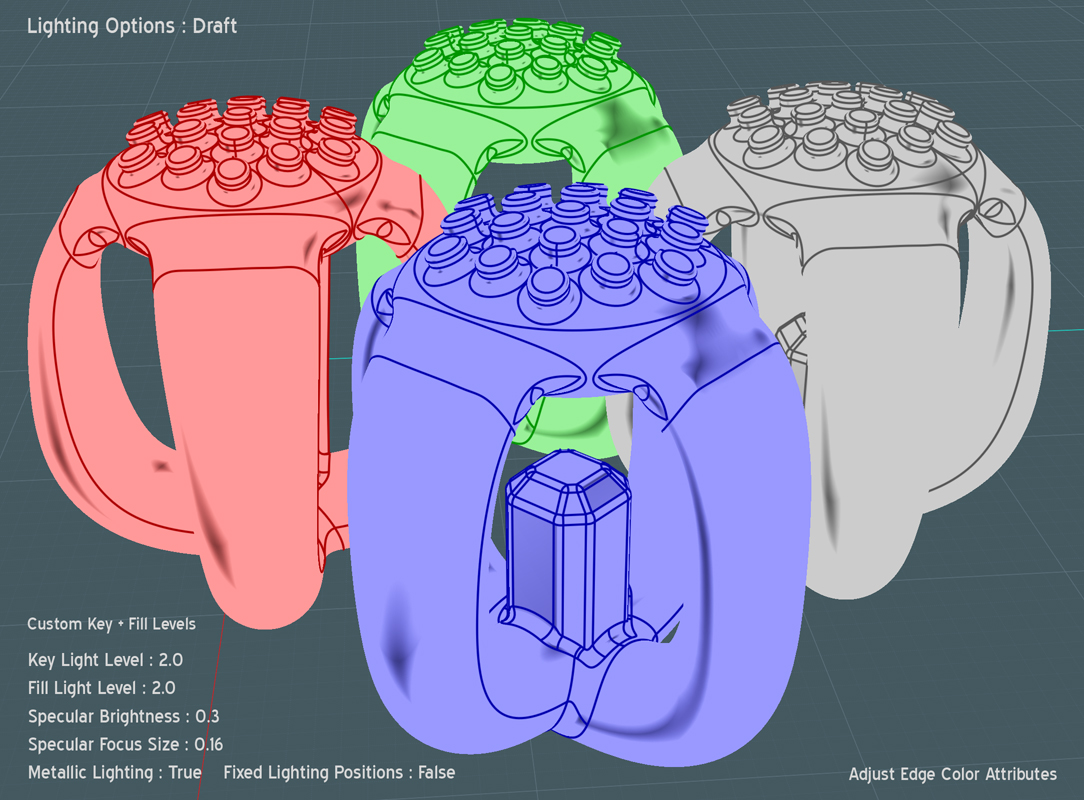
Lighting options for Draft - Script code:
script: /* Set lighting options for Draft */ var v = moi.view; v.lightingStyle = 'CustomLevels'; v.specularHighlights = true; v.specularBrightness = 0.3; v.specularFocusSize = 0.16; v.metallicLighting = true; v.fixedLightPositions = false; v.customKeyLightLevel = 2.0; v.customFillLightLevel = 2.0;
Dramatic:
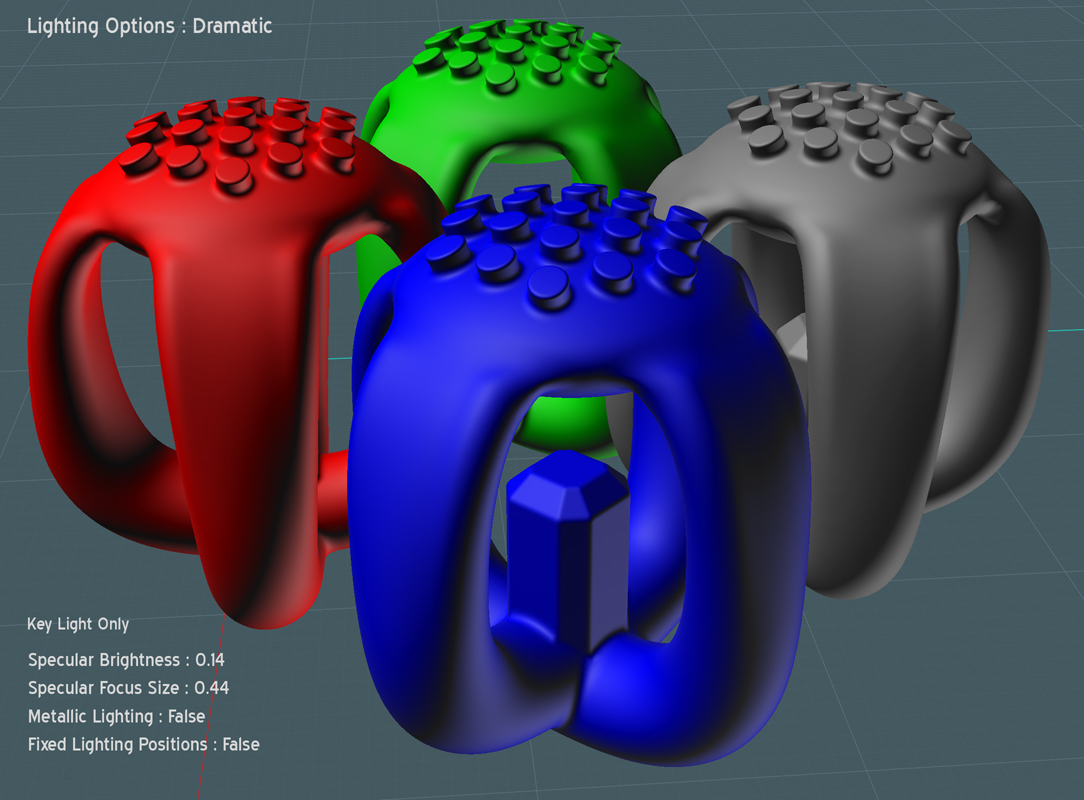
Lighting options for Dramatic - Script code:
script: /* Set lighting options for Dramatic */ var v = moi.view; v.lightingStyle = 'KeyOnly'; v.specularHighlights = true; v.specularBrightness = 0.14; v.specularFocusSize = 0.44; v.metallicLighting = false; v.fixedLightPositions = false; v.customKeyLightLevel = 0.0; v.customFillLightLevel = 0.0;
Glass:
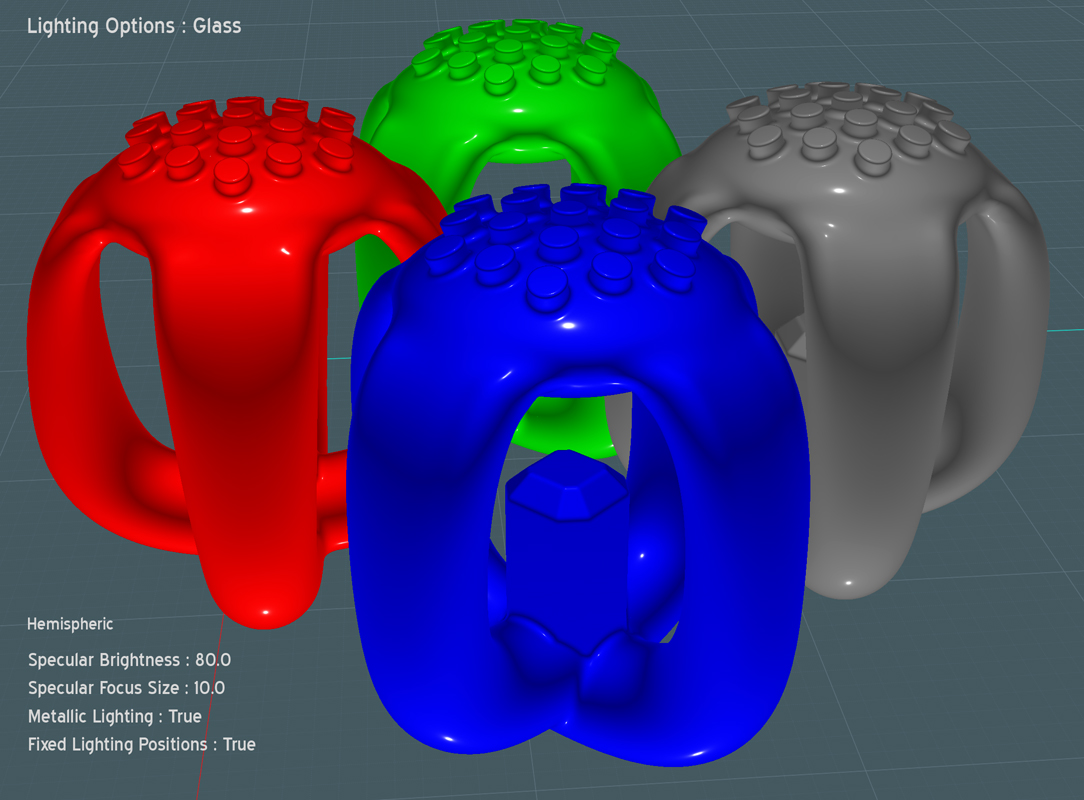
Lighting options for Glass - Script code:
script: /* Set lighting options for Glass */ var v = moi.view; v.lightingStyle = 'Hemispheric'; v.specularHighlights = true; v.specularBrightness = 80.0; v.specularFocusSize = 10.0; v.metallicLighting = true; v.fixedLightPositions = true; v.customKeyLightLevel = 0.0; v.customFillLightLevel = 0.0;
Porcelain:
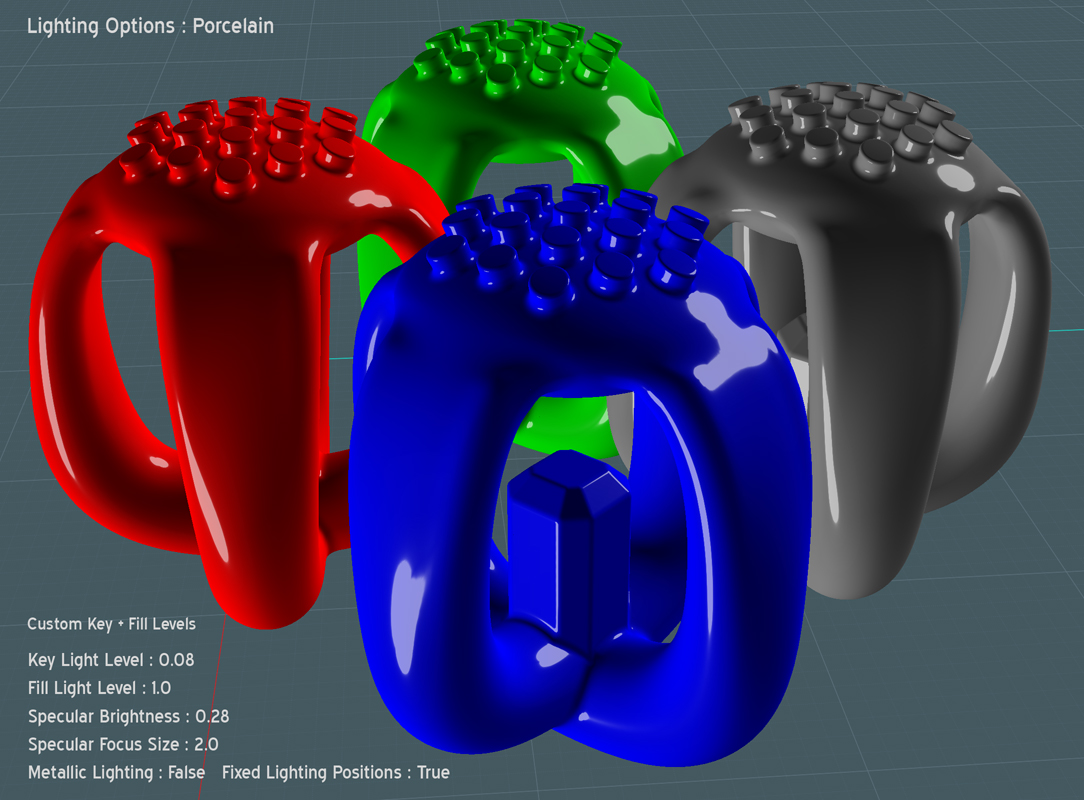
Lighting options for Porcelain - Script code:
script: /* Set lighting options for Porcelain */ var v = moi.view; v.lightingStyle = 'CustomLevels'; v.specularHighlights = true; v.specularBrightness = 0.28; v.specularFocusSize = 2.0; v.metallicLighting = false; v.fixedLightPositions = true; v.customKeyLightLevel = 0.08; v.customFillLightLevel = 1.0;
Rubber:
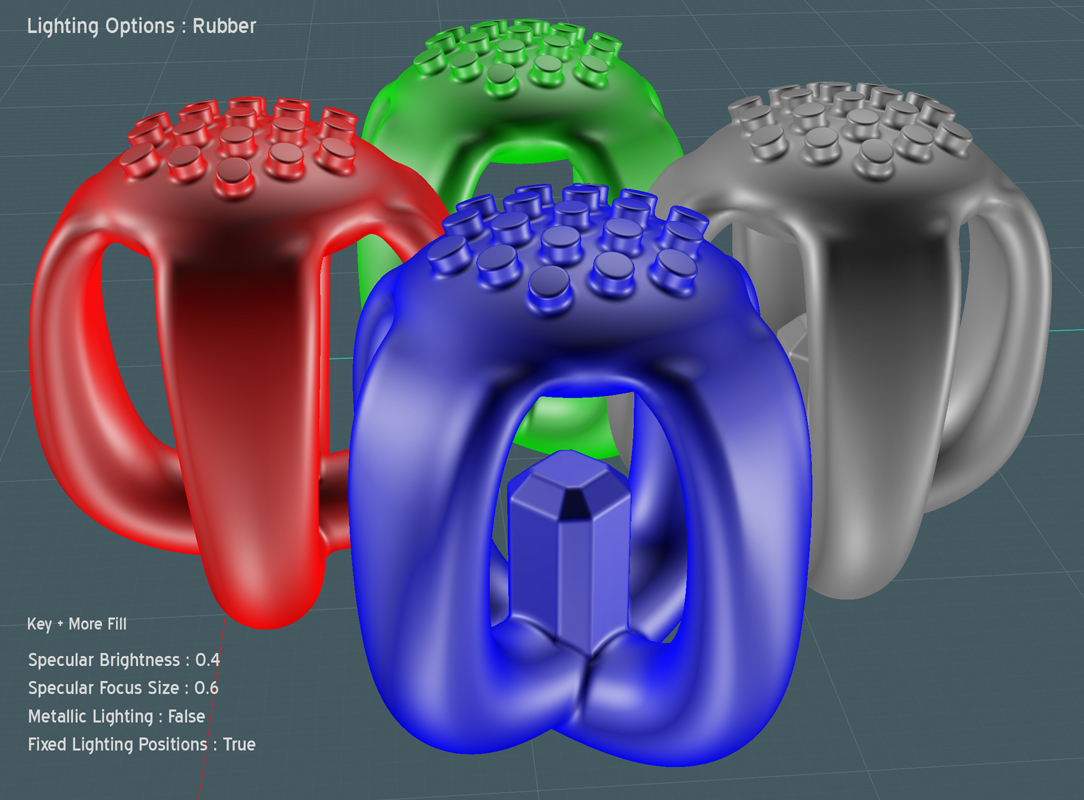
Lighting options for Rubber - Script code:
script: /* Set lighting options for Rubber */ var v = moi.view; v.lightingStyle = 'MoreFill'; v.specularHighlights = true; v.specularBrightness = 0.4; v.specularFocusSize = 0.6; v.metallicLighting = false; v.fixedLightPositions = true; v.customKeyLightLevel = 0.0; v.customFillLightLevel = 0.0;
I am welcome to your lighting examples and any additional wisdom on MoI's lighting...
Please let me know of any errors.
Please visit my MoI tutorials at: http://www.k4icy.com/tutorials.html
Clic ici pour la version Française... http://www.k4icy.com/tutorials_fr.html
Enjoy! :-)