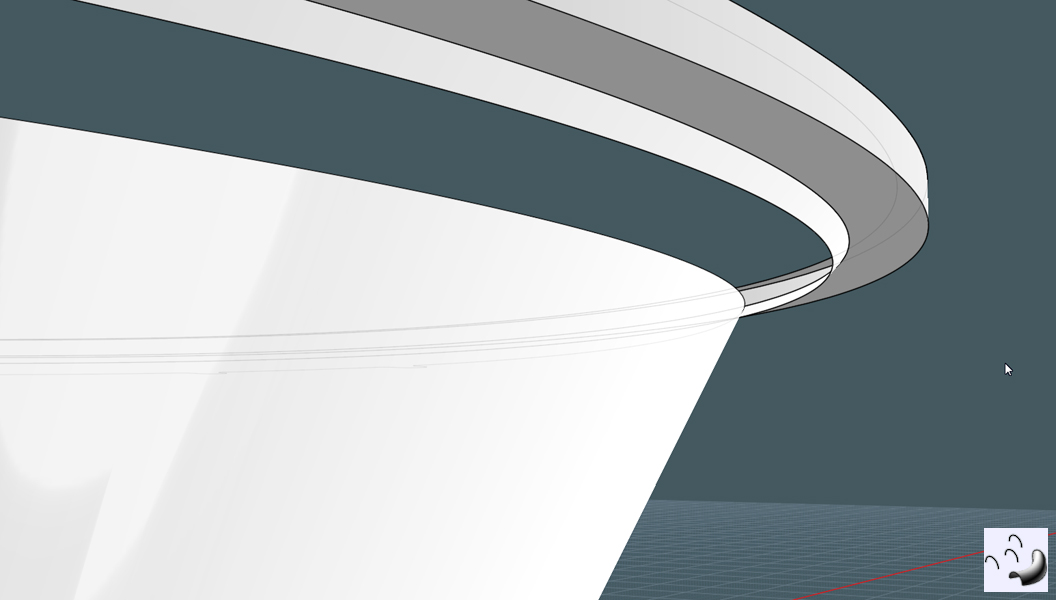
I thought I'd put the "flow on revolved surface" to the test - by making a mesh speaker grill.
If you have a speaker grill, you'd surely have a speaker, so lets make that:
The guts:
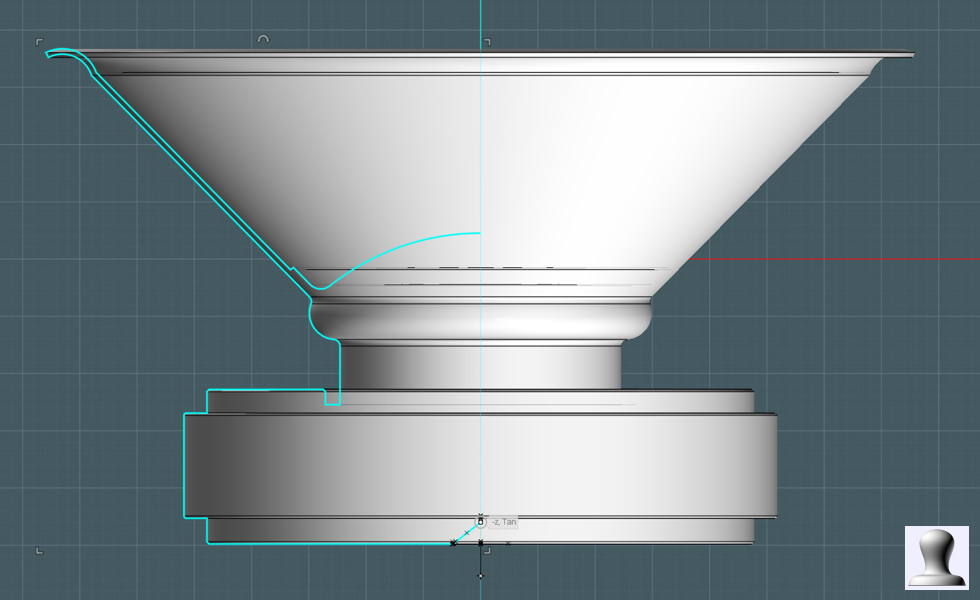
1) Draw a profile shape of half the side of the speaker assembly. Use lines, arcs, fillets and whatever else.
There are usually three main parts to the working guts of an audio speaker - Magnet and core, solenoid are (often obscured), and the cone.
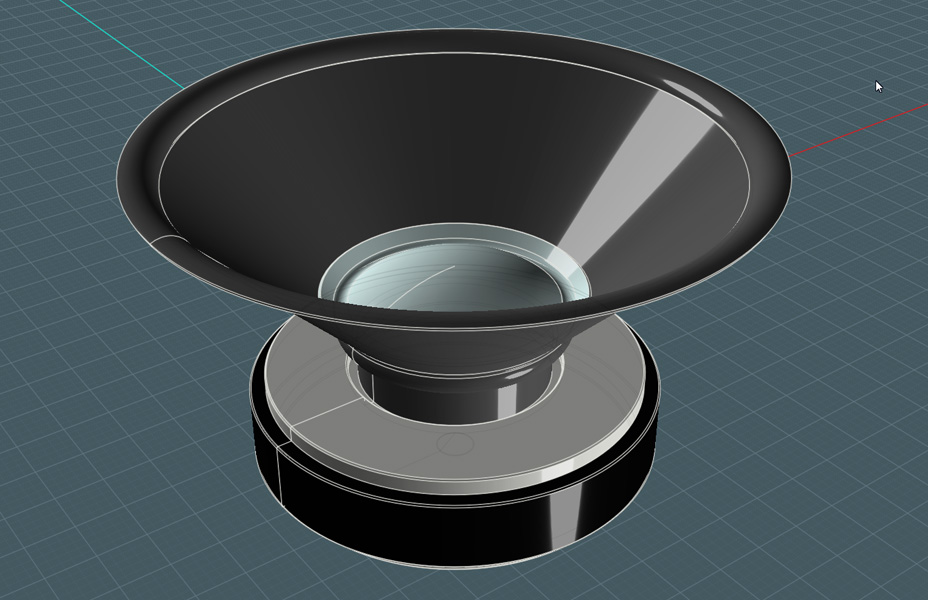
2) Revolve the profile to make the shape.
You are now 1/3 done!
Coloring:
- It helps to color the regions so that it is easier to prep for rendering later on.
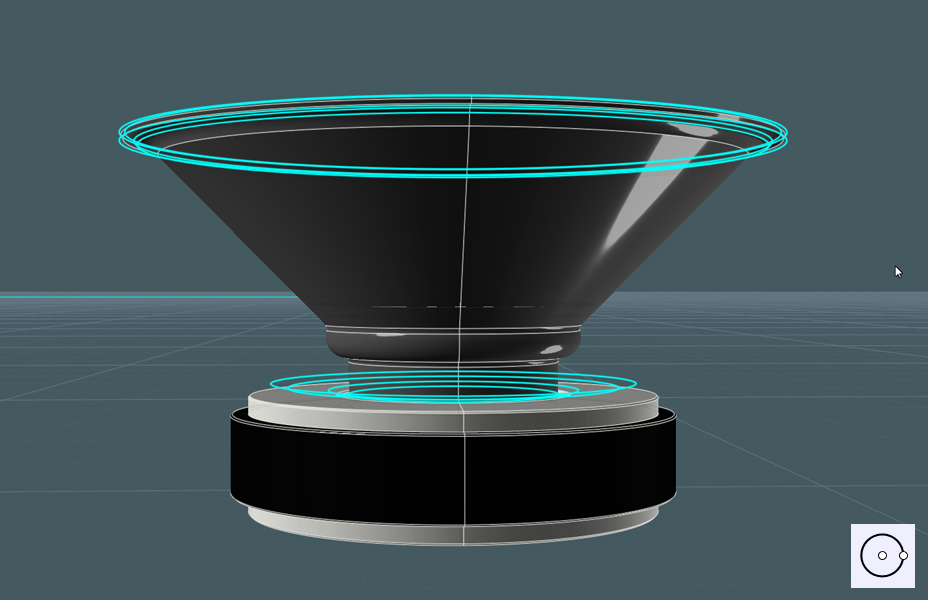
Next, it the cone harness:
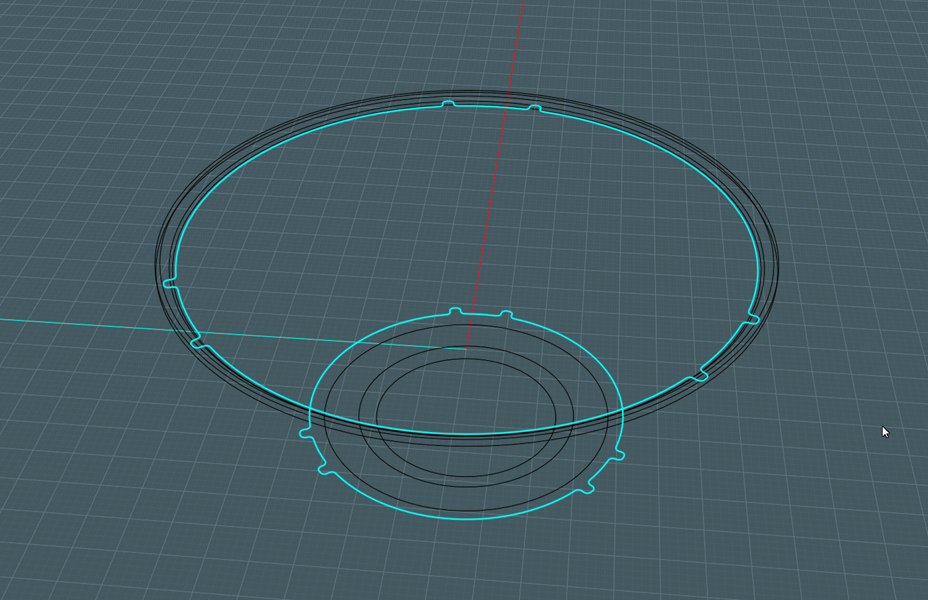
1) Draw a circle
2) Copy and position the circles to represent the main body of the harness - you'll see lower...
Support ribs:
- These will be a series of squared ridges that run up the harness body, they will have a consistent size along the length,
so they'll be lofted from two profiles carrying consistently sized ridges.
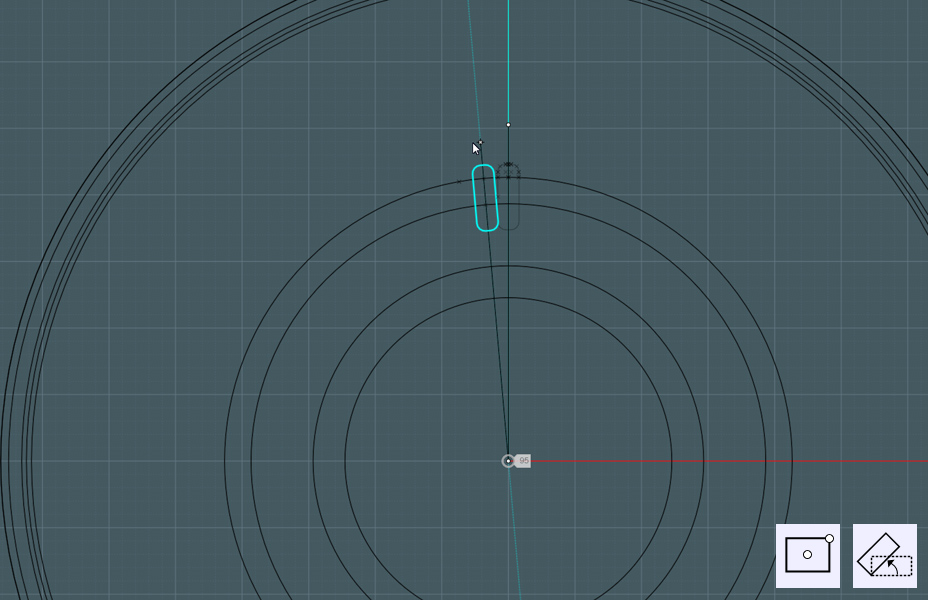
1) Draw a Rectangle with rounded corners.
2) Rotate to position - this is not necessary at this point, but it was what I did.
Make cuts:
- We only need the top part of the rectangle and we also need a fillet.
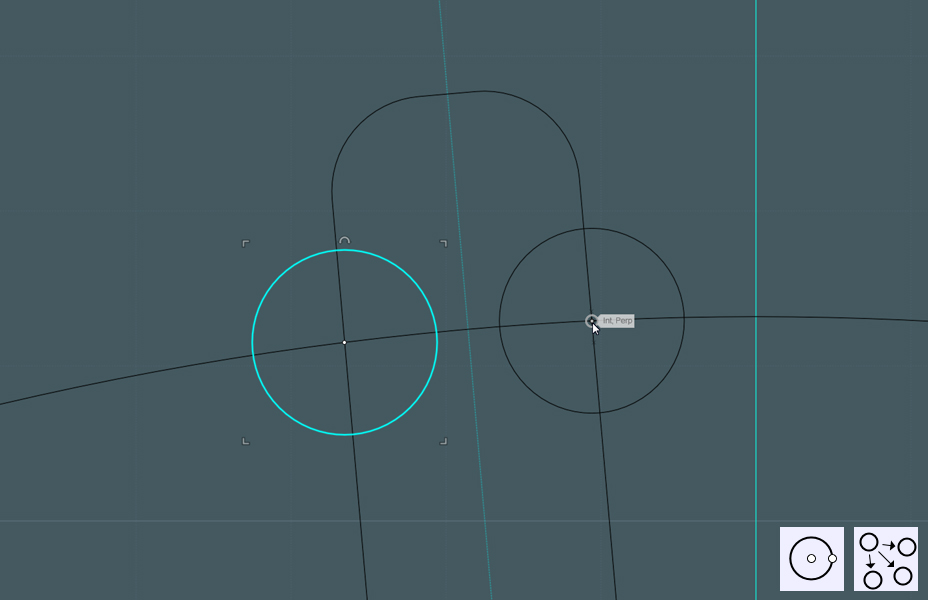
1) Make a circle snapped to an intersecting point between one of your circles and the rectangle.
2) Copy the circle to the other intersection.
Rotate:
1) Either Rotational Array, or use Rotate snapping to the center and inputting a snap angle increment of appropriate degrees.
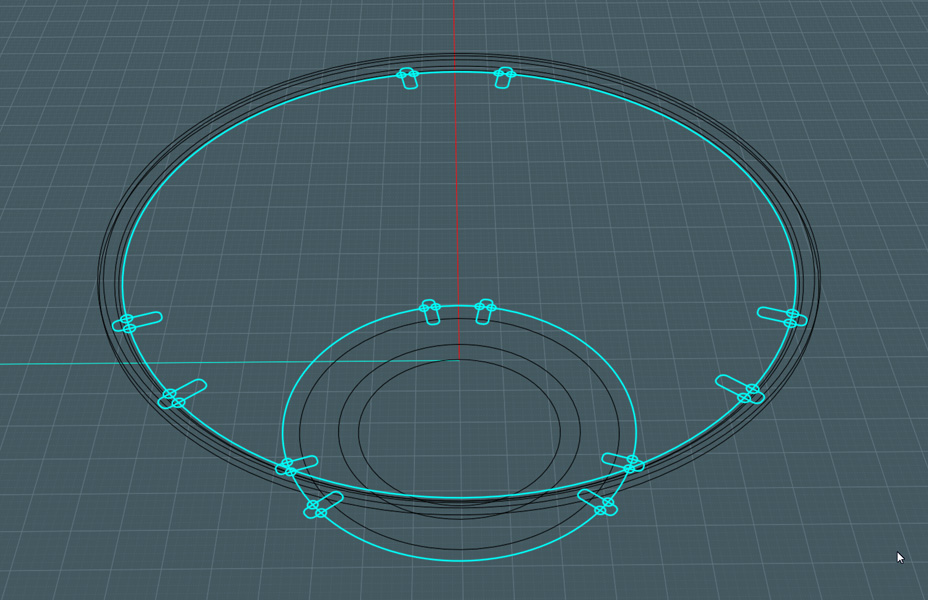
- I made two sets and made three copies around the perimeter.
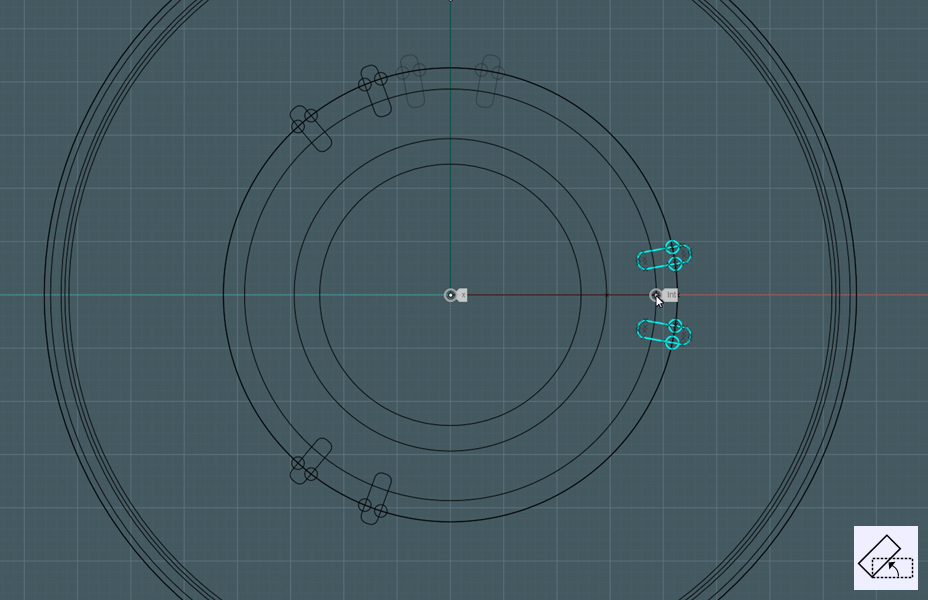
Two sets:
- do this for two rings, one near the bottom and one near the top.
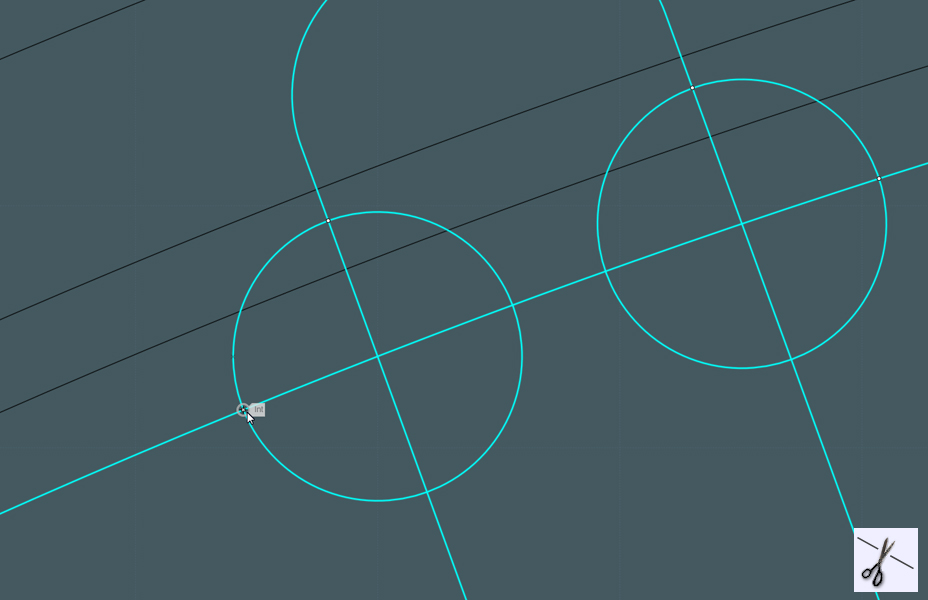
Trim:
1) Select the rectangles, small circles and large circles - Mutual Trim or Add Points.
2) Delete unneeded stuff.
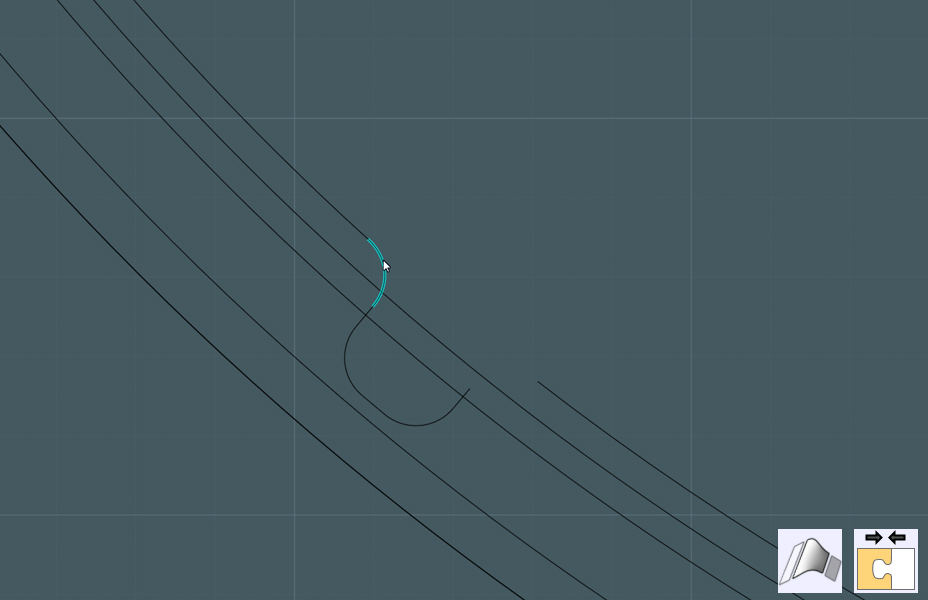
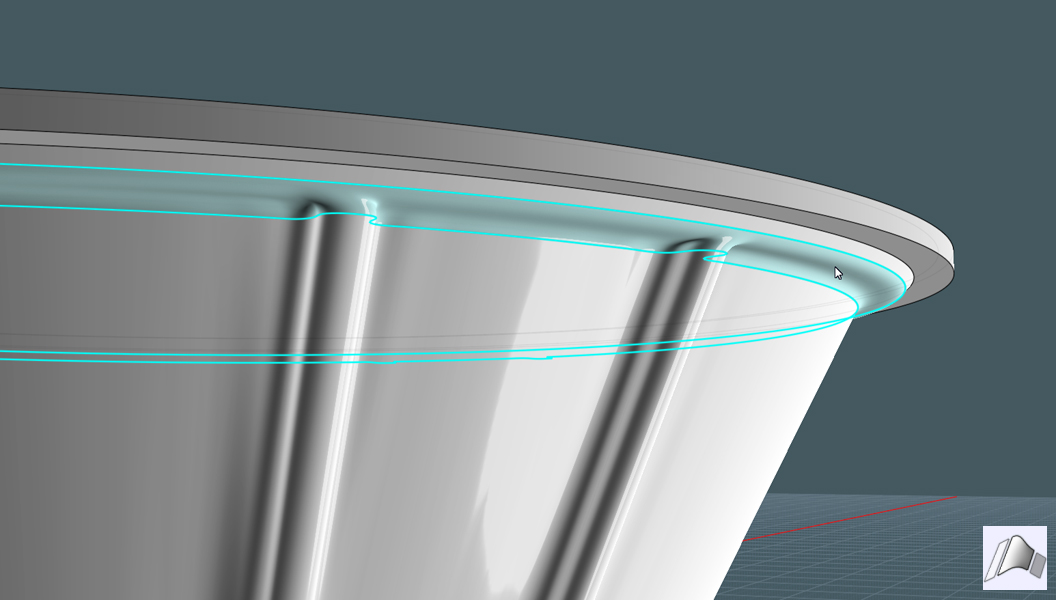
Fillets:
- Blend the ends to make fillets.
You may also consider adding fillets to sharp corners.
Prep for blends:
- I want to blend the edges of this lofted harness body section,
The edges have to be one piece or there'll be difficulty later.
1) Rebuild profile rings so that they are one consistent spline with no cuts.
Loft to make harness body:
1) Loft new profiles.
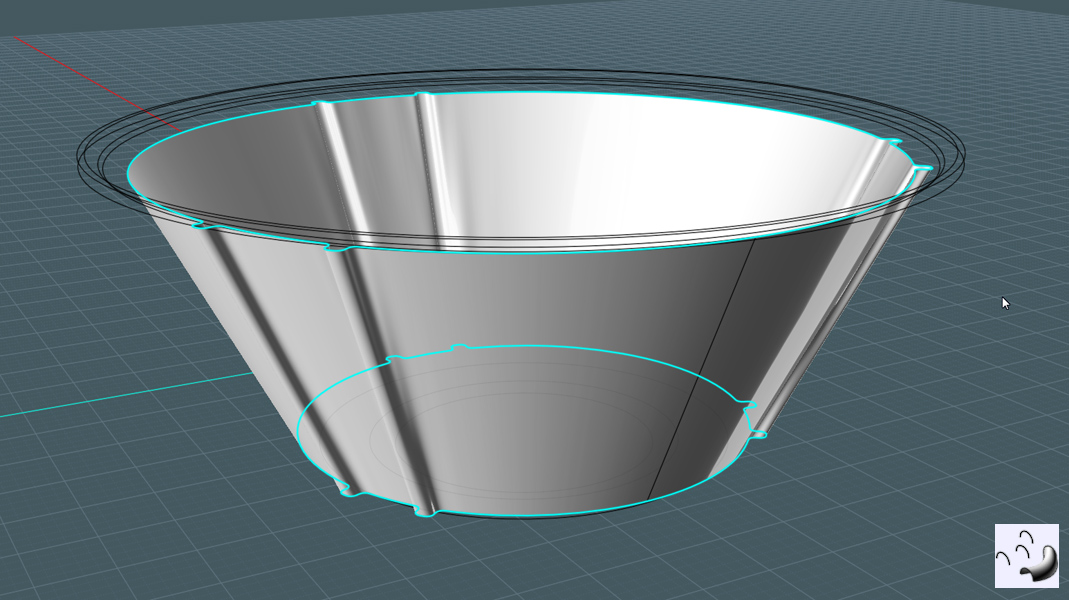
Loft to make bottom section:
1) Loft bottom rings together to leave a healthy gap between that and the bottom of the harness body.

Blend edges:
1) Select the edges of the two lofts - blend.
2) Join surfaces.
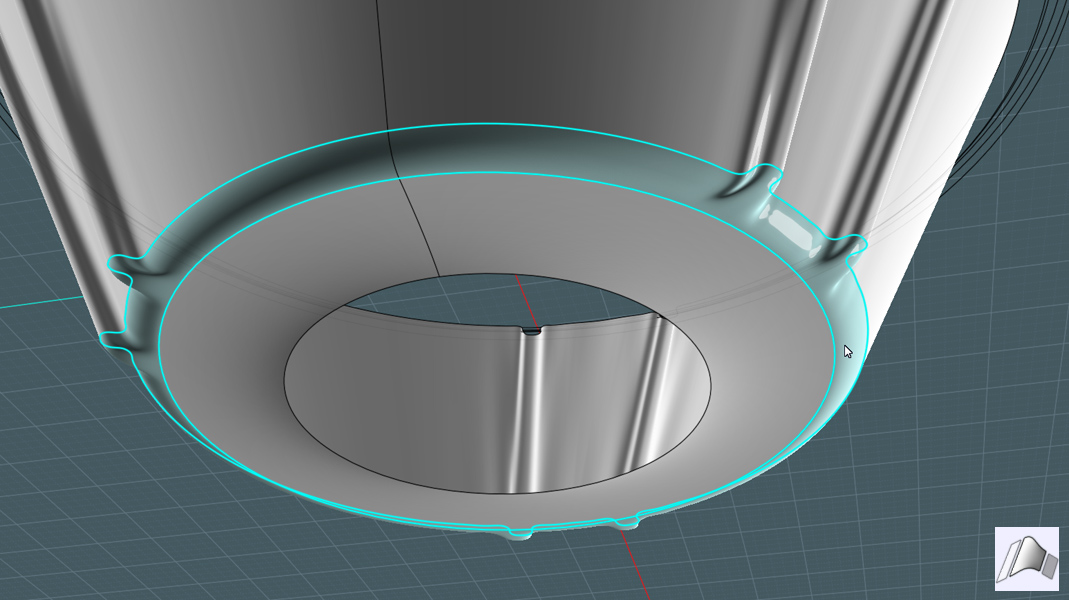
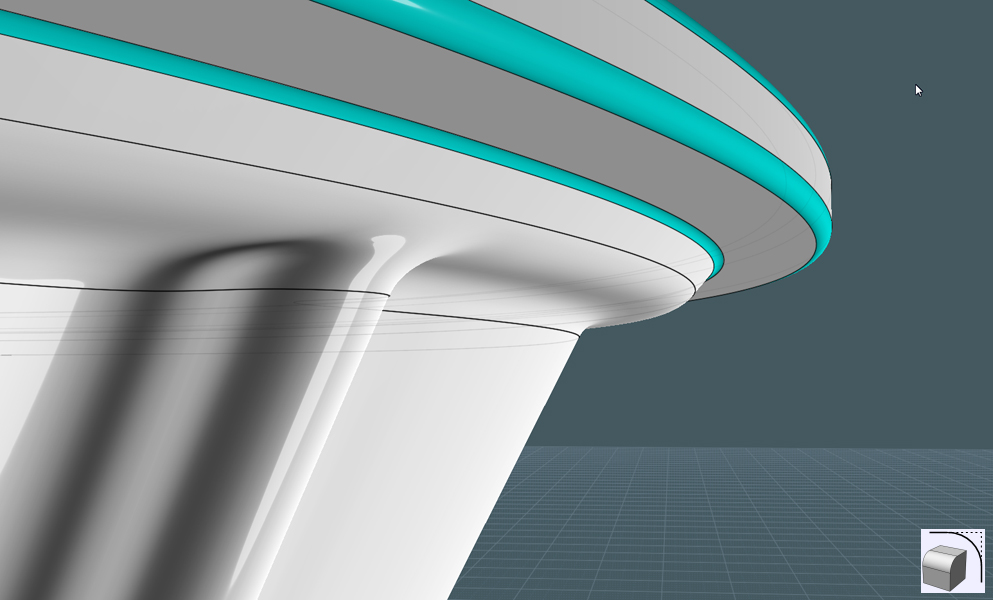
Create top ridges:
1) Loft top rings with the Straight setting.
Blend edges:
1) select the edges of both the top of the harness and the bottom of the top ridge. - Blend to make a smooth transition.
Smooth the ridge:
1) Fillet the corner edges of the top ridge.
2) Make sure the different sections are Joined.
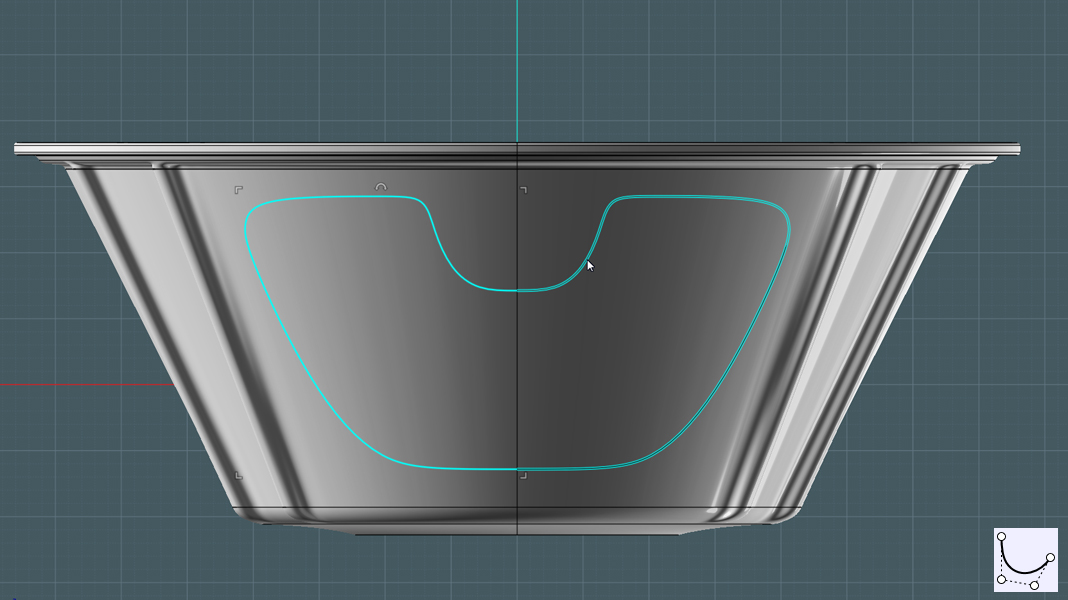
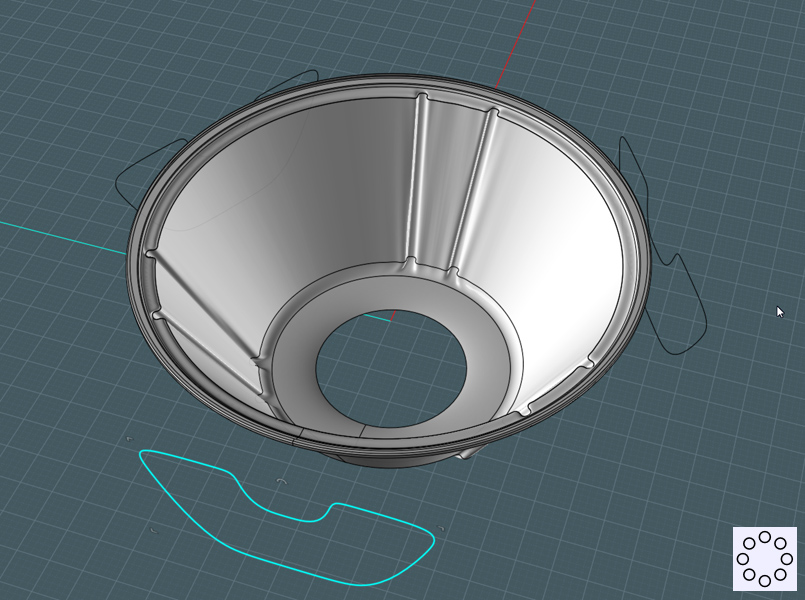
Make holes:
1) Draw a neat shape in a view port that represents a clear symmetrical side to the harness body.
2) Mirror and Join
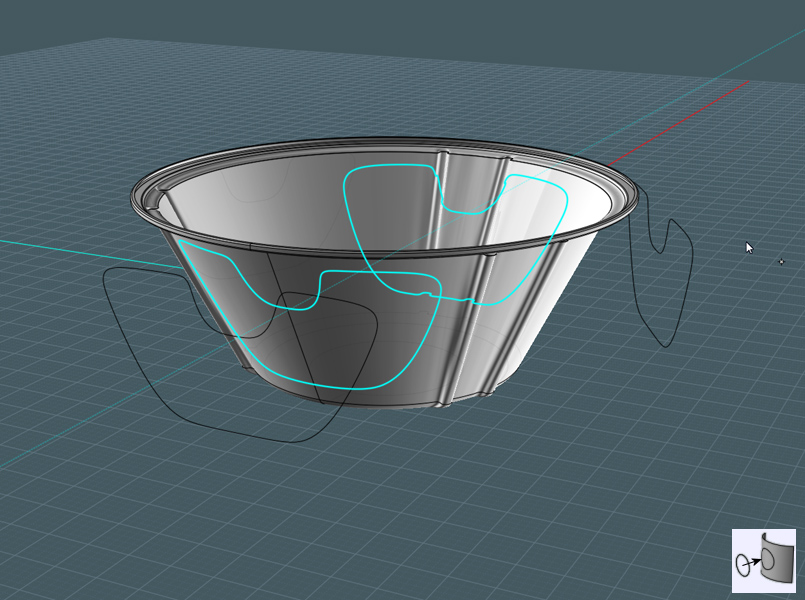
Make copies:
1) Rotation Array to produce copies around harness body.
Projections:
1) Prject each shape into the body sides through the center.
2) Delete back projection.
3) Trim projected shape into the harness shape.
4) Delete holes.
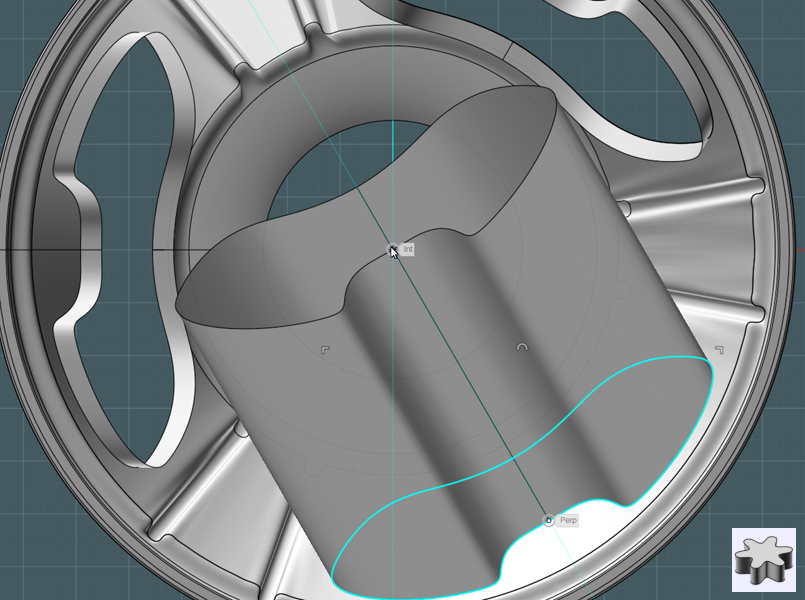
Punch-in:
1) Extrude the hole shape inward towards the center.
2) Join surfaces.
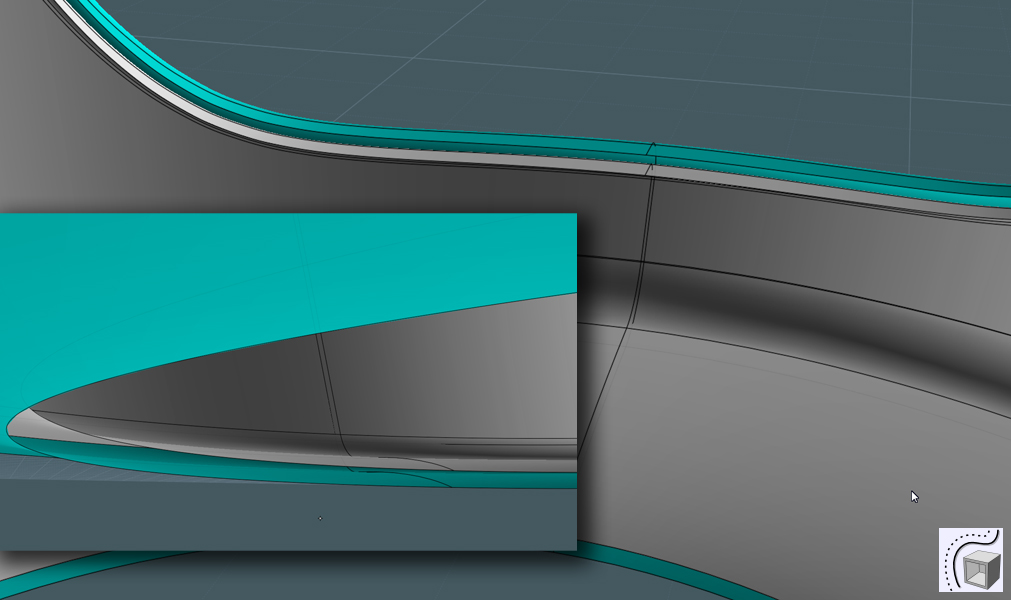
Round edges:
1) Fillet the edges.

Shell:
1) Shell or Offset surface to add thickness to the harness object.
Nice edges:
- If your edges between the original harness body and it's offset surface are not solid,
give them a nice edge with an edge Blend.
1) Select edges, Blend
2) Join
- If you used a box method that worked to make a solid shape, then use Fillet.
