Here's a way to get things cooking - Make a portable electric element cooking range.
Here is how I did it:
I needed to make the chrome metal body.
This could be done a few ways, I made some profiles to loft together into one surface.
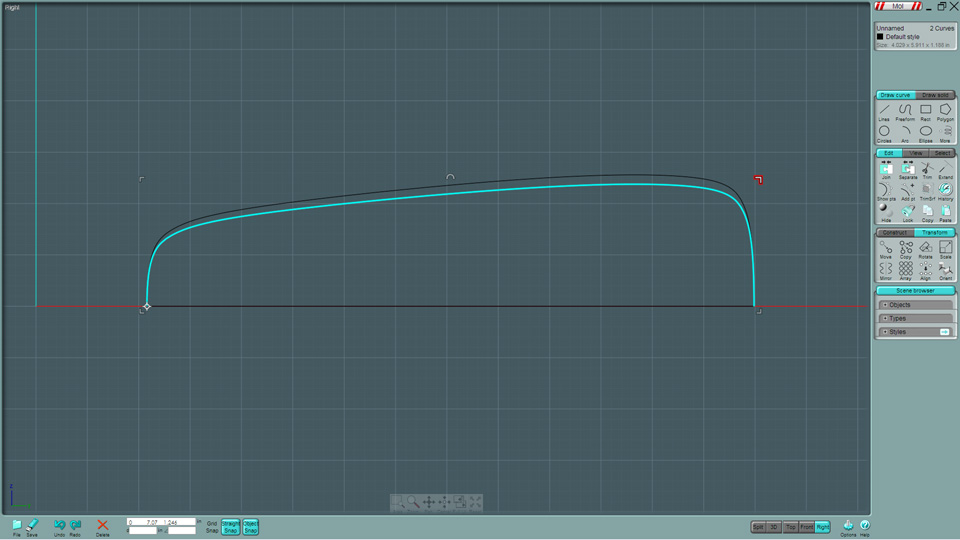
Why not make it interesting and make some copies of the profile in different heights.
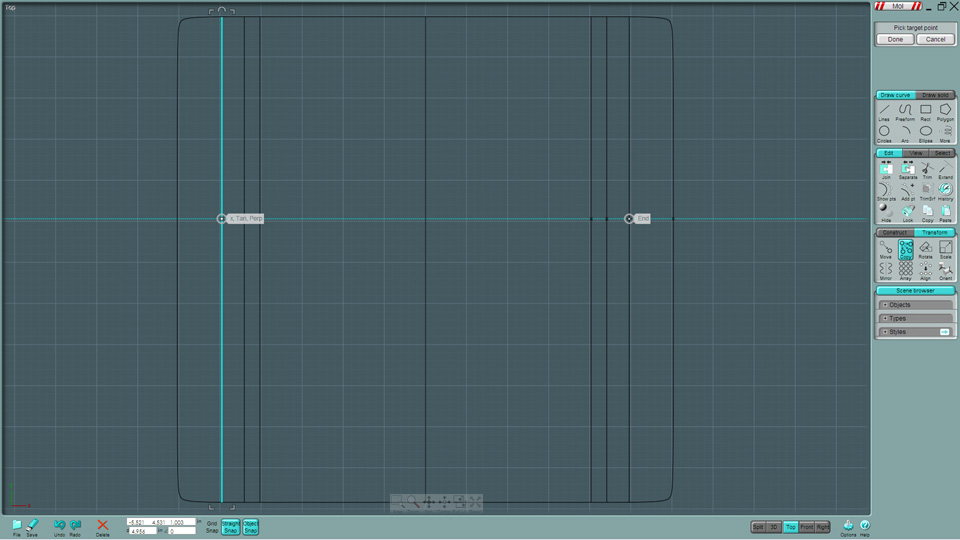
Mirror them to make it symmetrical.
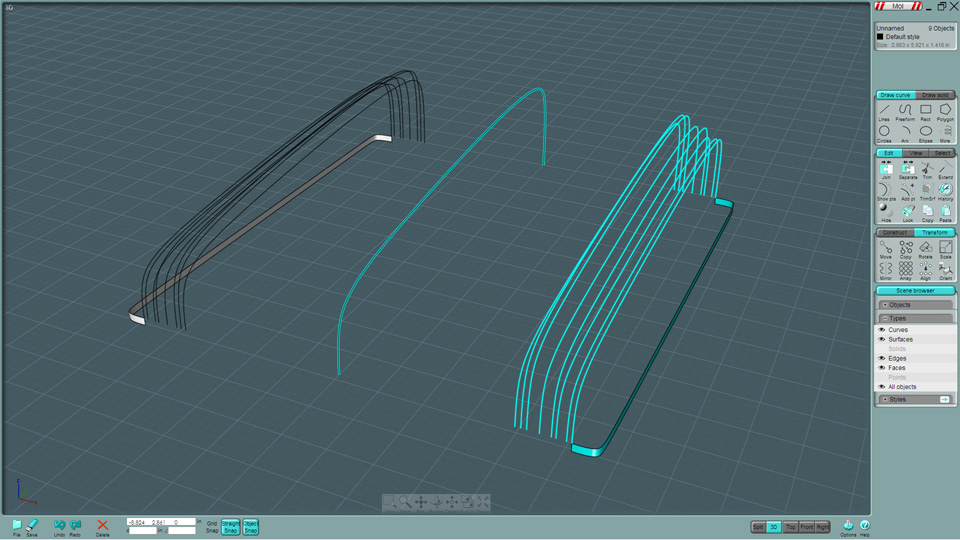
Select each profile in exact succession. Then perform a Loft. (Normal Mode if you like.)
When I lofted from the two profiles that are laying prone on the sides, it bunched up in the corners.
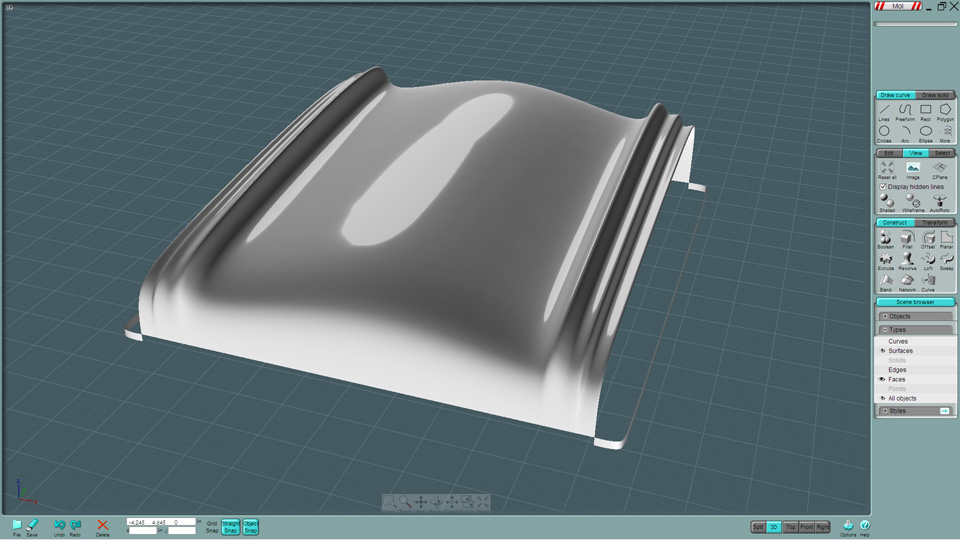
So I extruded those profiles and used the extrusion to perform a Blend, matching them to the Loft surface.

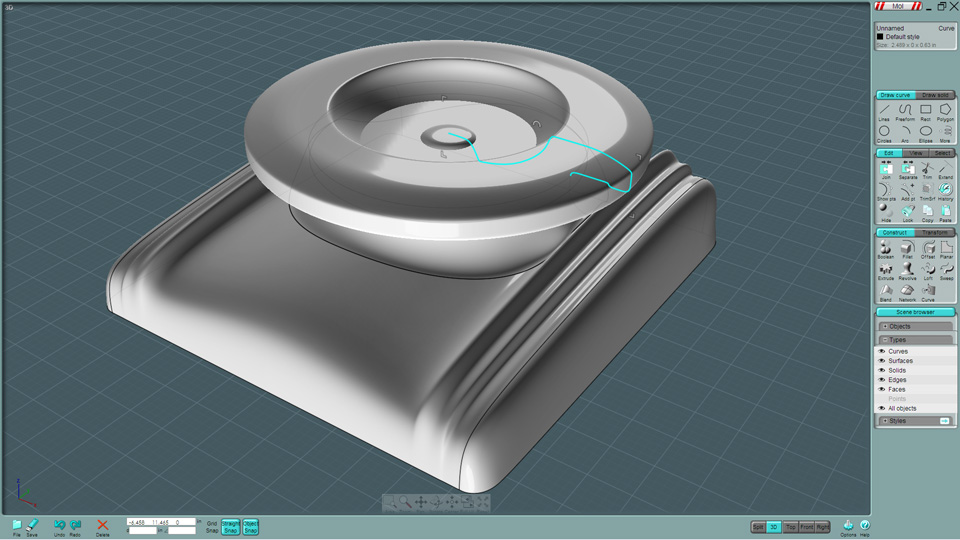
Made some circles... now to figure out how to work them into the very decorative body element.
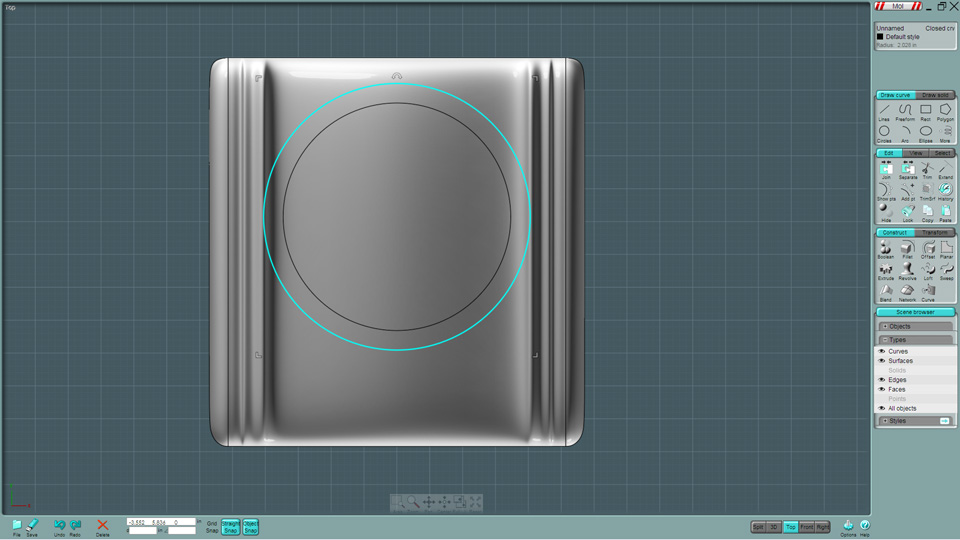
Projected outer circle into the body...
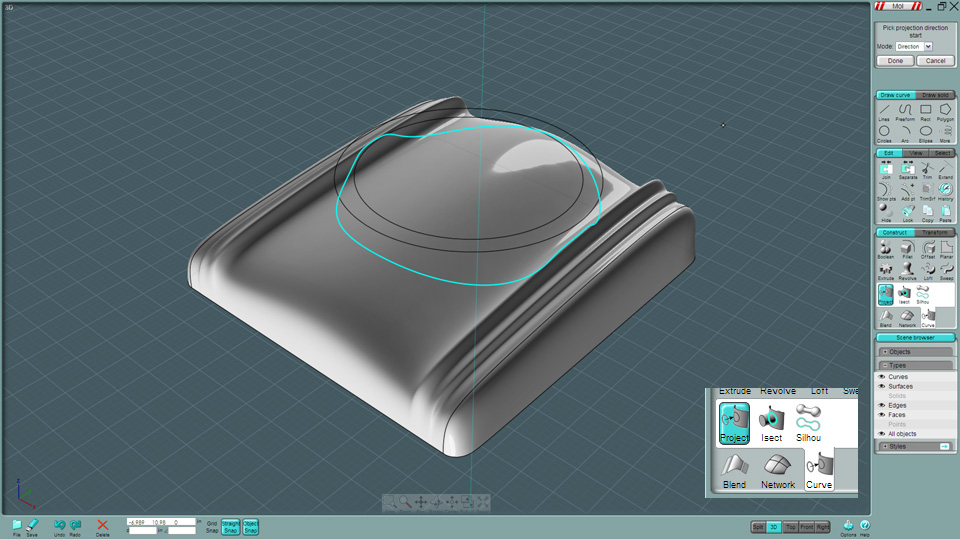
Trimmed it into the body and deleted the extras.
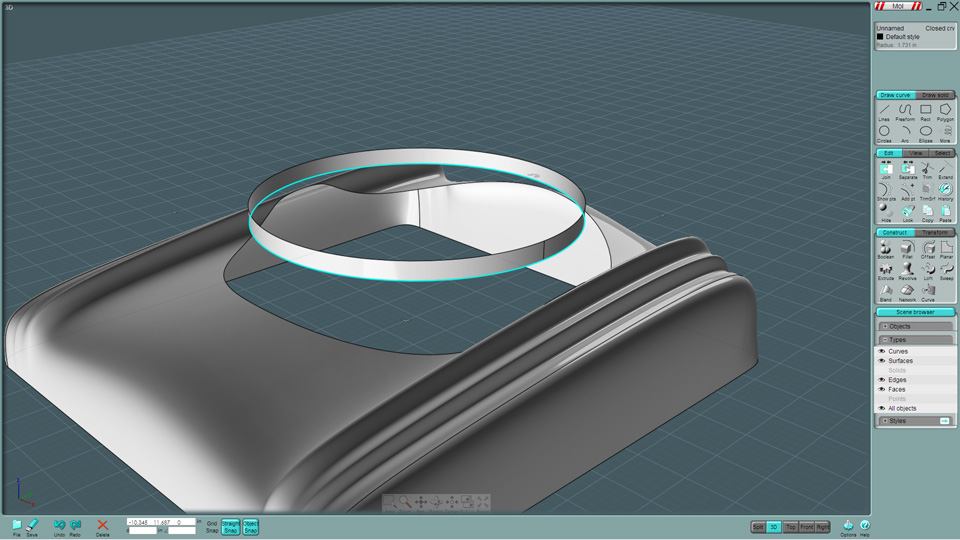
This worked the best - I extruded one of the circles and Blended the two surfaces.
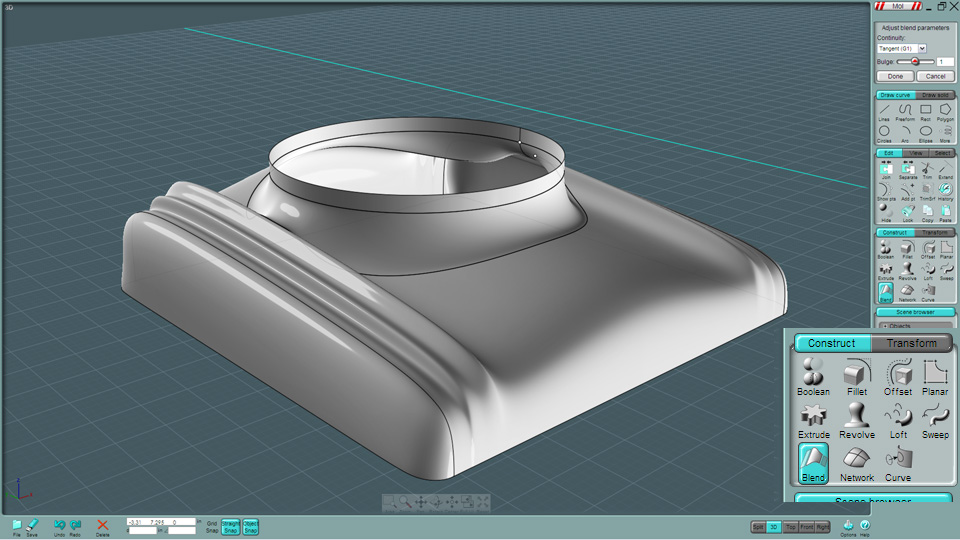
Made a neat looking profile to serve as a holder for the cooking element.
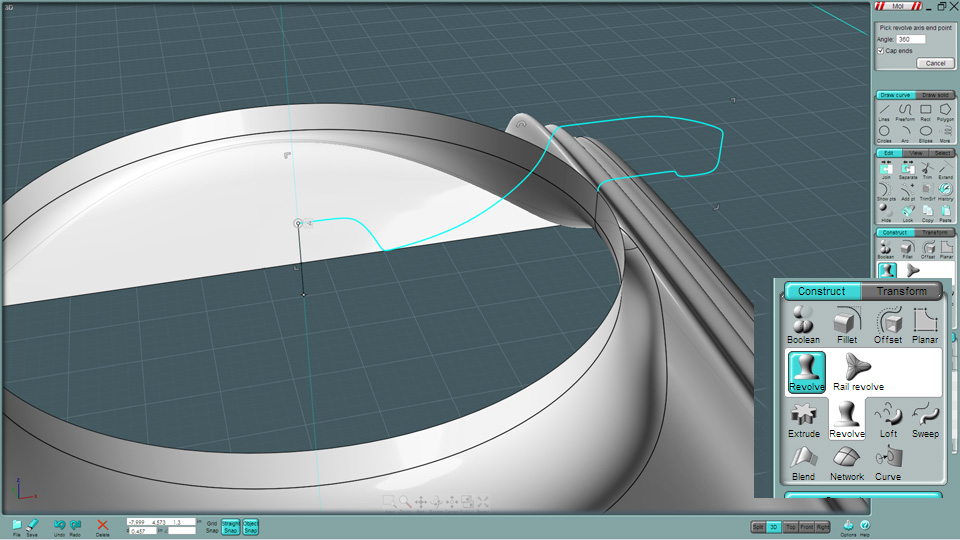
Revolved it...
Make a Flat Spiral.
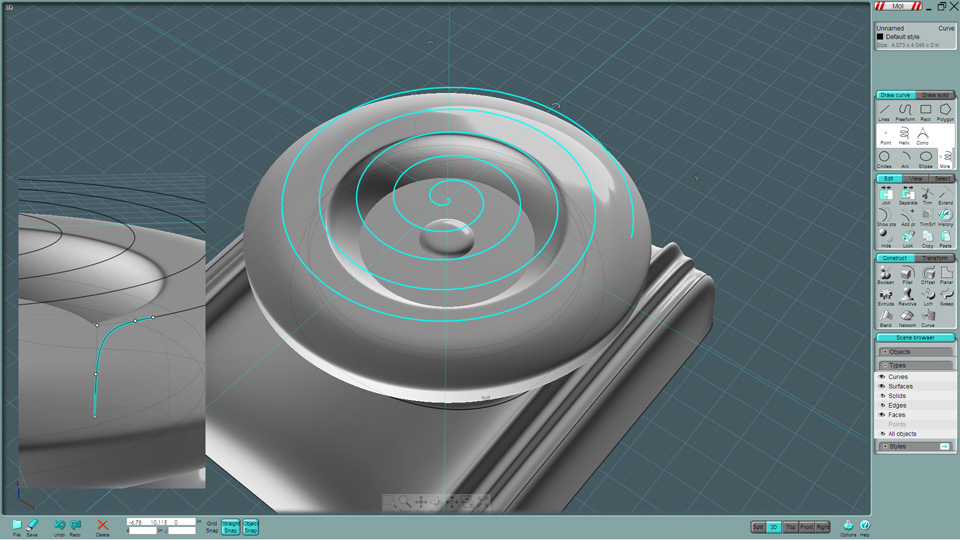
The heating element is generally a flat but rounded edge thing that is spiraled.
A Rounded Rectangle is used. Performed a Sweep but the result was twisted and angled funny, not flat - Made the Twist mode is "flat", but in this mode,
the curves that dive into the cook-top surface force the sweep result to pinch flat in those areas.
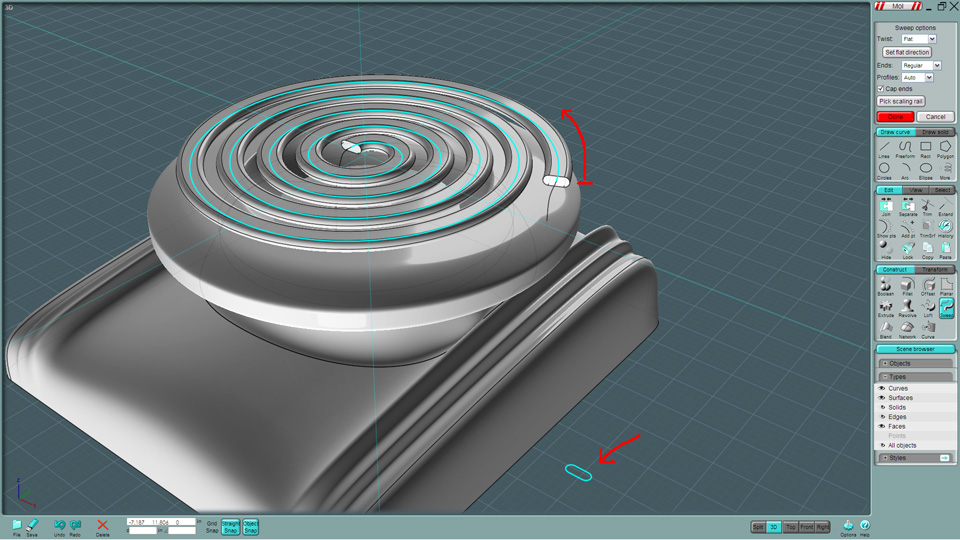
The best thing to do was to run the sweep just on the spiral curve itself and a separate Sweep off the end curve sections with the profile made from the end of the first Sweep itself -
Those done in Normal Twist mode.
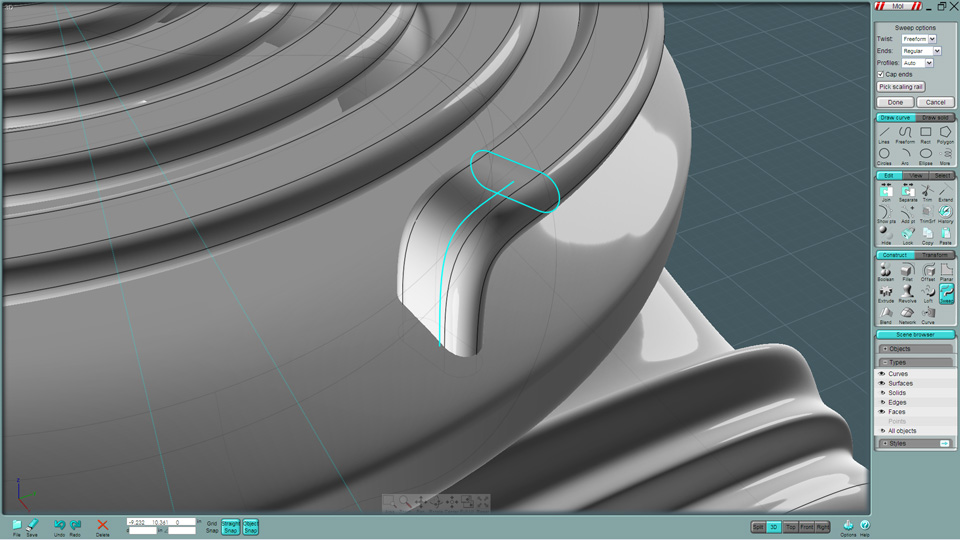
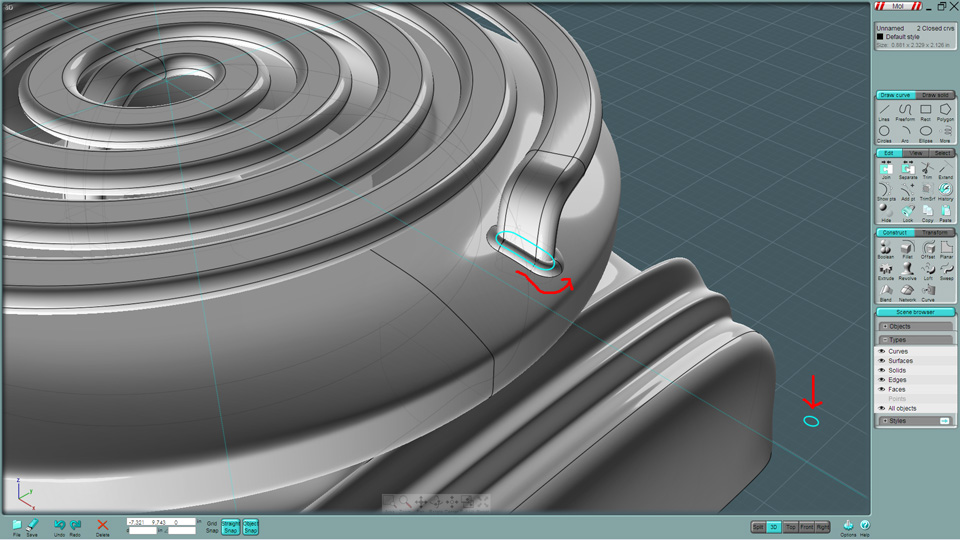
Needed some way to connect the heating element to the cook-top. A metal grommet would do.
First, get a profile that is an intersection between the element shape and the cook-top surface.
Those of you experienced with MoI's Boolean tools know, that the tool that you think is the one that should work, often isn't.
I had to try each of the tools; Trim, Merge, Intersect, etc... until I found one that deleted the heating element sweep object (not expected), but luckily, it left some objects
I could use for the path curve. Copied them and did and Undo so that I could paste the curves back to the model to use as a path for a small circle - to be swept on the path.
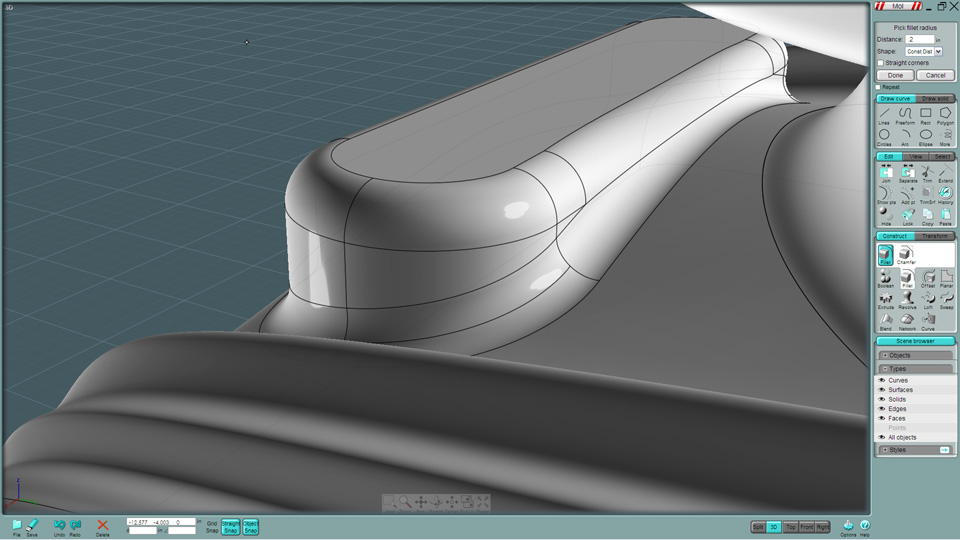
Need some simple controls... A Rounded-corner Rectangle.
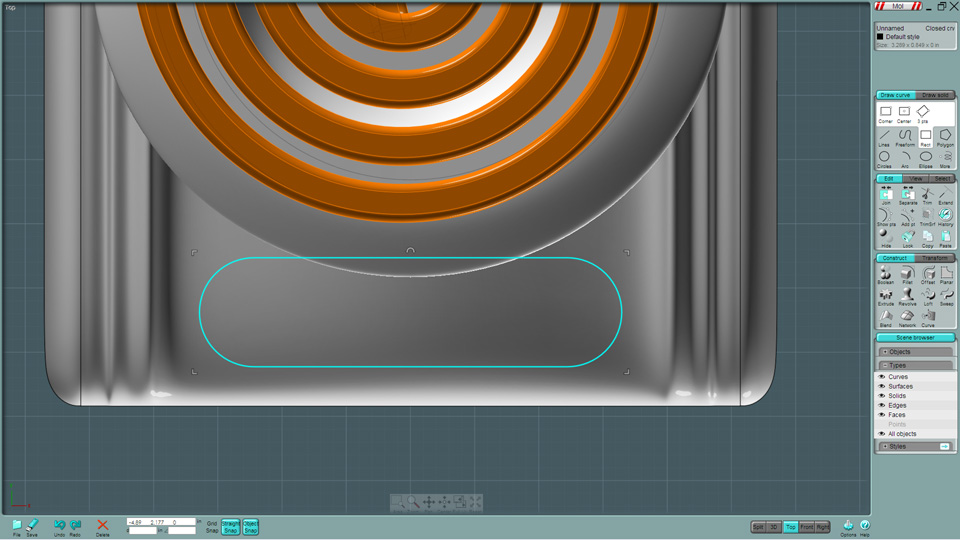
Extrusion...
Fillet it... This fillet was too large and did something unwanted.
This is where the future "Variable Fillet" would come in very handy.

At this point, you must do some problem solving to discover what is both possible and what can be fixed after the fact using other tools.
I had to make the Radius smaller on the Fillet.
The top surface needed a fillet also. You can sometimes perform both fillets simultaneously to work two edges that are close together.
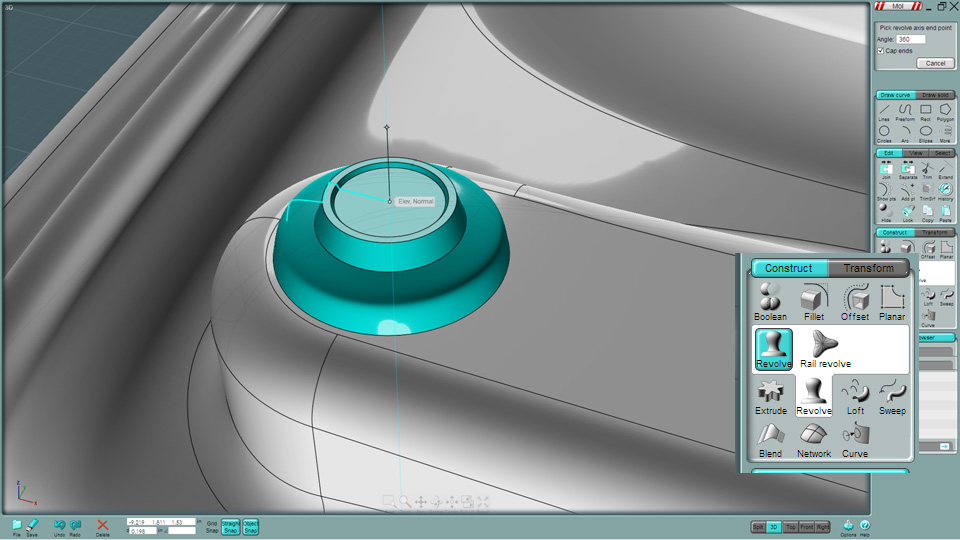
Made an indicator light from one Revolve of a profile.
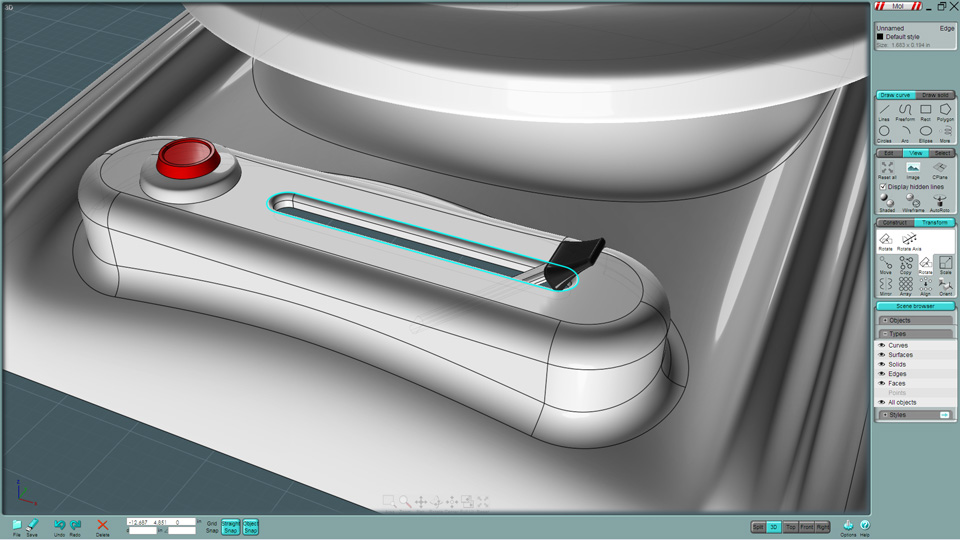
Added a lever...
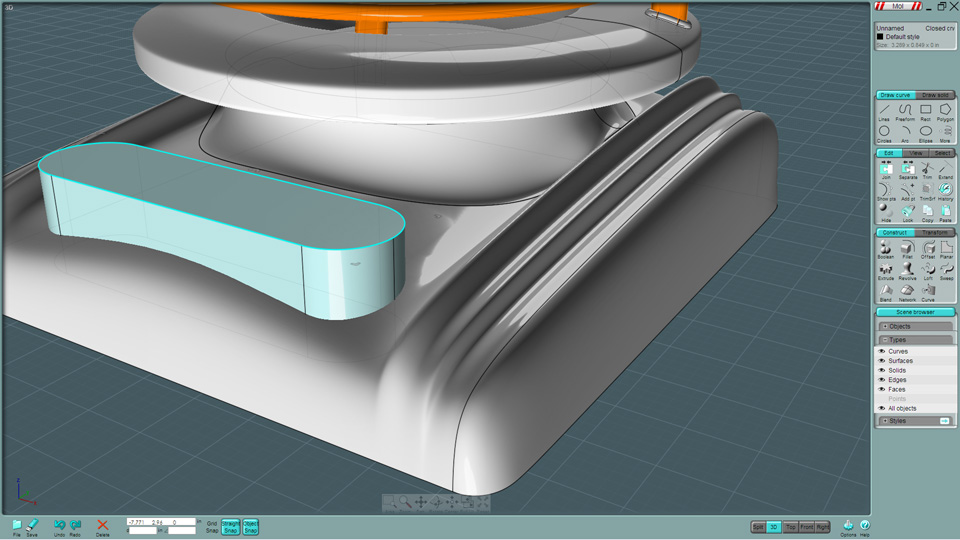
For the lever knob I made a rounded rectangle, and a copy of it a little ways above.
I put a path line in the middle and Swept the two shapes together.
A nice swooping shape was given to it via a Scaling-Rail on the broad side.
Added a bottom surface and made some feet.
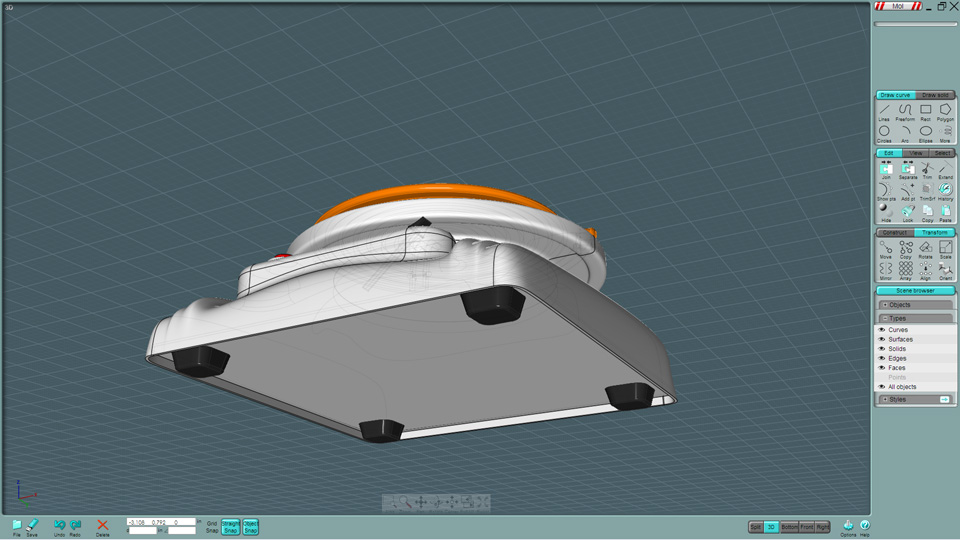
Here it is!...
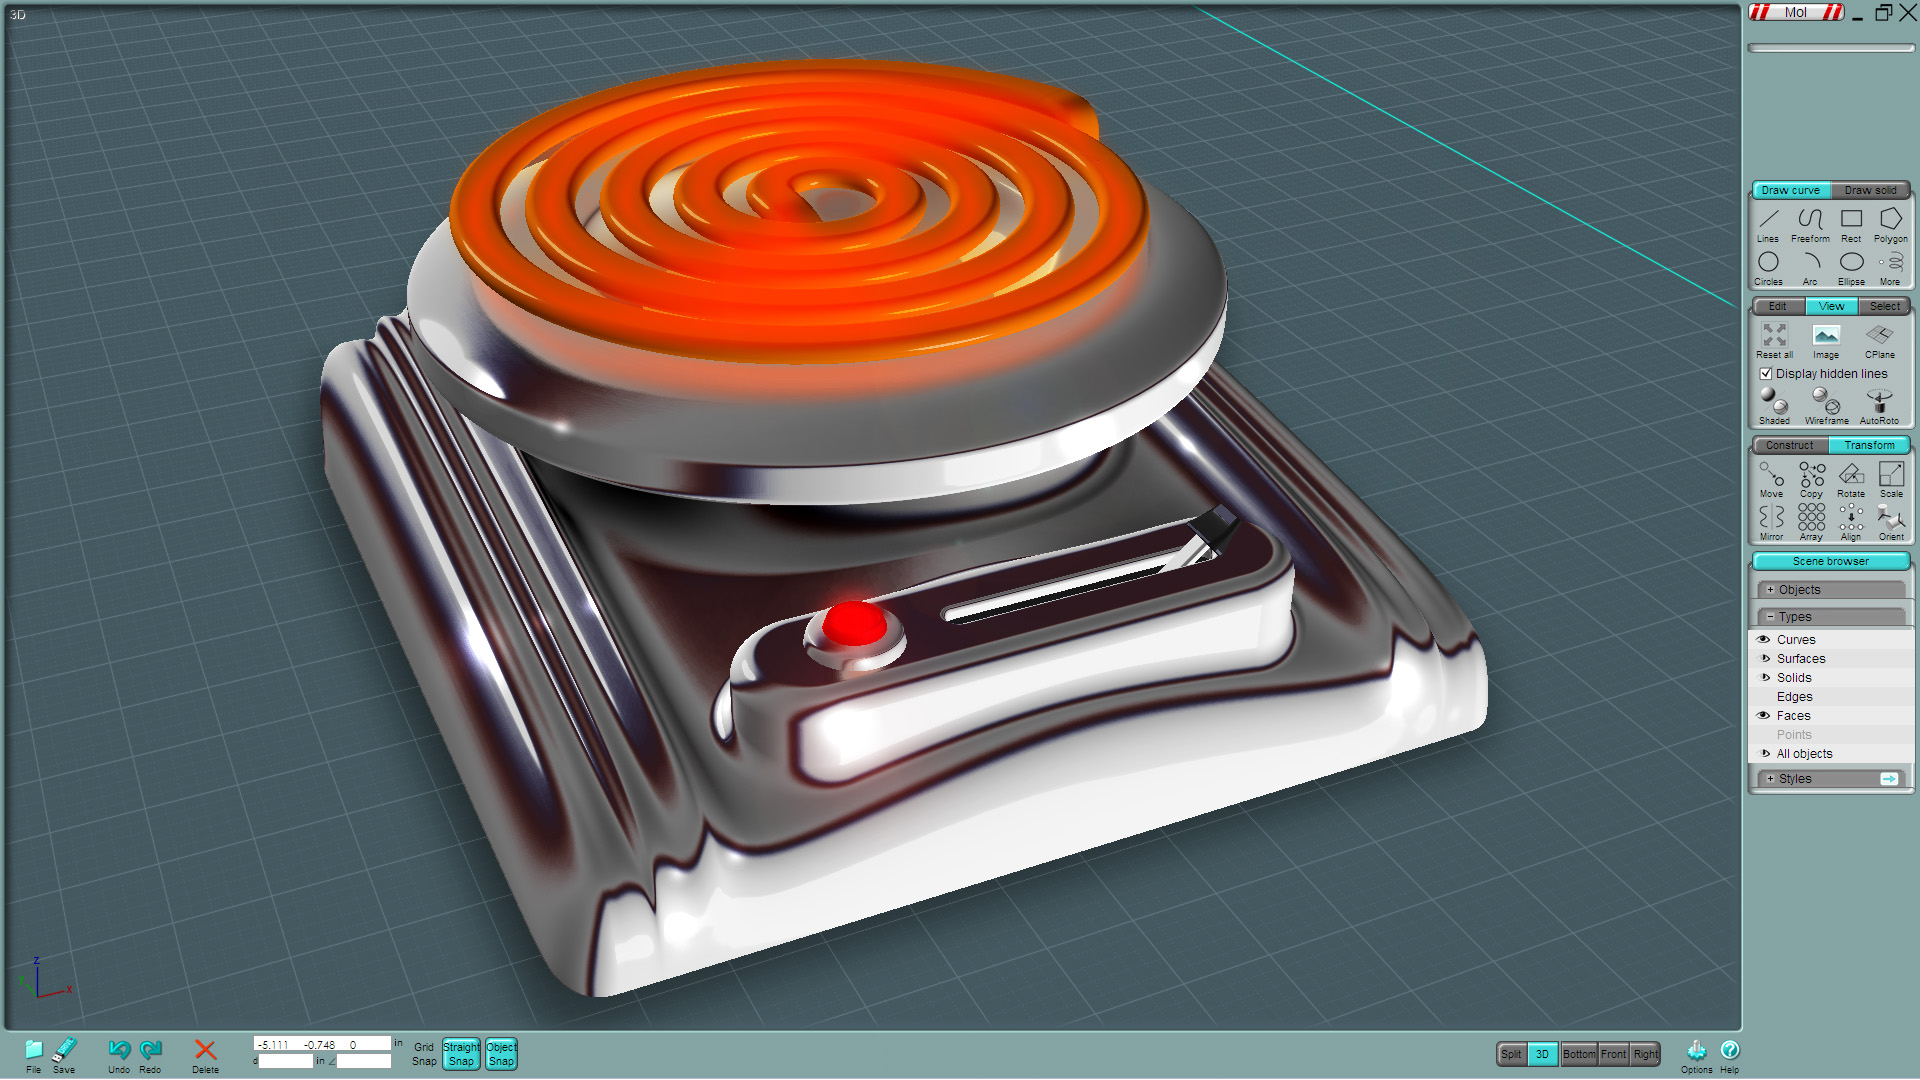
Just for fun, I added a chrome effect in Photoshop using Select Color Range and adjusted Curves in a haphazard way to create the banding that gave the default white surface the chrome look..
Added some glow effects and a little extra lighting and shadow...
But of course - a render would work great too.