Offset holes / bolean / AUTOMATION IDEAS....
 1-7  8-27  28-33

Previous
Next
 From:  Larry Fahnoe (FAHNOE)
9929.8 In reply to 9929.5 
Hi Stefano,

Okay, so to avoid drawing the cutting object you have imported it from another source. What about considering the Transform Scale command to create the necessary clearance (offset)? Scale 2D would seem to work for round or square cutting objects (symmetrical about the primary axis). The command asks for a scale factor rather than a clearance dimension or offset, so a little math is required to provide that. I don't think a 2D scale would create a proper thread form, though a 3D scale might.

Once the cutting object is scaled to include the desired clearance (offset), then it would be straightforward to locate (Move, Copy, Array) the cutting object on the part and use Boolean Diff to cut the necessary hole.

Depending upon the desired outcome of the model (construction drawing or rendering), you could then either dimension or put the original (un-scaled) cutting object in the hole(s).

While a script could be written to handle scaling the simple cases, if you need more complex forms or controls, I suspect you're asking MoI to go beyond its intended function.

--Larry
  Reply Reply More Options
Post Options
Reply as PM Reply as PM
Print Print
Mark as unread Mark as unread
Relationship Relationship
IP Logged

Previous
Next
 From:  stefano (LIGHTWAVE)
9929.9 
Hi Michael,

I totally agree the shape is complex in its composition but
overall the shapes (outline) is simple. I originally posted this to the forum because I do come from
a 2d background and can of course visually work around this problem without
making any holes; which is what i did on my 1st model. It was absolutely
amazing i could pass a screw through a solid piece of metal without drilling it ;o).

Jokes aside; I am likely using 3d for the 1st time to see what i might be manufacturing
before I make it. I usually do have to build it or get small details signed off by clients
or my structural engineer. I really don't want to be drawing too many objects that just get
'trashed' or welded into other solids. I guess over time we can all have libraries of
parts but I am not that sort of cad-geek. More into 'ideas' and 'workflow'
probably what attracted me to MOI3d many many years ago.

My conclusion is...
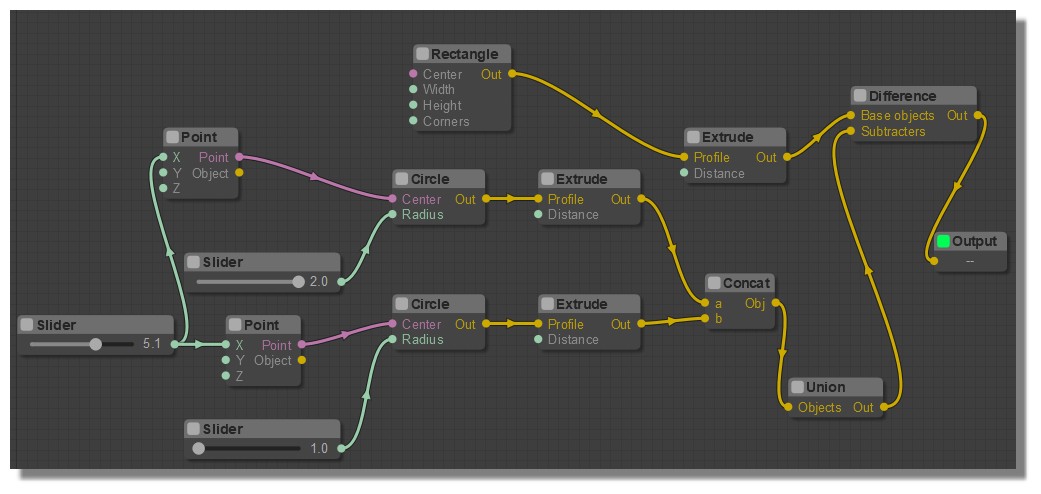
Simple machine screws or making the hole outline must be easy as creating
a 2 cylinder object as Larry was indicating but that is not why I posted
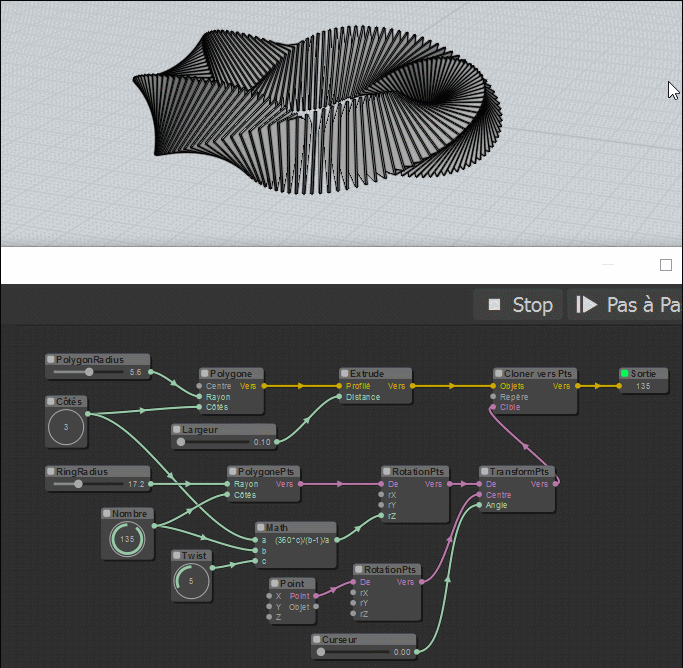
the simplest of examples in the 1st place. Perhaps a tool to 'loft' 2d to 3d
takes care of complex shapes which is where I think Pilou was coming from.

Eitherway, I was hoping there might be a function that could detect edges
of simple 'component outlines' and use this as an offset path.
We are always talking about simple shapes here and thru holes with perhaps
one angle to worry about on countersunk screws. Thats all.

I am quite interested in how to do scripts or use them but don't have
the skill (or time really) to dive that deep at moment. I am still thinking
a macro/script idea to point and click these hole features would be a very
nice idea and likely pretty original...In this instance...

Here is my example of the 'hole macro'

----------------
> Create shape/object/part/label name: "FISCHER 8x100 - 1"
> Pick hole centre point(s) in solid surface face(s).

SOLID PART 'CUT' DATA (material removal):
1. create hole lengths: 100mm
2. through hole diameter: 8.5mm
---
THEN: counterbore or csunk detail:
3. Place head diameter hole: 12mm (on front surface).
4. AND rebate #3 down to head height: 4mm
allowing for 5: inclusive Head angle: 80-100degree (or simple COUNTERBORE).

6. Create 2 copies of shape, trash one (on the weld) put other in hidden MOI3D
layer (use the object name above).

DONE.
------
Please note subconsciously, I might have got this 'macro' or workflow idea from
how they annotate drawings to ISO/ANSI standards.
There is seemingly only 3 main types of holes for screws.
Passthru, countersunk, countebore. All very basic.

https://mae.ufl.edu/designlab/Online%20Resources_files/fastener_handout.pdf
> See PAGE 9 please <

---------------

Thanks for your input and considerations!

--- Stefano
Image Attachments:
Size: 215.7 KB, Downloaded: 18 times, Dimensions: 888x522px
  Reply Reply More Options
Post Options
Reply as PM Reply as PM
Print Print
Mark as unread Mark as unread
Relationship Relationship
IP Logged

Previous
Next
 From:  stefano (LIGHTWAVE)
9929.10 In reply to 9929.8 
thanks Larry, i've noted that but i need to relate to the functions another day...
is there any videos on how to do these particular functions you mention the best manual way?
I also listed how basic (and powerful) I think a 'hole' macro 'could' or should be. Tx Stefano
  Reply Reply More Options
Post Options
Reply as PM Reply as PM
Print Print
Mark as unread Mark as unread
Relationship Relationship
IP Logged

Previous
Next
 From:  Michael Gibson
9929.11 In reply to 9929.9 
Hi stefano, well there is a method for generating an outline, it's the Construct > Curve > Silhouette command. But it generates an outline based on a viewing direction. If your shape was symmetrical then maybe something like generating a silhouette of the side and revolving it could work. But just your first example shape there is not symmerical, it's got these pieces sticking out the sides:


- Michael
Attachments:

  Reply Reply More Options
Post Options
Reply as PM Reply as PM
Print Print
Mark as unread Mark as unread
Relationship Relationship
IP Logged

Previous
Next
 From:  stefano (LIGHTWAVE)
9929.12 In reply to 9929.11 
Hi Michael,

Correct me please if I am wrong...doing this by script is clever but manually (for now) it might be best done like this...

1. Countersink head part; we just use concentric / 'lofted' circles representing the back of the countersunk part to create:

male solid 1 ( with clearance )
for the 'plug head seat'(!!!)
E.g. top-down: 1st circle 12mm dia 2nd dia circle 8.5mm, spaced apart ~4.5mm becomes the male "cone" shape...

Solid 2
The main shaft as I indicated in my preferred macro approach can just be 8.5mm diameter 'rod/cylinder' or what later becomes a pass thru hole at 8.5mm x 100mm length.

We then join 1 and 2 together so the cone and the rod become a united clearance shape...Then bolean into the "block"...and the male solid does its job...

!!!
In this particular example please note this plastic plug simply passes
through and is seated in a piece of solid aluminium (say 20mm depth). It sits inside the aluminium fairly snugly, then what protrudes (about 80mm) goes into a wall.

The screw head will sit flush with the front surface face of the aluminium.

I hope its that simple.

If I could have a video of these functions in context it would really help get me making this object to an almost perfect and realistic drawing....

I will post the results here ;0)

Stefano
  Reply Reply More Options
Post Options
Reply as PM Reply as PM
Print Print
Mark as unread Mark as unread
Relationship Relationship
IP Logged

Previous
Next
 From:  Frenchy Pilou (PILOU)
9929.13 
These pieces are not yet existing here ?
some have their 3D Cad yet made that you can free download...
https://www.mcmaster.com
  Reply Reply More Options
Post Options
Reply as PM Reply as PM
Print Print
Mark as unread Mark as unread
Relationship Relationship
IP Logged

Previous
Next
 From:  fcwilt
9929.14 
In relation to this topic does anyone know of a way to export from OpenSCAD and import into MOI?

The nature of OpenSCAD makes it simply to create "tools" to generate objects that are similar in shape but vary in dimensions.


Anyway back to MOI.

Creating a library of shapes may not appeal to some but it is easy to do. Revolving a profile can create many of the required shapes.

I may spend hours and hours working on a project so spending a few minutes to add a new shape to my library doesn't seem a such a chore.

A given fastener may have single CAD model but there may be a good deal of variation in the "hole" needed for the fastener so I cannot (yet) envision an easy way to use the CAD model as a template for the "hole".


Interesting discussion. Looking forward to see where it goes.

Thanks.

Frederick
  Reply Reply More Options
Post Options
Reply as PM Reply as PM
Print Print
Mark as unread Mark as unread
Relationship Relationship
IP Logged

Previous
Next
 From:  stefano (LIGHTWAVE)
9929.15 In reply to 9929.13 
Hi Pilou, yes McMaster is a great resource nonetheless they will not have that plug shape,
which was the best 'reference' example I could have provided as that is for a real job
(and on my 1st MOI3D model).

BR Stefano.

PS. 2D DXF Attached for anyone looking to show me (ideally by a video) how they would do it from 2D...

  Reply Reply More Options
Post Options
Reply as PM Reply as PM
Print Print
Mark as unread Mark as unread
Relationship Relationship
IP Logged

Previous
Next
 From:  stefano (LIGHTWAVE)
9929.16 In reply to 9929.14 
Hi Fred,

this might be one route worth exploring...

https://en.wikibooks.org/wiki/OpenSCAD_User_Manual/STL_Import_and_Export

by posting to or reading this page:

http://moi3d.com/forum/messages.php?webtag=MOI&msg=7046.2


"
7046.2 In reply to 7046.1
As exist some OBJ importers for Moi, that should be not difficult to import it ! ;)
http://moi3d.com/forum/get_attachment.php?webtag=MOI&hash=1672dd45da321f51513d74216e78cd7b&filename=importObj.zip
by Max Smirnov

The free MeshLab can convert STL in OBJ
http://meshlab.sourceforge.net/

then you can use the subdivider by Max Smirnov again ;)
http://moi3d.com/forum/index.php?webtag=MOI&msg=6674.82
"
  Reply Reply More Options
Post Options
Reply as PM Reply as PM
Print Print
Mark as unread Mark as unread
Relationship Relationship
IP Logged

Previous
Next
 From:  Michael Gibson
9929.17 In reply to 9929.12 
Hi stefano, yes if I understand you correctly using circles at different stations and doing Loft could create the type of shape you want.

The other way you can make cylindrical type shapes is by having a 2D profile and using Construct > Revolve.

That looks like this - if you have a 2D profile like this:


You would select it and run Construct > Revolve and when it asks you to pick the revolve axis start and end points you would pick 2 points running down the center line like this:


That then would make a result like this:


- Michael

  Reply Reply More Options
Post Options
Reply as PM Reply as PM
Print Print
Mark as unread Mark as unread
Relationship Relationship
IP Logged

Previous
Next
 From:  Michael Gibson
9929.18 In reply to 9929.14 
Hi Frederick,

re:
> In relation to this topic does anyone know of a way to export from OpenSCAD and import into MOI?


That will probably be difficult because OpenSCAD outputs faceted triangle mesh geometry, it doesn't make NURBS surfaces like MoI uses for modeling.

- Michael
  Reply Reply More Options
Post Options
Reply as PM Reply as PM
Print Print
Mark as unread Mark as unread
Relationship Relationship
IP Logged

Previous
Next
 From:  Frenchy Pilou (PILOU)
9929.19 
About automation...
You have also the Nodal Elephant by Max Smirnov
Elephant Repository: French / English https://moiscript.weebly.com/biblio-elephant.html

With only one model you can elaborate some others with any variations embeded!

---
Pilou
Is beautiful that please without concept!
My Moi French Site My Gallery My MagicaVoxel Gallery
  Reply Reply More Options
Post Options
Reply as PM Reply as PM
Print Print
Mark as unread Mark as unread
Relationship Relationship
IP Logged

Previous
Next
 From:  Barry-H
9929.20 
Hi,
perhaps creating an object library may help.
I made a Cap Screw Library for M3 to M12 with hole cutters as shown in Gif.
Create a drawing of whatever fittings you use and import.
Hope this helps.
Barry


EDITED: 10 Mar 2023 by BARRY-H

  Reply Reply More Options
Post Options
Reply as PM Reply as PM
Print Print
Mark as unread Mark as unread
Relationship Relationship
IP Logged

Previous
Next
 From:  stefano (LIGHTWAVE)
9929.21 


Hi Michael - many thanks for revolving my head onto a simple outline to cylinder shape
function with REVOLVE. The contour was done manually (top view trace) in MOI3D and i think i got
the points pretty 'spot on'. I do have other ideas for getting outlines; more on that later.

Hi Pilou - in fact the post was conceived when i'd already seen some info on Node Editor.
I am always interested in workflow, less interest in drawing with mice ;o).
I was hoping Max might pop his head here one day...i am very interested to try out the node editor one day ( perhaps one for later and step by step ;o).

Hi Barry, component libraries are of course way to go for standard components.
I often like to see the main ways to do things and sometimes I enjoy working 'on the fly'. Thanks for the giff!
I think someone should do a tutorial on guidelines. I found construction lines even with that script a bit fussy or confusing.
Likewise would love to see how you could manually place the components (by co-ordinates) - perhaps if the origin was
temporarily moved to top material face centre or the part is put face down/flat on a 2d plane to start with.

thanks all again!

EDITED: 1 Sep 2020 by LIGHTWAVE

Attachments:

Image Attachments:
Size: 65.2 KB, Downloaded: 14 times, Dimensions: 435x705px
  Reply Reply More Options
Post Options
Reply as PM Reply as PM
Print Print
Mark as unread Mark as unread
Relationship Relationship
IP Logged

Previous
Next
 From:  wayne hill (WAYNEHILL5202)
9929.22 
Another method of creating a counterbore with the Node Editor.

EDITED: 17 Jan 2021 by WAYNEHILL5202

  Reply Reply More Options
Post Options
Reply as PM Reply as PM
Print Print
Mark as unread Mark as unread
Relationship Relationship
IP Logged

Previous
Next
 From:  Frenchy Pilou (PILOU)
9929.23 In reply to 9929.22 
...and the image of the code Nodes above for give ideas! ;)

  Reply Reply More Options
Post Options
Reply as PM Reply as PM
Print Print
Mark as unread Mark as unread
Relationship Relationship
IP Logged

Previous
Next
 From:  stefano (LIGHTWAVE)
9929.24 In reply to 9929.22 
Hi Wayne, that looks nice and powerful must test this later - time permitting! BR Stefano.
  Reply Reply More Options
Post Options
Reply as PM Reply as PM
Print Print
Mark as unread Mark as unread
Relationship Relationship
IP Logged

Previous
Next
 From:  fcwilt
9929.25 In reply to 9929.18 
Hi,

Thanks for the feedback regards OpenSCAD.

From some of the additions I've seen posted here what I was thinking of is certainly doable, just takes a deeper understanding of MOI.

Frederick
  Reply Reply More Options
Post Options
Reply as PM Reply as PM
Print Print
Mark as unread Mark as unread
Relationship Relationship
IP Logged

Previous
Next
 From:  ed (EDDYF)
9929.26 
I use MoI to design parts for 3D printing - Everything from fixtures to electronic enclosures to CNC machine components. Clearance is a big consideration as nobody likes having to drill or file parts to make them fit.

For bolt holes and heat-set brass inserts I use the method described by Barry above - That is, an object library of pre-defined "hole cutters".

For parts that fit together (example: a stepper motor boss fitting into a bracket hole) I normally enlarge the part (the motor) slightly by resizing it, perform the Boolean diff operation, then re-size the part back to its nominal dimensions. It would be cool to have a short cut key you could press just prior to a Boolean diff that would enlarge the resulting opening by a predefined clearance distance.

Ed Ferguson
  Reply Reply More Options
Post Options
Reply as PM Reply as PM
Print Print
Mark as unread Mark as unread
Relationship Relationship
IP Logged

Previous
Next
 From:  stefano (LIGHTWAVE)
9929.27 In reply to 9929.26 
Hi Ed, I am almost expert at revolving plug type fixings now :0)

I do like this mcad approach below, kinda what I explained before. ..
It's its from Ironcad, oops dont like its price...

it's like create part, save it in 'library' (or object layer¿), apply holes to selected surface / hole position(s)...

This is sort of tidy interface works but even a list of variables would be workable and cover basic hole types.


Well documented here:
http://www.ironcad.it/en/manuale/holes

Just ideas or doable?

Regards

Stefano

  Reply Reply More Options
Post Options
Reply as PM Reply as PM
Print Print
Mark as unread Mark as unread
Relationship Relationship
IP Logged
 

Reply to All Reply to All


Show messages:  1-7  8-27  28-33