Hi Lewis,
> I've tried with re-trimming but as soon as i delete edges on that power button shape i get complete
> mess of surfaces so even after flatten/re-trim it's nothing usable.
> This happens when I delete edges.
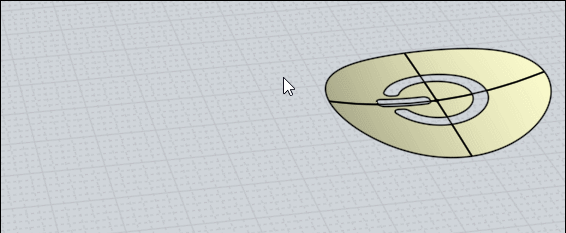
Yes, those are just the 5 surfaces that were underneath the faces. Why are they unusable for you? If it's confusing that they are overlapping, then try untrimming and retrimming just one at a time and hide the other ones while you work on each individual one.
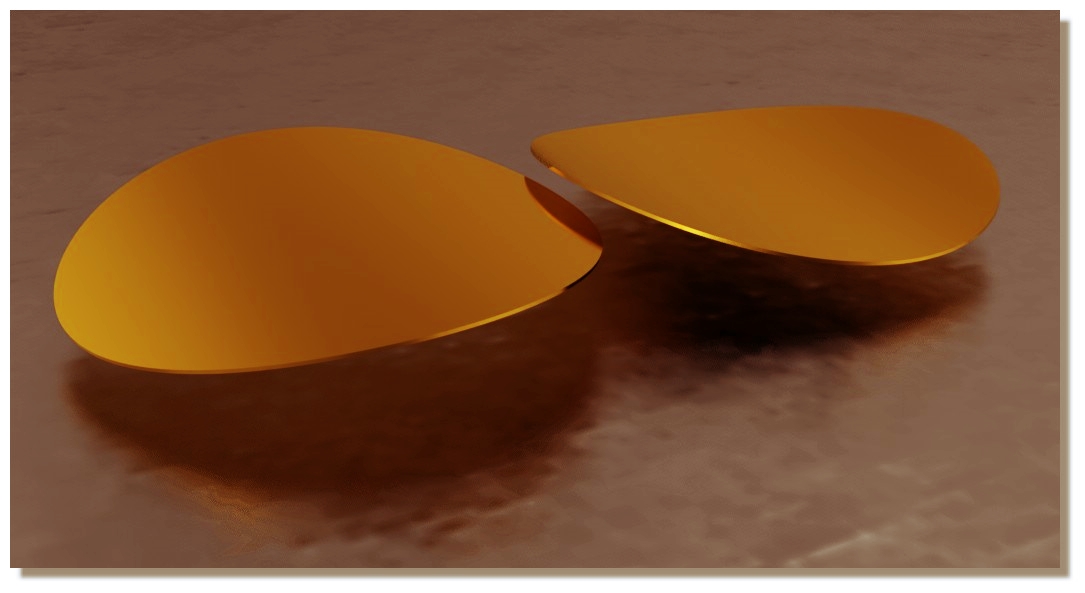
> As for Sweping, i tried that also but i get visible Seam in middle of one line when i try to export
> that to polygons (2nd attachment).
It looks like one of the curves you are using for the sweep is not smooth. If either the rail or the profile curve isn't smooth then the sweep will also not be smooth. A quick way to smooth out a curve made of 2 pieces is to turn on control points and delete the middle point. Or also select the center point and the 2 adjacent points and make sure they are all in a straight line, using either flat snap or Transform > Align.
If you still have any problems with the sweep please post the 3DM model file with the curves you're using.
- Michael
|