Removing Trim/holes
 1-15  16-25

Previous
Next
 From:  Lewis3D
8827.16 In reply to 8827.13 
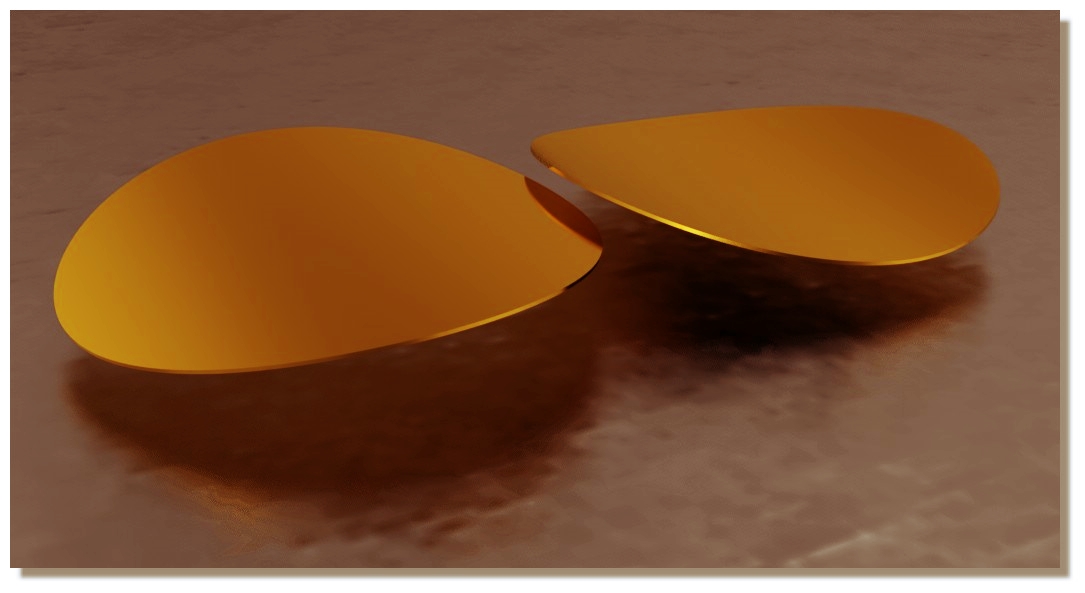
Thanks Michael, yes your file works fine, as for me not managed to do it by trimming, it is exactly what you say, many surfaces overlap each other so i hardly see/understand which part i'm trimming in that mess, i've tried by hiding all but one and then trim one by one by one but i can't say i got great result 'coz even after i trimmed all with outside circle and deleted outside excess areas i still have many overlapping surfaces with corners bending upwards so i've not known how to weld/merge them into that single flat nice surface you got (my screen-grab showing how surfaces are bending upwards=.

Luckily Marcos's solution worked so i managed to fix it with that technique.
Image Attachments:
Size: 203.1 KB, Downloaded: 12 times, Dimensions: 1944x1197px
  Reply Reply More Options
Post Options
Reply as PM Reply as PM
Print Print
Mark as unread Mark as unread
Relationship Relationship
IP Logged

Previous
Next
 From:  Michael Gibson
8827.17 In reply to 8827.16 
Hi Lewis,

re:
> (my screen-grab showing how surfaces are bending upwards=.

Those bending upwards areas are some additional areas that also need to be trimmed off - if you check out the file I posted I also drew in 2 crossing lines here:


Then you trim the surface and remove these areas:


Leaving this part:


- Michael

  Reply Reply More Options
Post Options
Reply as PM Reply as PM
Print Print
Mark as unread Mark as unread
Relationship Relationship
IP Logged

Previous
Next
 From:  Frenchy Pilou (PILOU)
8827.18 
<< and i always get visible seams or even holes after i try to export that to polys. Not even join or Boolean union helped to solve that.
<< Have you tried to check your version for OBJ exporting ?

Yes and Seems not seams! :)
I made a little thickness because render don't love only simple face! :)
Always free real time SimLab Composer Lite (max 1920 * 1080)

EDITED: 15 Feb 2018 by PILOU

  Reply Reply More Options
Post Options
Reply as PM Reply as PM
Print Print
Mark as unread Mark as unread
Relationship Relationship
IP Logged

Previous
Next
 From:  Lewis3D
8827.19 
Aha, i get it now how you did it Michael, you basically made 4 pizza slices and then it worked 'coz bending parts are removed. I forgot tot do that cross section trim so that's why i still had messy results.

PILOU - thanks for render test

cheers and thank you both for extra effort.

Lewis
www.ram-studio.hr
Skype - lewis3d

  Reply Reply More Options
Post Options
Reply as PM Reply as PM
Print Print
Mark as unread Mark as unread
Relationship Relationship
IP Logged

Previous
Next
 From:  mkdm
8827.20 In reply to 8827.18 
Beatiful!

Tks.

- Marco (mkdm)
  Reply Reply More Options
Post Options
Reply as PM Reply as PM
Print Print
Mark as unread Mark as unread
Relationship Relationship
IP Logged

Previous
Next
 From:  eddi
8827.21 In reply to 8827.1 
Hi Lewis,
>>I've tried recreating that surface with network
Attachment with layout for NetworkSrf (This eliminates polar uv layout)

-EDDI

  Reply Reply More Options
Post Options
Reply as PM Reply as PM
Print Print
Mark as unread Mark as unread
Relationship Relationship
IP Logged

Previous
Next
 From:  Lewis3D
8827.22 
Interesting approach EDDI, does it look same from side in quad view ?

And how did you split edges/curves at exact position, by trimming or there is faster way to split curve/edge ?

Lewis
www.ram-studio.hr
Skype - lewis3d

  Reply Reply More Options
Post Options
Reply as PM Reply as PM
Print Print
Mark as unread Mark as unread
Relationship Relationship
IP Logged

Previous
Next
 From:  eddi
8827.23 In reply to 8827.22 
>> And how did you split edges/curves at exact position
SplitHelper created with Multiiso script
http://moi3d.com/forum/index.php?webtag=MOI&msg=6841.3


Outer edge with > STRG + C > STRG + V > Join > Trim with AddTrimPoints at SplitHelper position and option keep.
Middle lines drawn with curve through points.

Result Old uv layout and new.

-EDDI

  Reply Reply More Options
Post Options
Reply as PM Reply as PM
Print Print
Mark as unread Mark as unread
Relationship Relationship
IP Logged

Previous
Next
 From:  Lewis3D
8827.24 In reply to 8827.23 
Good, that now has lot more sense and I understand how you did it :).

Thanks

Lewis
www.ram-studio.hr
Skype - lewis3d

  Reply Reply More Options
Post Options
Reply as PM Reply as PM
Print Print
Mark as unread Mark as unread
Relationship Relationship
IP Logged

Previous
 From:  eddi
8827.25 In reply to 8827.24 
Wink
-EDDI
  Reply Reply More Options
Post Options
Reply as PM Reply as PM
Print Print
Mark as unread Mark as unread
Relationship Relationship
IP Logged
 

Reply to All Reply to All


Show messages:  1-15  16-25