Hi friend, thanks for posting the extrude taper problem file.
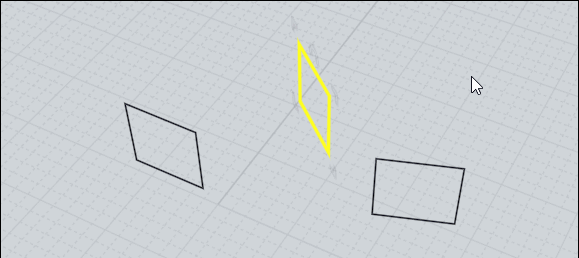
So yes that is caused by your polyline being fragmented into multiple segments. If you use Edit > Separate on it you should see that some of the areas that look like lines are actually 2 individual collinear line segments instead of just one single line:
I've attached a .3dm file where I've fixed those up to be single lines and if you do a tapered extrude on this one you shouldn't see that problem anymore.
I'll see about your fillet questions a little later on.
re:
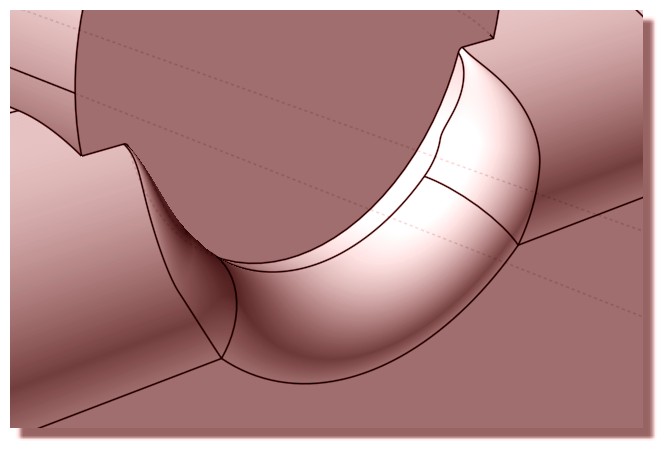
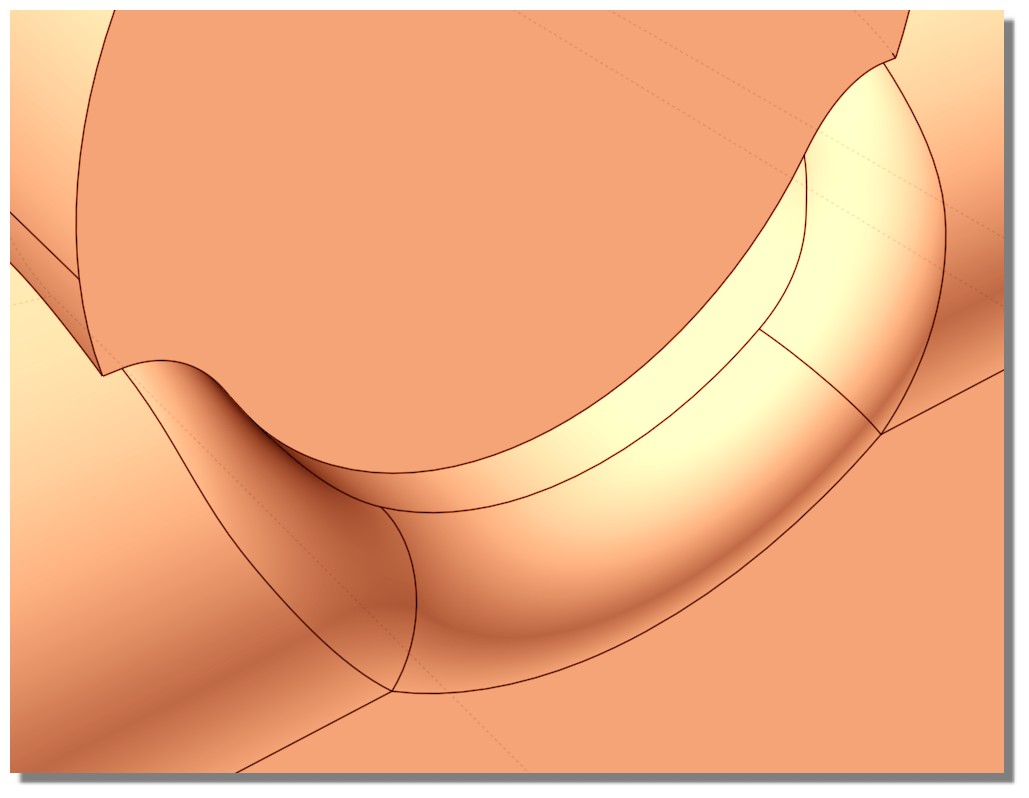
> I think the construction line is preventing the fillet from being larger.
Yes, that's correct that is a limitation in the fillet engine in the geometry library used by MoI.
> What I want to know is: can other programs solve this fillet or is
> this a universal NURBS fillet problem?
It's a pretty common limitation in fillet code that hasn't had say something like a minimum of 50 man years invested in developing it.
The sort of "top shelf" ones like ACIS and Parasolid can handle that one though. But they can also be more finicky about wanting quite precise geometry as well though.
>I've attached a .3dm file where I've fixed those up to be single lines and if you do a tapered extrude on this one you shouldn't see that problem anymore.
Hello Michael, what is the procedure you used to fix it?
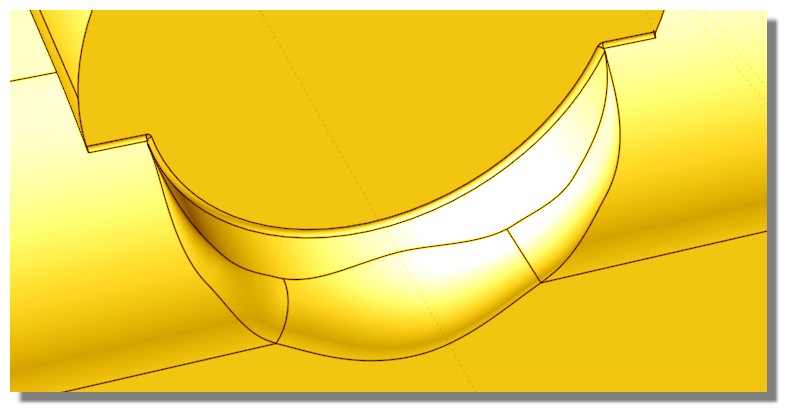
Frenchy, I have tried to do a variable fillet as you showed but the construction line still gets in the way. Why is the construction line not interfering in your MoI? Do you have some special plugin or did you fix it somehow?
re:
> Hello Michael, what is the procedure you used to fix it?
The process goes like this - select the polyline, then run Edit > Separate to break its segments into individually selectable separate curves. Select the pieces made up of 2 lines and delete them. Then use the Draw curve > Line command to draw in new lines, then use Edit > Join to glue it back together into one curve. You can skip the last join step if you want, the Extrude command will automatically join pieces together.
We can of course make the same with moi more speedy! ;)
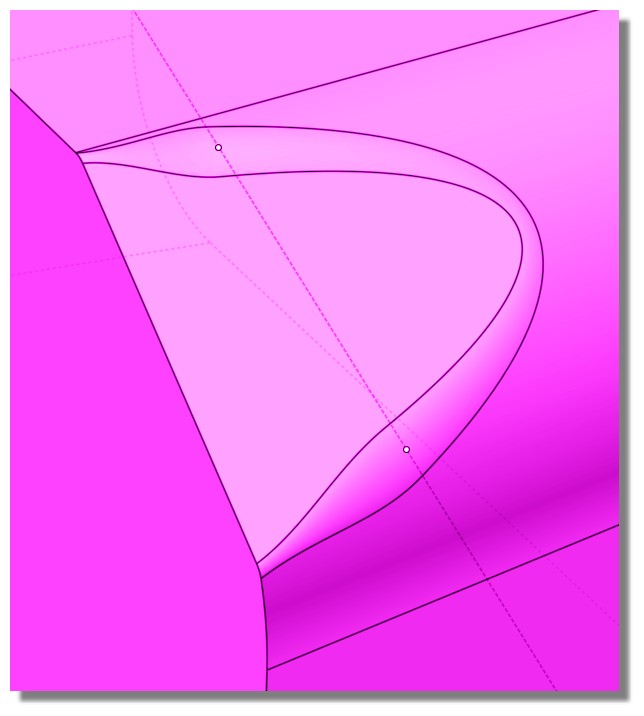
The helpers lines are just persistant during the use of the complete Fillet function as inside any other function
Rules for the Helper Lines in any function
Call any function
Press Left Click Mouse Button without release ...Move...release (=draw first Point)
Click Left Mouse Button without release ...Move...release (=draw second Point)
the helper line is drawn
etc...
This can be made BEFORE First click of the function, AFTER First click of the function, BEFORE Last click of the function!
As soon as you exit the function they disapears
(you have plugins for keep them but...http://kyticka.webzdarma.cz/3d/moi/#KeepCLine
As soon as an Helper Line is drawn you can see a little "white Tab"
go over it and press it with Left or Right Mouse Button 1 second for access to some functions for modify the helper Lines!
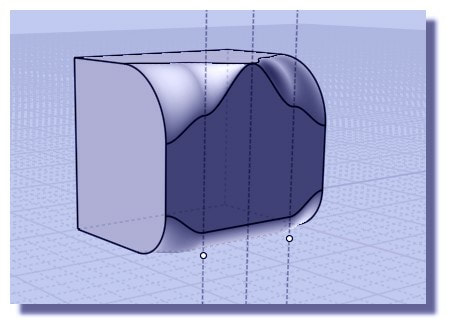
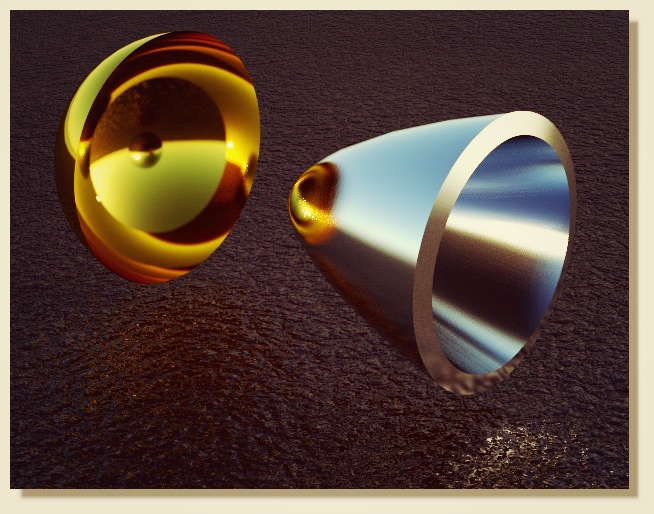
Hello, is there a way to have a tapered extrusion of a curved surfaces? If not, is there an easier and faster way to loft the edges of two curved surfaces than one at a time?
I created a sphere, a curve which I then filleted. I copied and pasted the sphere and used Trim on the copy and selected the curve and got a cut surface. I then made a copy of the surface and scaled it smaller and now I want to loft them together to make a solid and Boolean Difference the sphere.
Hi friend, the regular Extrude Tapered option only works on planar objects. To speed up your case there though you could use the Construct > Offset > Shell command.
To use that you can skip creating the second surface and the lofting, instead start with just one trimmed surface:
Then run Construct > Offset > Shell and give it a thickness. That will generate an offset surface which for a sphere will be a scaled sphere, and it will do a loft between the edges of the offset and the original for you, giving this result:
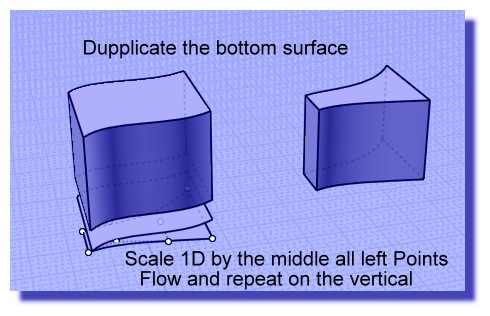
The vertical one (all that will be more easy when a Box deformation will existing! :)
(take all points except the vertical one on the right for make the 1D by the middle)
Normally you will have a sort of tapered volume of the original :)
Maybe there is more tricky but for the moment that is my speedy try! :)
In fact seems a Scale 2D Front then 2D Front Right gives a cool result!
Separate the volume so all faces are free
Show Points
Select only all Points on a 3D side (so the principal face don't be changed)
Make a Front Scale 2D from 3D middle center
Make the same value Right Scale 2D from the same 3D middle center
Join all
You have a tapered volume without Box Defomation!
I will com back with the good second scale ;)
because here there is a little error!
Hi friend, it's very helpful if you could please post the .3dm model file of your objects instead of only a screenshot.
For example in this case I would have been able to test with your objects and that may have helped me notice that you wanted a steeper angle result.
So yes Shell produces lofts that are aligned with the surface normals.
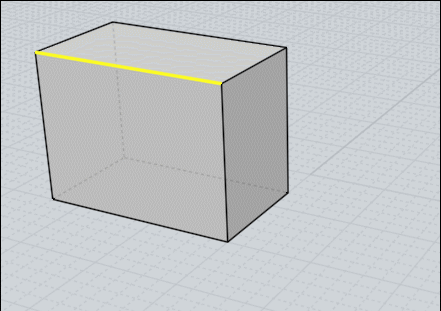
If you wanted to do Loft then a quicker way than doing Loft many times would be to use Edit > Join so you had 2 curves which each were made up of 8 segments. Then you can loft between those 2 joined curves. When there are the same number of segments in each curve that will be the equivalent of doing each loft individually between segments.
Another way that might be useful would be to make a planar tapered extrude and then beam that onto your sphere using projective Flow. Position the base plane for the flow a little ways inside the shape so that when it's projected the top surface doesn't try to skim directly along the sphere surface because that then makes for difficult booleans.
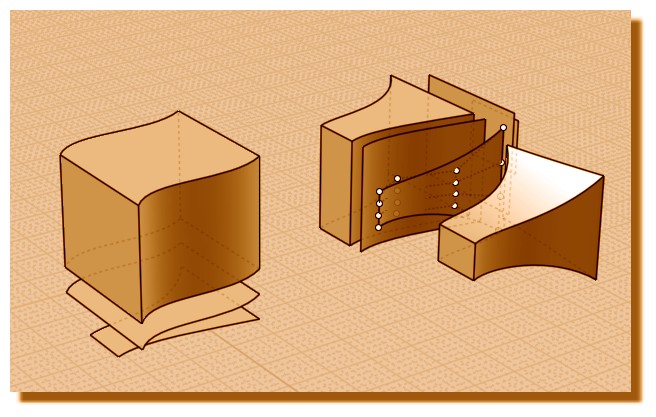
here I kill the Top / Bottom faces + one face of the no Tapered part (not indispensable - its just for see the internal volume :)
Separate
Show Points for easy selection of points who will "scaled"
Scale 1D on the Height by a middle
Scale 1D on the Width by a middle
Michael, thanks. Both of those solutions work excellently. Excuse me for not uploading a scene- I assumed that really simple things were easy enough to recreate.
If you scale an uneven curve a "flat" message will appear letting you know it is planar and can be used for Boolean and Trim but is there a way to flatten at an angle? I have a wavy surface, created a curve on it using surface snap but Trim and Boolean don't work. If I scale on an axis it will ruin the shape- I need it to flatten at an angle. Scene included.
Frenchy, I think I have recreated your gif but I can't get Network to work like you have.