thanks, but i think it is not in there and to answer your
question, no it is not a Reaction Diffusion pattern.
@PaQ in case you are still following this thread, can
you archive also an importable and smooth noise
pattern into MoI, like you have shown, when using
the Unified Noise examples 8 and 14?
If so then i think we all would very much appreciate how to
archive such a result, because if you look closely at the shown
examples they both are spikey in some areas too.
I have also now build PaQ's node set-up and Heightfields contain
also the flow and Perlin noise functions and i only must figure out
now how to get the initial result PaQ shows, because i have now
only nice smooth mountains like shapes but not the desired ones
like i had instantly with Unified Noise …
Anyways thanks a lot PaQ, your set-up should do the trick!
I hope you understand I'm not trying to patronize you, I'm actually very happy to see Houdini poping in this forum :)
The spikes are indeed a side effect (!) of having to much information in the noise, and not enough points to sample it precisely.
So here's a test using a quadball (it's easy to build with the ray operator, but you can also install the gamedev tools), and the the unified noise. I had to reduce the warp from 6 to 5.
You can also filter the noise using either a smooth operator, or an attribute blur one. I still prefer the old attribute blur, as is seems (for me) to do a better job on the spikes without removing too much details.
Beside, kudo to Michael for the sub-d importer, this baby has 1.5M quads :P (but only 6 surfaces).
An other solution is the sample the noise inside a vdb (voxel) sphere. You will get less spikes, but the topology is kinda weird and I don't think the sub-d importer will appreciate it.
To create the effect you are looking for, you can remap the noise with a sinusoidal ramp.
I don't think there is a way to <sin> the noise otherwise with the heightfield, but you can send elevation from HF the COP context, do the sin function on the noise, and bring the information back as an HF. (I can prepare a little setup for this if you are interested).
There are some nice functions in the HF toolset, like the "project from object", so you can bring any kind of geometry (text) to create bas-relief (?).
> I don't think there is a way to <sin> the noise otherwise with the heightfield, but you can send elevation from HF the COP
> context, do the sin function on the noise, and bring the information back as an HF. (I can prepare a little setup for this if
> you are interested).
Yes, please prepare such a set-up. It is so helpful to learn from pros like you!
I explored your technique more and also used the blur node, which gave great results
when using it with my first noise test.
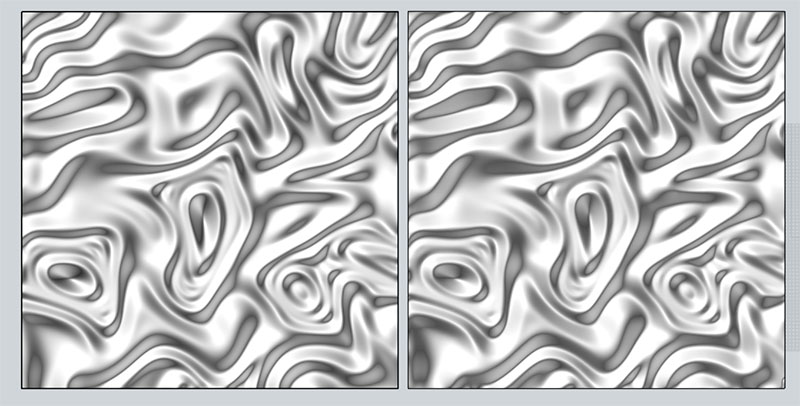
I think I will combine your technique with parts of mine, because my computer is
not the fastest. So what I did, I used your dense sample file and rendered a normal
map from it. Then Knald was used to generate the depth map. After that brought into
Photoshop to prepare the map for ZSurf. While the results are not 100 percent
identical I have now the same details and smoothness like your model has, with
the only (but important for me) difference that my file size is much much smaller.
Your sample on the left is 368 MB, while mine on the right is 2,71 MB.
[EDIT] Reduced the density to 0.8 and now your file is around 59 MB.
Will be fun if we can have such volumes as you show from any 2 D plan! :)
seems remember normal landscape builder prog can make that ...(not yet tested)
i think it should be possible if you use Kai Krause's good old
ChOps technique, for Photoshop, from the early 90's, or if
you use my technique NURBS shapes from shading.
here is a small example what one can do with Kai's technique in Photoshop.
I created the text "Cool Tools" with the HOBO font, blurred it and then used
Kai's technique. His technique makes so many variations possible that you
can archive very different looks, when using more ChOps (Channel Operations).
So here's a little setup that combine HF and COPS (Heightfield and image compositing).
I tried to add comments here and there.
The sub-d import method is probably overkill, especially if you want to get very dense detail.
I'm pretty sure it's possible to export an .igs nurbs surface directly from Houdini (but not with the apprentice :S). I will have a look at it today.
thanks a lot! Now this is very interesting to generate images from the mesh and then save them. :-)
Houdini is really amazing what one can do with it. Wish i had concentrated more on Houdini and not
on so many other apps …
@Mip Sorry about that, the links are sometimes inserted automatically from the free hosting provider
i use. If someone can tell me a better hosting provider i am all ears. I am currently using postimages.org.
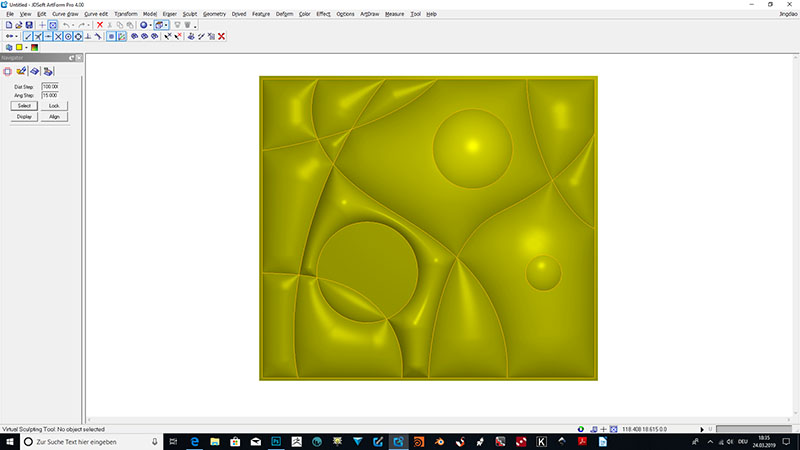
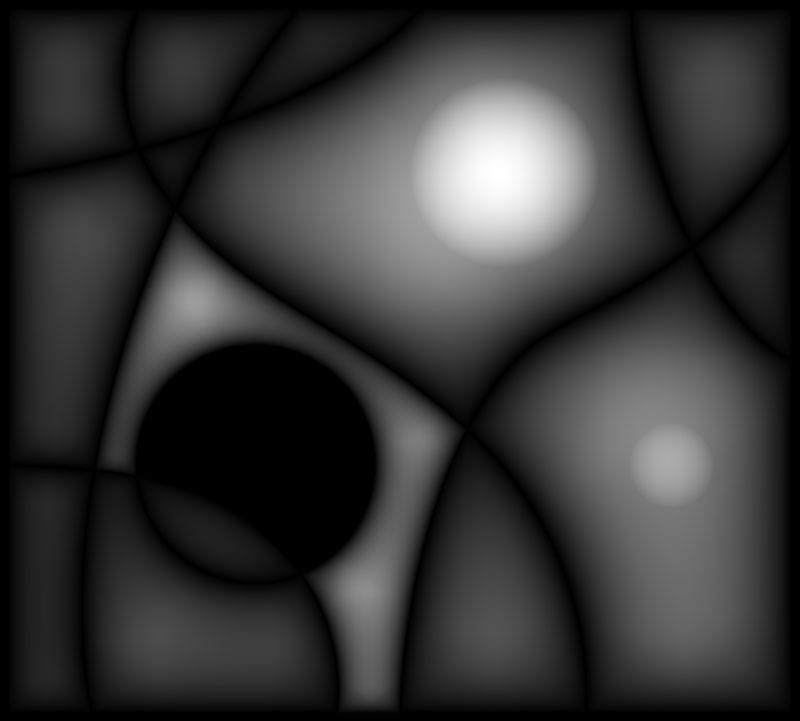
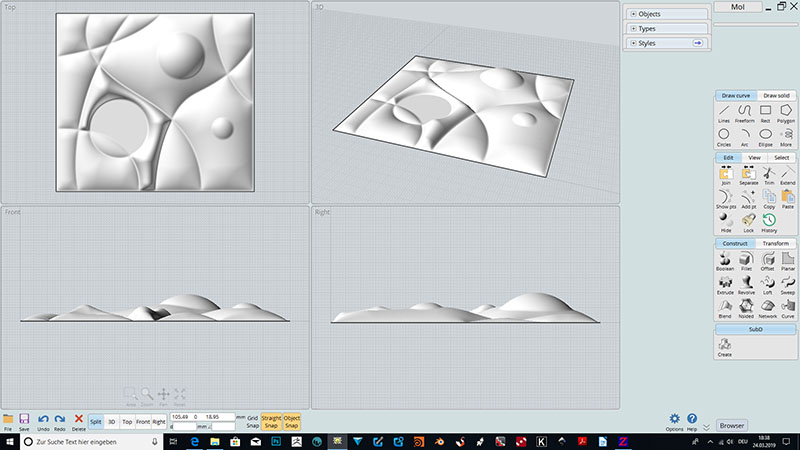
a bit off-topic, but I used your image and re-created it in MoI and then used ArtForm,
which you also have. In ArtForm you can save the model as bitmap and then prepare
the bitmap for ZSurf.
Please note: I did not used any smoothing brushes, only wanted to show you a quick
way with MoI, ArForm and ZSurf.
(With JDPaint one can save this model also as NURBS model … )
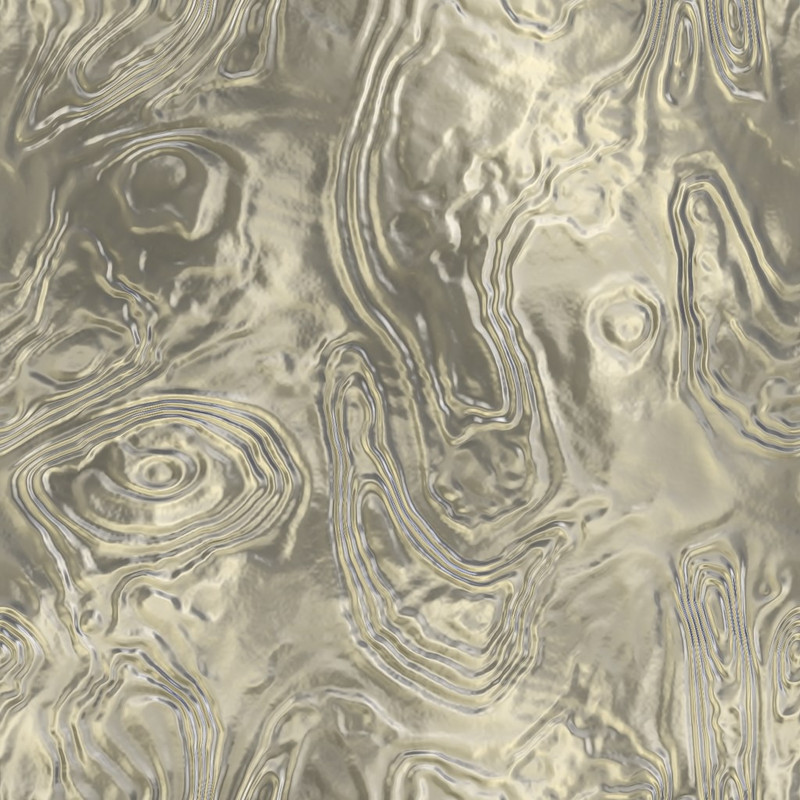
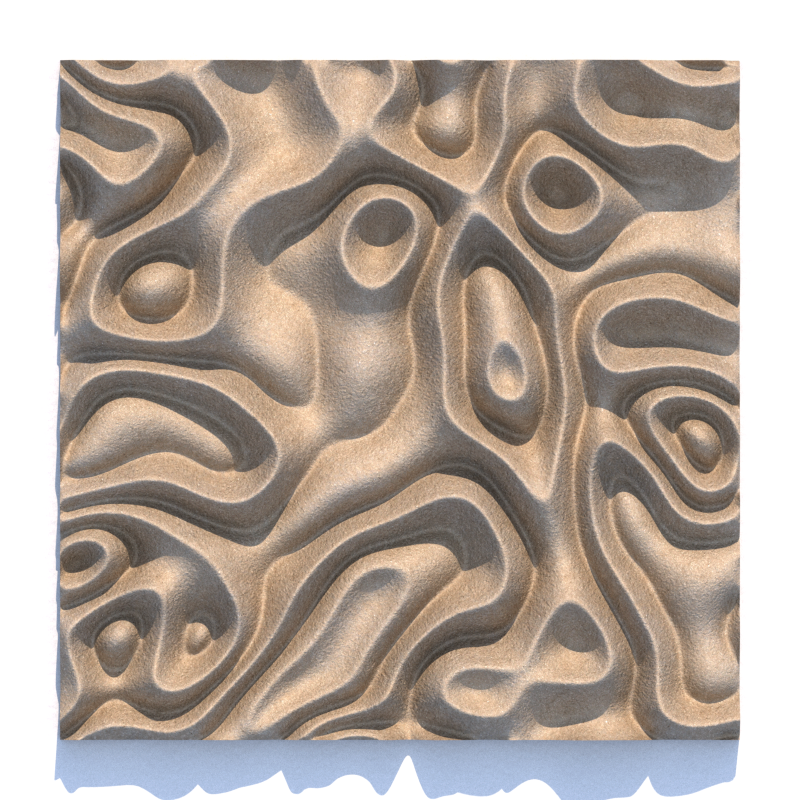
Back on topic … I rendered one more image with a more natural (outside) look
while using a sandstone texture. I think this might be an interesting topic for
ArchViz Designers to create such wall panels with Houdini and MoI. I could
imagine colored, like the first one, for interior design and this one for outside
walls.
<Houdini is really amazing what one can do with it. Wish i had concentrated more on Houdini and not
on so many other apps …>
Yup, it's a 3D sandbox :)
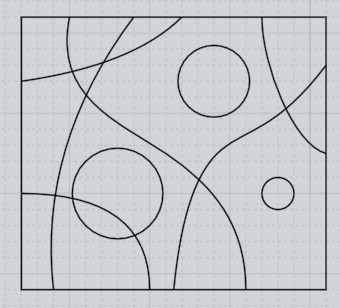
Here's an little example of what you can do with curves too, looks close from your last post.
For every points of the grid, I compute the distance of the closest point from every curves ... then I remap this distance with my own profile, and use the result as displace (elevation).
Displace strength, max distance search and profile options are in the pink node.