Show messages: All
1-3
4-7
From: Michael Gibson
Hi Scott, that's normal behavior which stems from the line not being parallel to the view plane.
Dimensions are associated with a projection plane which they get from the view that you create them in. The length that they show is a length of the endpoints projected onto that plane, not a 3D distance like the curve length is generating.
That dimensioning behavior in CAD programs is inherited from hundreds of years of drafting conventions.
In drafting it is not allowed to display distances as measured in 3D space.
The reason why is that in drafting, a dimension is supposed to be a label that can be verified by a manual measurement on the drafting table. When you go to make a measurement by using a ruler on the drafting table, you can only get a 2D distance there.
It kind of sounds like you were expecting horizontal and vertical dims to display a different value than the 3D distance but not "Aligned". But all 3 of these commands behave the same in that they have a projection plane and the distance that is displayed is the distance in that plane.
- Michael
From: Frenchy Pilou (PILOU)
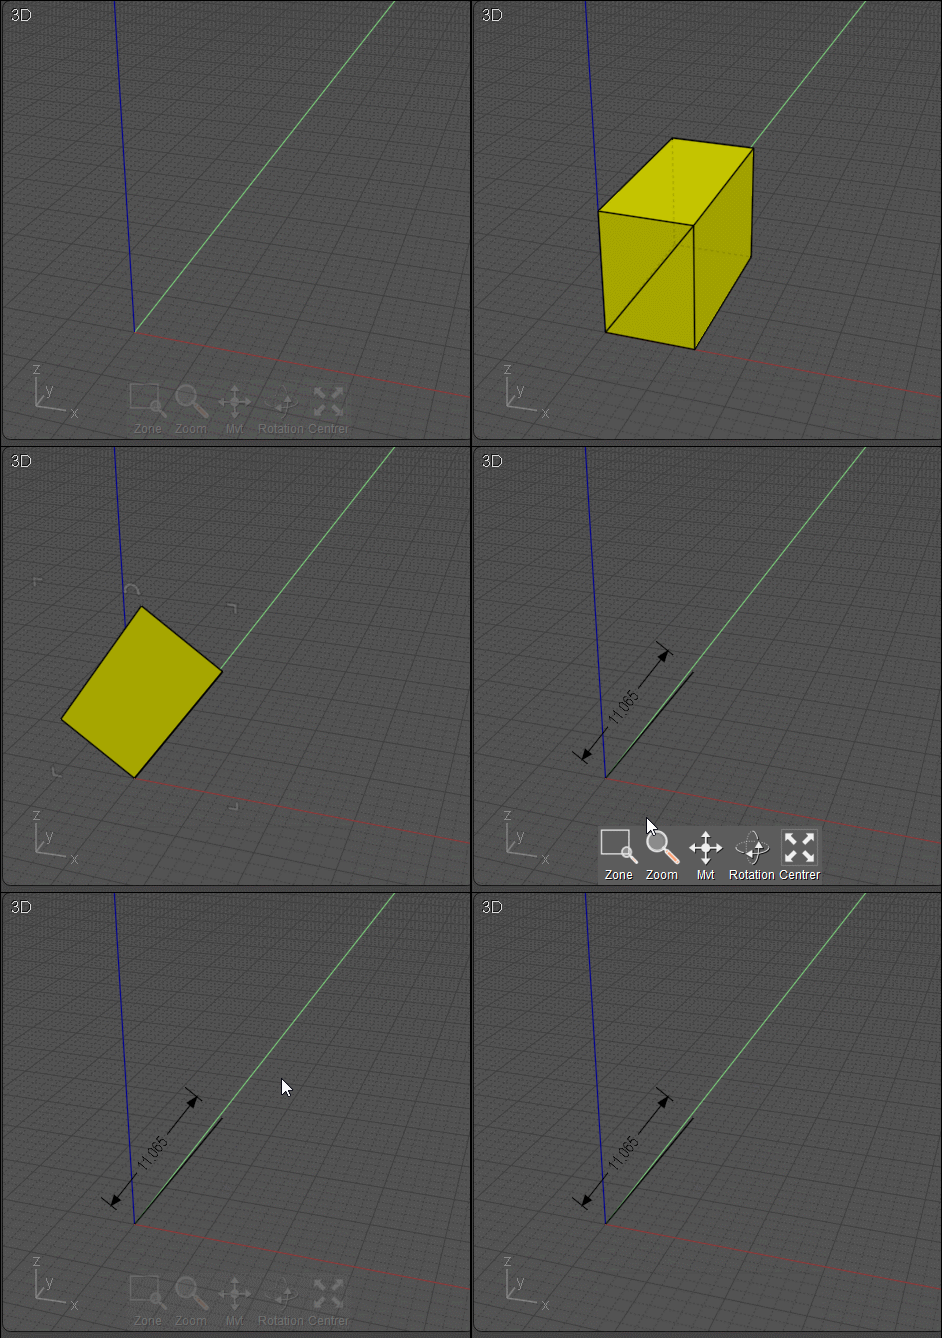
Just Make a Plane 3Pts from your Line 3D !!! ;)
At the end you can move dimension anywhere you want! (not shown here)

Message 11527.6 was deleted
From: scott
Thanks to everyone for your responses. And my apologies for the slow reply.
After seeing the reply from 'pressure', I checked my GENERAL > DECIMAL DISPLAY setting and sure enough I had the value set to '1' so the measurements were of course being rounded off. Hence the apparent mismatch to the other measured values.
Thanks again.
Scott
Show messages: All
1-3
4-7
