Hi Gunter, the issue is that the surface you are targeting there is a trimmed surface. That means that there is an "underlying surface" that is larger than the visible active area and there are trim boundaries on the surface to mark the active area. That larger underlying surface is what is used by the Flow command.
You can see the underlying surface better if you select the target face and use Edit > Separate on it to break it apart so it's a single surface not joined to any others and then type the Tab key to put keyboard focus into the XYZ input control on the bottom toolbar and then type ShrinkTrimmedSrf and then the Enter key.
Then use Edit > Show pts on that surface and you should see this:
That's the actual surface that will be used for the Flow operation.
You basically can't use booleans or trims to try and reshape the flow, you need to generate a full untrimmed surface for your target.
Hi Gunter, also if I understand the type of result you're looking for you probably don't want to use just one Flow here.
There's a lot of difference in width across what you want as your target and that's going to introduce a compression/squishing type effect for a full pattern type flow attempt.
Do you want these pieces to be warped to conform to the surface at all or do you want them to have no warping and just moved and rotated?
If you don't want warping you'd probably be better off using Transform > Orient to move and rotate individual pieces to align with the target surface normal.
If you want only slight warping to the local surface you could do a projective flow on each one individually after it has been positioned with Orient instead of trying to do a full pattern Flow at once.
The full pattern worked well in your previous case because you didn't have much variation in width in the target surface in that case.
-- Take the all external perimeter of the 2 curvated half parts
-- Join it by prudence
-- Project it on a flat plane (Construct / Curve / Project )
-- Make plane of this projection
= Flat surface under the volumes to Flow
-- Make the Flow as usual! ;)
-- And move the full result anywhere you want! :)
Thank you so much for the steps you just pointed out. I tried following your directions but I keep getting 'Calculation Failed' so I'm obviously doing something wrong.
I took a screenshot but when trying to upload I get the message 'out of attachment space'.
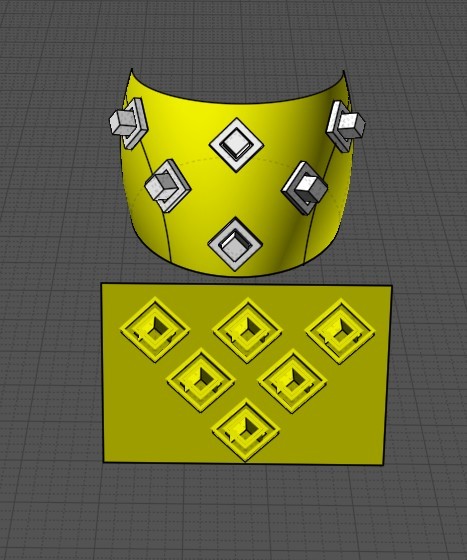
Thank you for explaining this Michael, I followed your advice and got the same result as in your screenshot.
To remedy this, I deleted the upper quadrant surface and then mirrored the opposite sides upper quadrant. On the assumption that the opposite side also had the splitting issue, would the best way forward be to delete the top surfaces are rebuild them or is there a more efficient method?
Hey Burrman, thank you very much for this! It's exactly what I wanted!
Could you possibly show me how exactly you acheived this? I don't know what you mean by 'enable history'.
Sorry it's was just an idea without real test! (just by mind) :)
About your message error i believe you have over pass the limit of the forum
So use something like https://imgbox.com who is free and very easy to use!
And without limit of number of downloads!
And a very practical system of Gallery ... (take 100 images by Gallery ... not obligatory but.
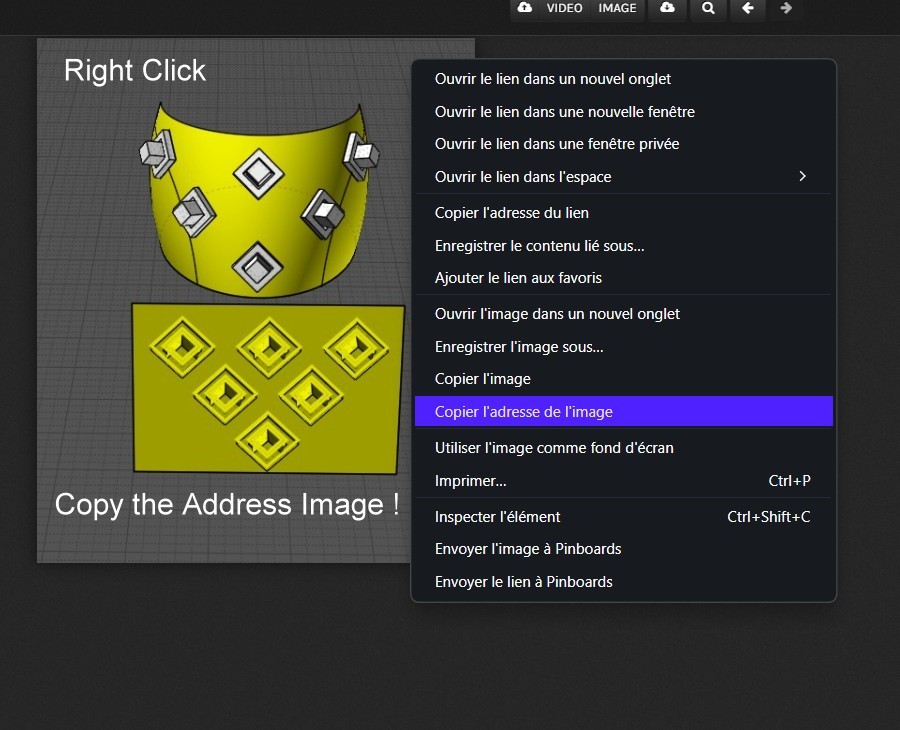
Upload an image...
Depending of your state
After the UpLoad...you see that!
For take the Image Address after the right click
Copy the address on the forum with this syntaxe !
Seems very long but you make that in seconds!!!
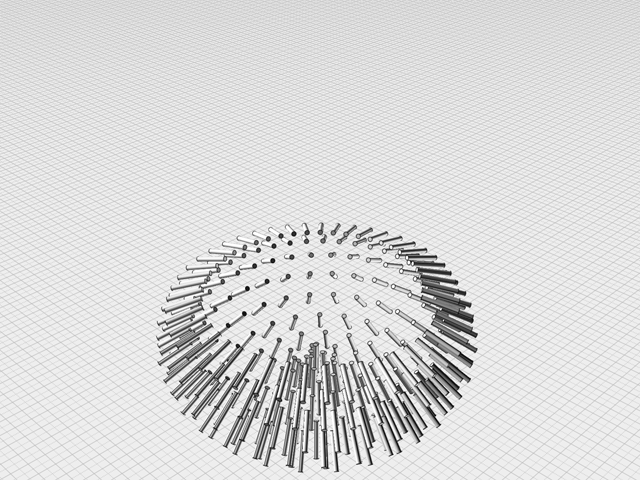
My little test! :) As you can see with a little glitch! I must find better! :)
( "rigid" inside the "Flow")
I redraw the support ring target for have an only one surface target!
A note I didn't cover in the video. You will see me generate an incorrect result at first. The note is "Where you click on the base and target objects makes a difference. So at first i clicked on the upper left corners and got a "sideways" flow. Before i changed too much I just re-did the flow and clicked at the center of the 2 objects. I think it is a "General area" calculation.
Anyway, this vid can get you fooling around with flow.
re:
> I took a screenshot but when trying to upload I get the message 'out of attachment space'.
There's a limit of 50MB per user for forum attachments so the web server doesn't get too overloaded.
If you run out of space you can go to Options (on the top bar in the forum) > Attachments and delete some of your previous attachments there, or you could use a file sharing service like Dropbox/We transfer/One drive where you upload your file there and can post a link to it in the forum here.
re:
> On the assumption that the opposite side also had the splitting issue, would the best way
> forward be to delete the top surfaces are rebuild them or is there a more efficient method?
It depends on what you're trying to accomplish.
If you want the objects to keep their shape and not bend to adapt to the surface shape then you may be better off using Transform > Orient to place them instead of using Flow.
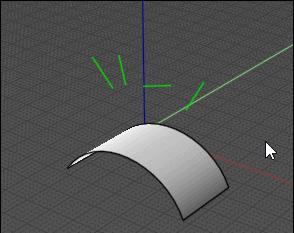
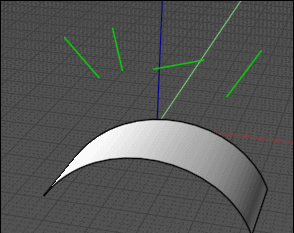
Remember that you can make something similar and more with the VClone ...by Max Smirnov...
BoundingBoxCenterMultiple, CopyToPoints : other possibility by Michael
VDrop, VOrient, VSpray, VSeed: for special drawing of vectors! (Max Smirnov)
Just draw a vector(s) ( a simple line(s) ) and your selected object(s) will be created on these vectors!
Here only VClone... Size of Vectors gives Size of Objects!
Numerous possibilities! A very powerful plugin!
DIffrerents Sizes can be made on the same pass ! Vectors = Yellow lines!
(it's not the perspective! ;)
BurrMan, this video is absolutely fantastic, it really walks me through every step to properly adjust my objects on the ring!
Thank you ever so much for taking the time, it has helped me hugely!