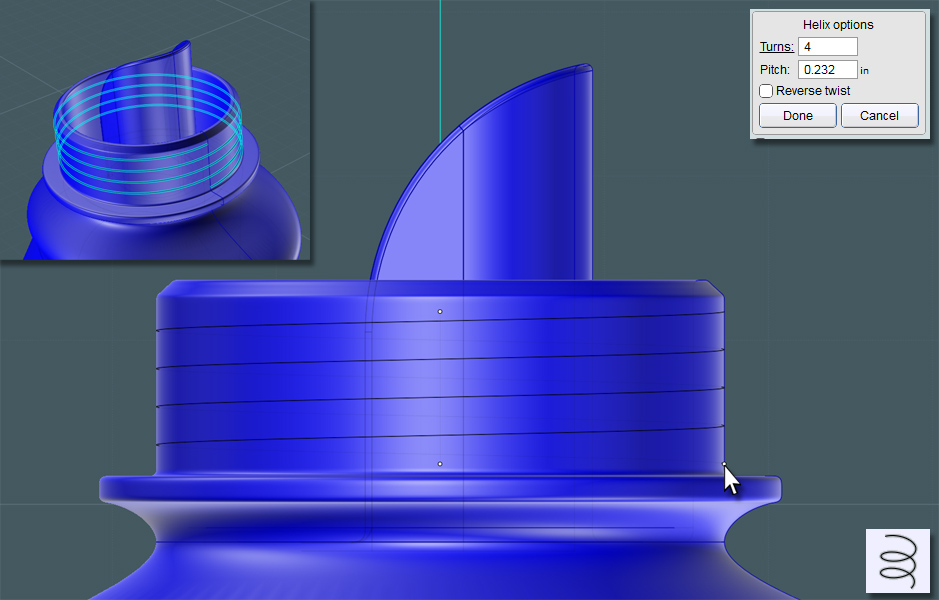
Now for the cap screw threads: We'll start off with a defining Helix curve.
If you go to a side view, you can use the C-Plane origin as the Helix axis.
By simply snapping to the outside of the revolved spout area, you'll define the width of the Helix. Then choose the thread's pitch.
I'm going to be using Sweep to create a screw thread pattern from a triangular profile shape.
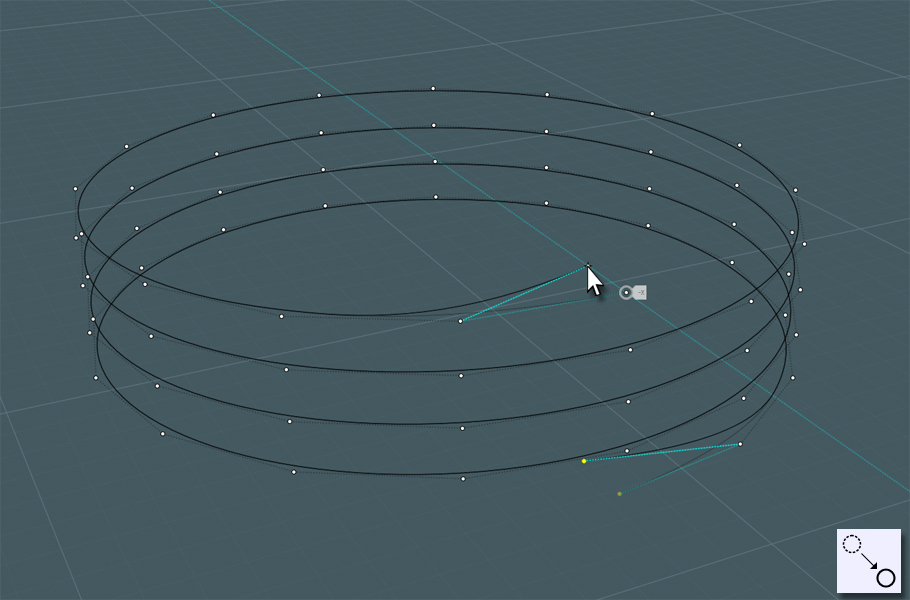
The ends of the thread will have to taper into the thread's base surface.
Show Points, select the end points and move them inside of the circle a bit.
Make your profile. It can be a basic triangle if you like.
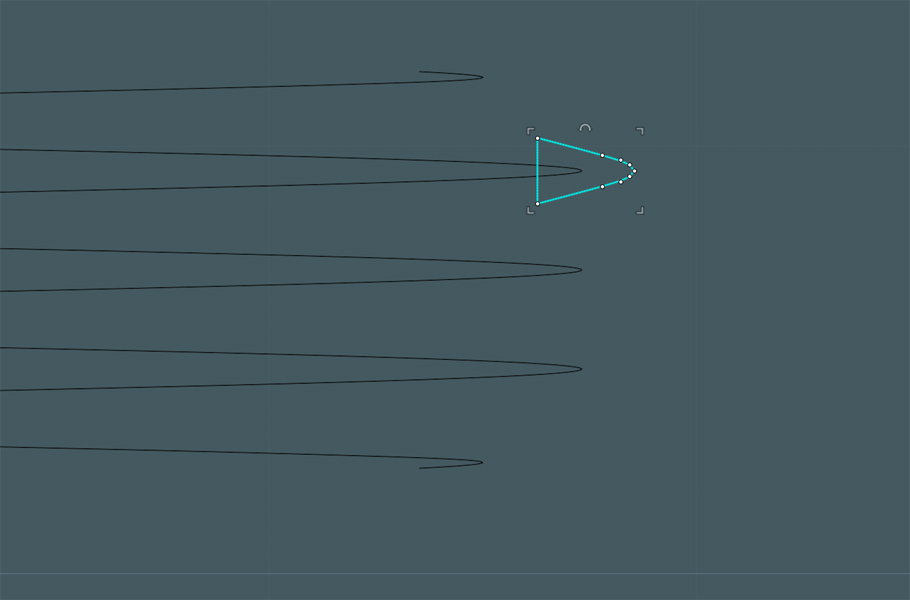
Sweep does a good job interpreting a profile along a path, but more complex paths like
helices will cause Sweep to make results that twist and are not consistent.
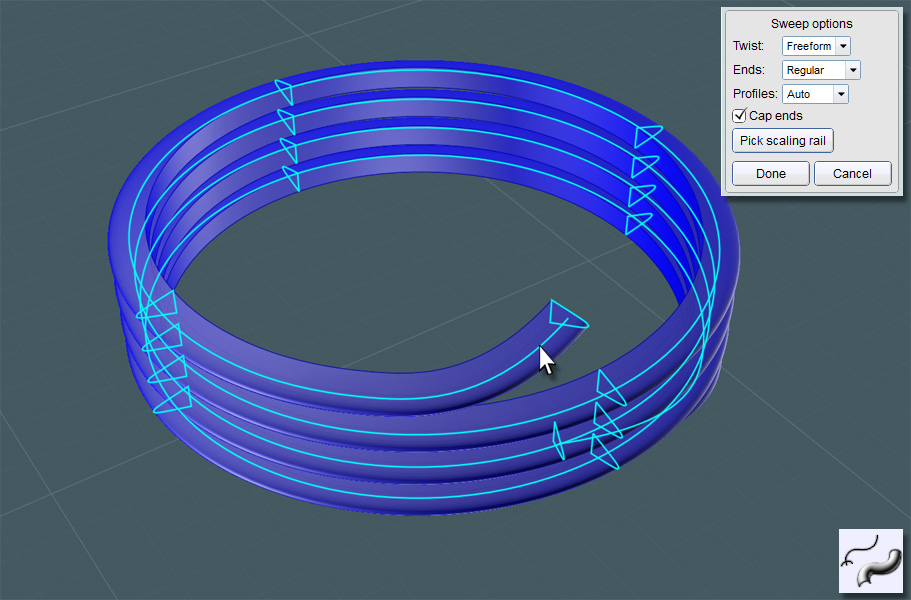
However, if you place profiles on the path, Sweep will do its best to make sure the result object mimics these profiles when it meets them on the path.
I use the Orient tool to guide copies of the profile along the path. Placing them in each of the four quadrants of the helical turns will work nicely.
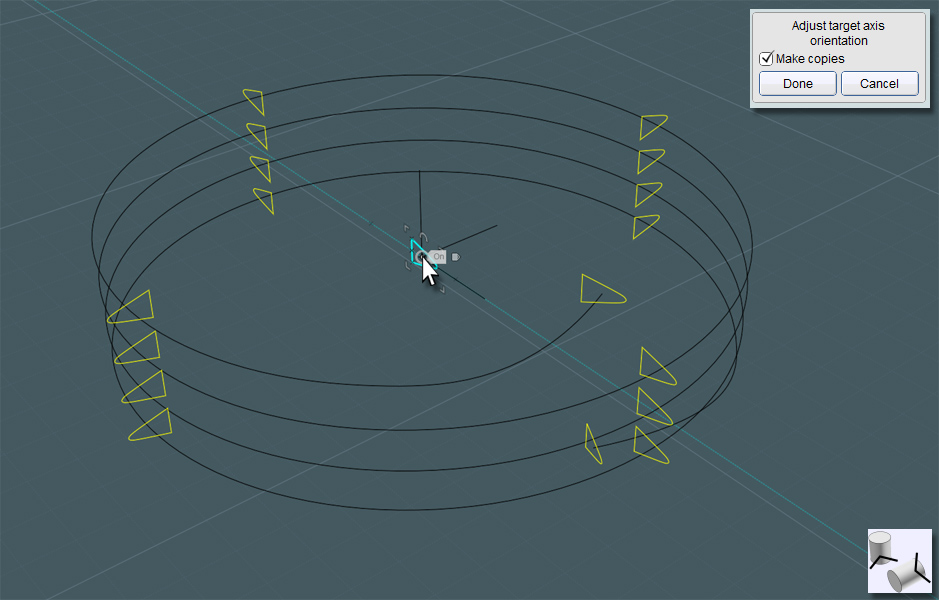
And you can see the results...
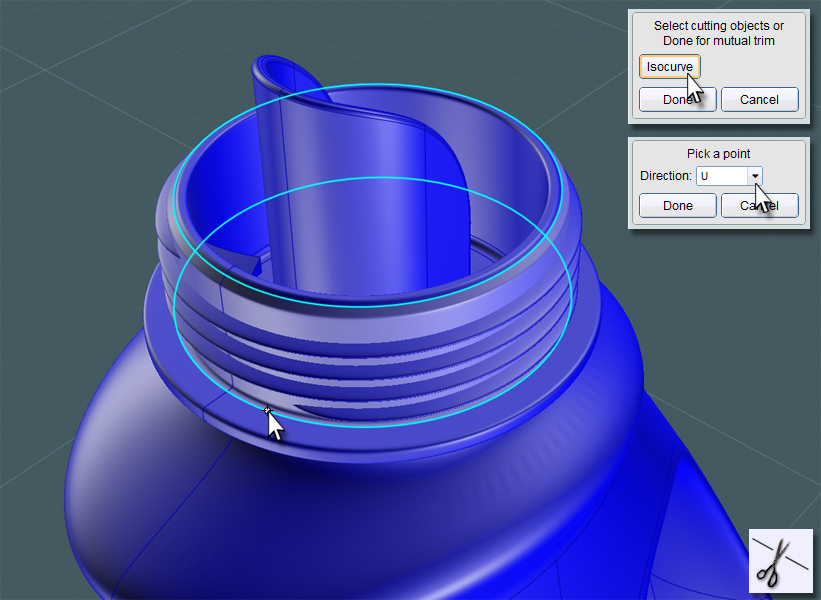
Working the screw-threads object into the spout proved tricky. To to make it easier for me, I isolated just the cylindrical base area I wanted to work with.
I used Trim with Isocurves to cut into the spout object.
Once separated, I hid everything else except the cylinder surface and the threads object.
I then closed the cylinder up into a solid surface by adding Planar surfaces to cap it off.
Doing this made performing a Boolean Union between the two easy.
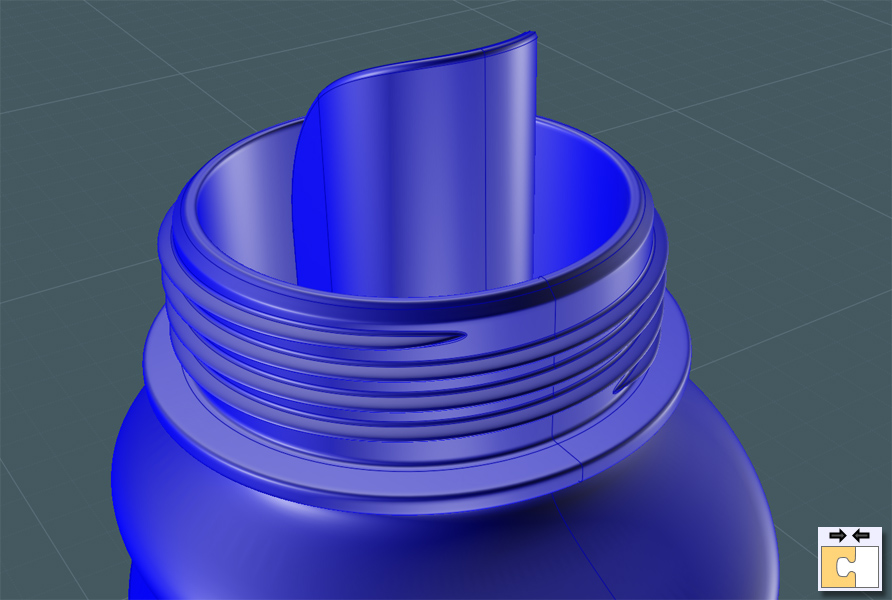
I then Filleted the sharp connecting corners to create a smooth looking object.
Then all I had to do was delete the planar caps and Join everything back into the main bottle object set.
A simple profile to Revolve into the bottle's cap shape...
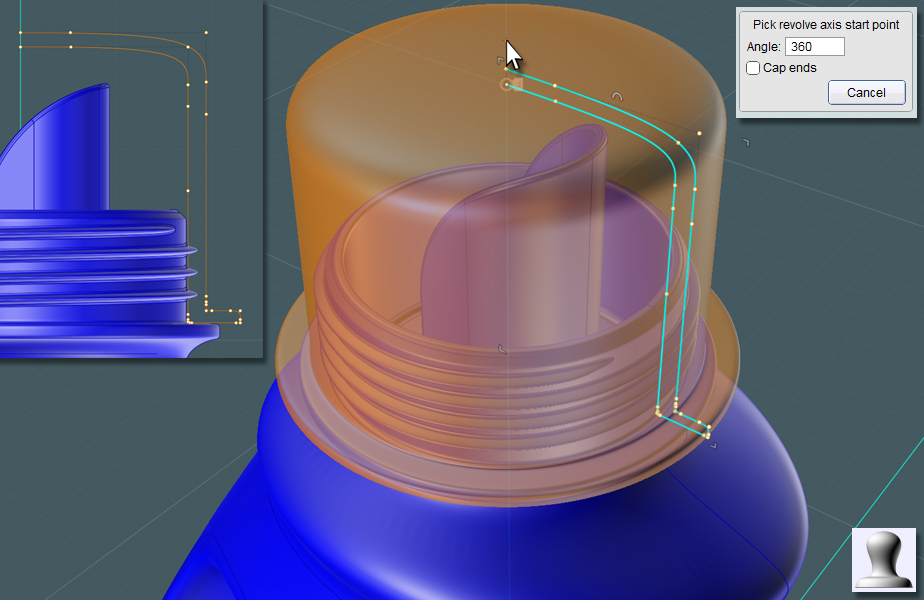
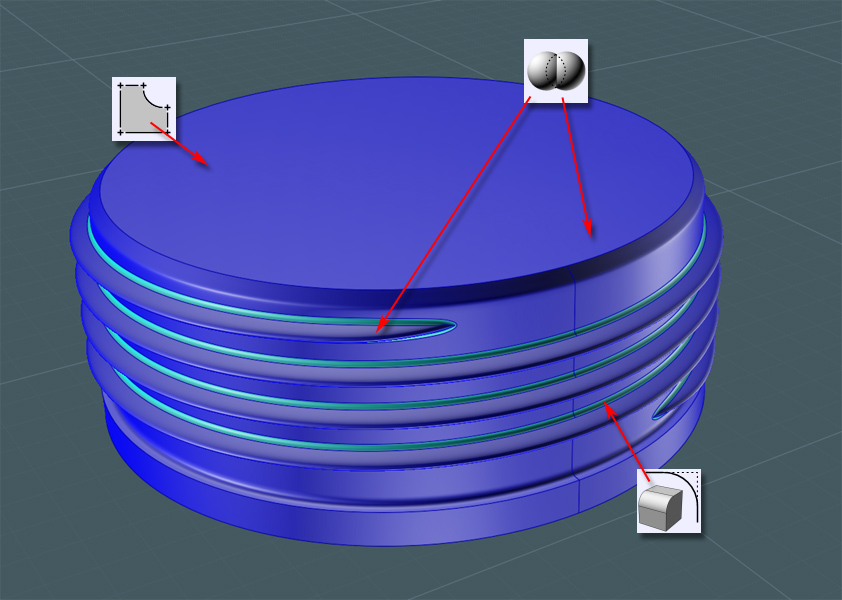
I made a revolved shape here so that I could cut some grip grooves into the cap.
Just make sure that the shape doesn't coincide with the threads.
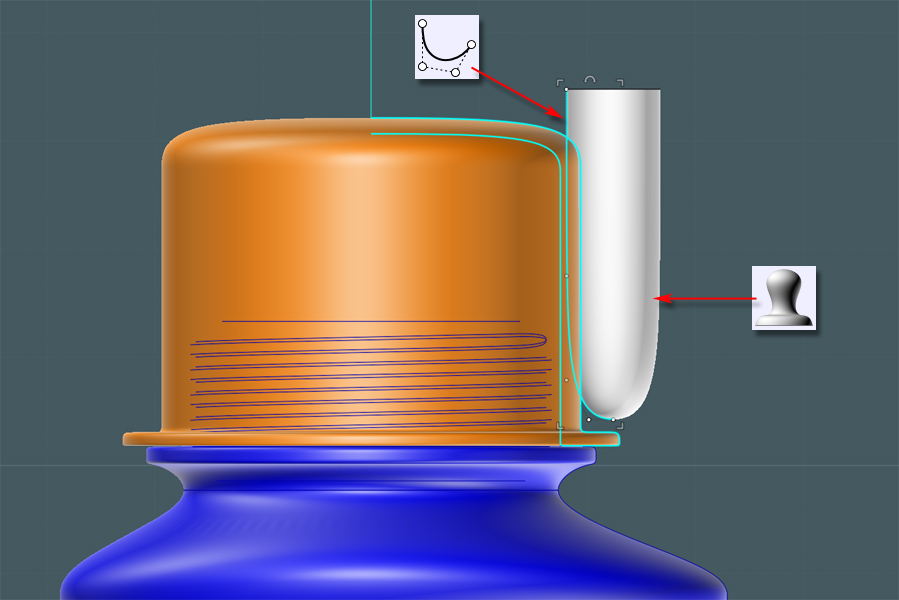
I squeezed the shape with Scale 1-D to give it a flatter cutting area.
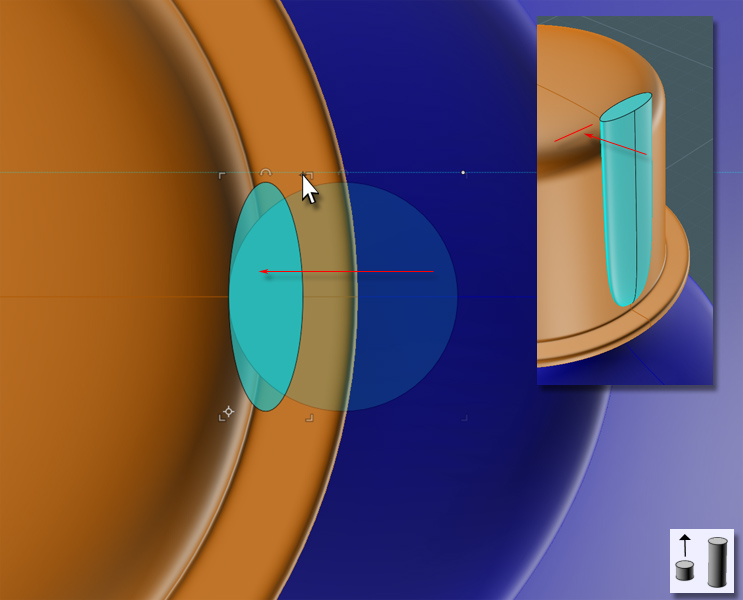
Circular Array some copies around the perimeter.
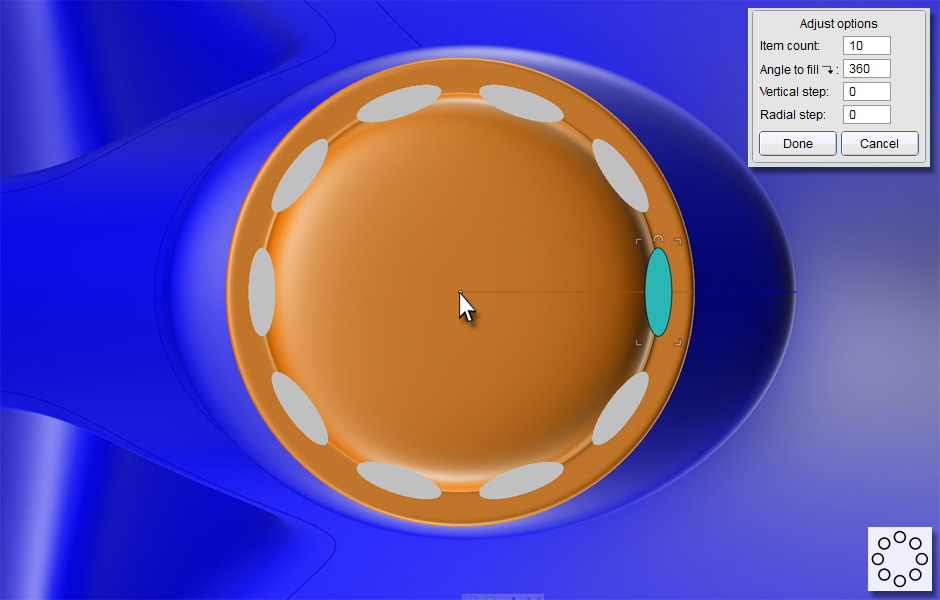
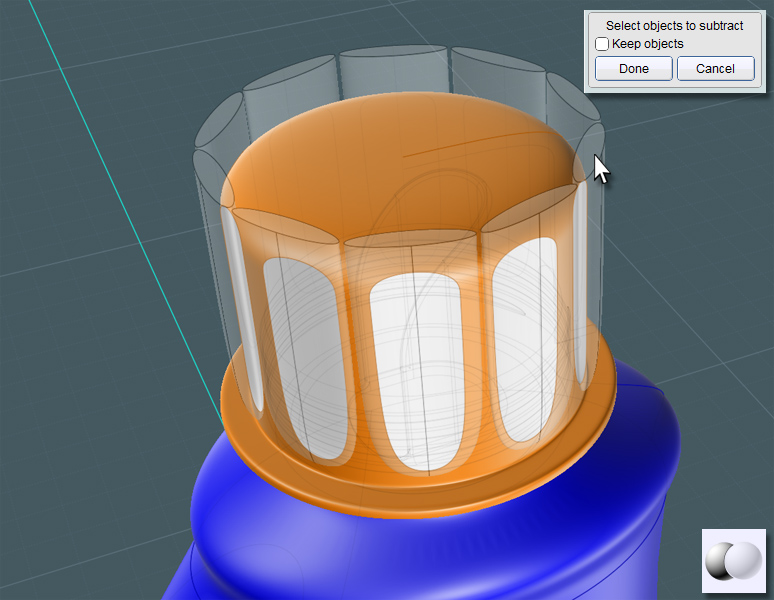
Boolean Difference these shapes away from the cap object.
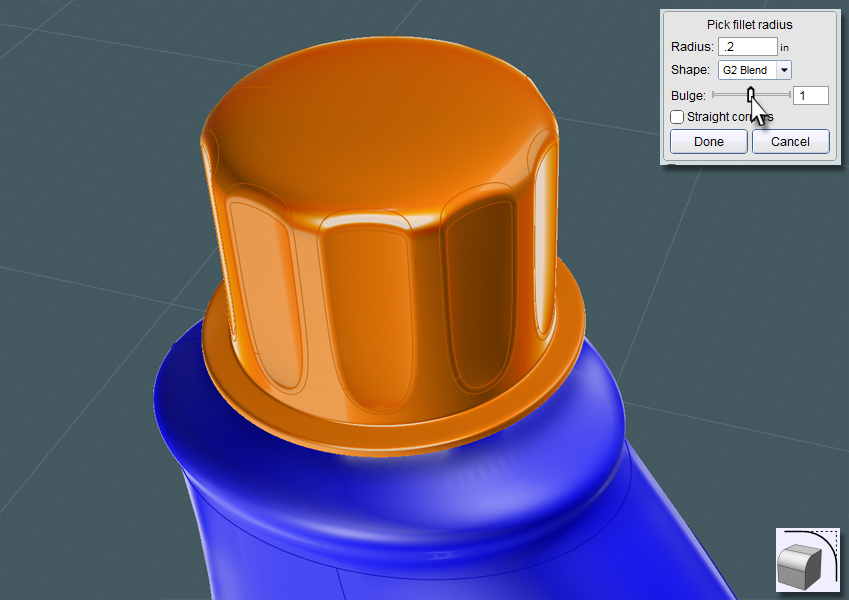
A G2 Fillet to smooth it all out.
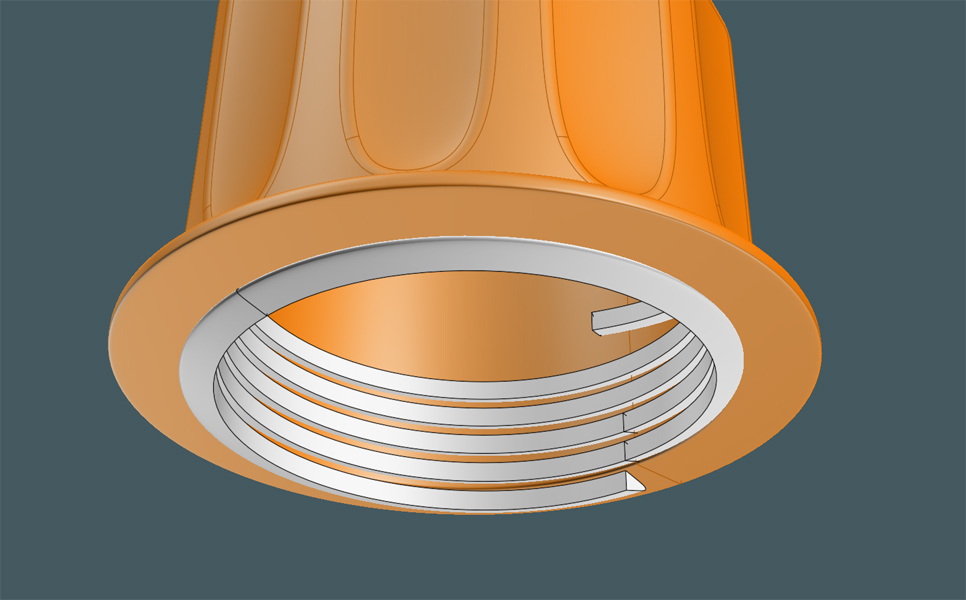
Use the thread Sweep from before to Difference the inside threads from the cap.
Now I would like to add some superfluous decorative detail to the bottle's surface.
A set of ridges would add a grip functionality to the bottle.
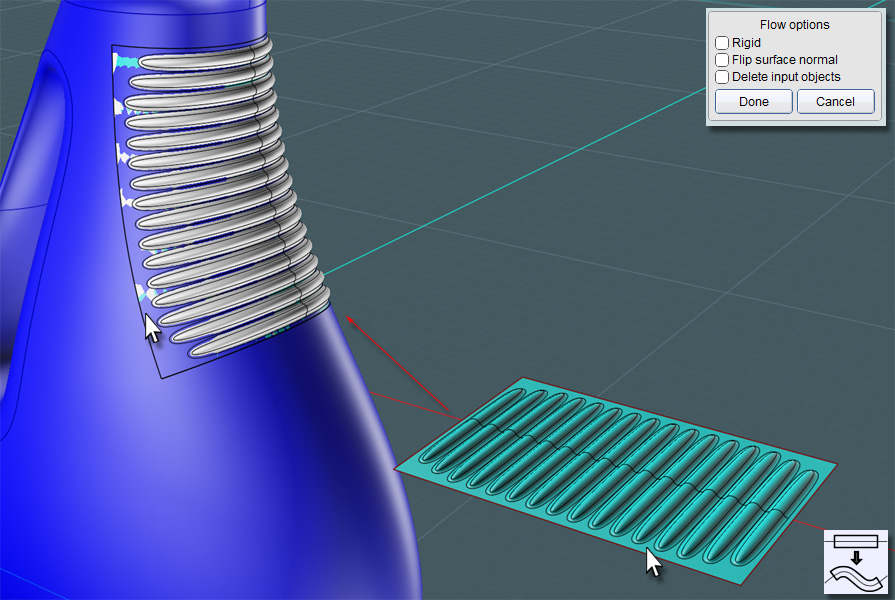
I'll be using Flow here so that I'll have the freedom to make the grips anyway I want to on a flat surface without trying to negotiate the complex shape of the bottle's surface.
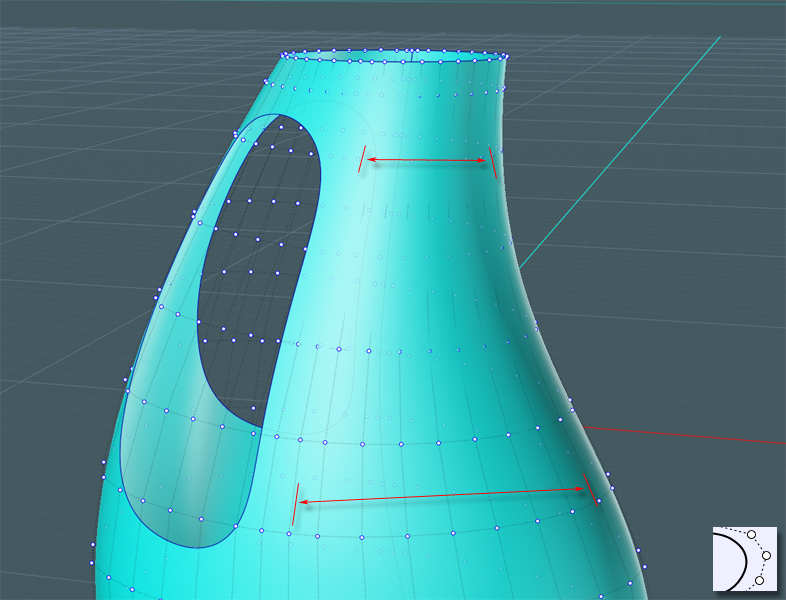
Here is where some difficulty lies: Flow will match point structure to point structure.
And in this case, the underlying point structure near the top of the bottle's main surface is more compressed than it is lower down.
This may be fine, but when I Flow something here, the result will surely look wider at the bottom than the top and will appear distorted.
If you experiment with the Flow's Projection mode, you'll find that there are limitations with that as well.
I present a method here that can help you work with this situation.
I used this method when I was working on my "Bee-Box".
(Forum Thread Here)
First, Project a line from the front side or go to the side view and make an Isocurve exactly in the center of the bottle's main surface.
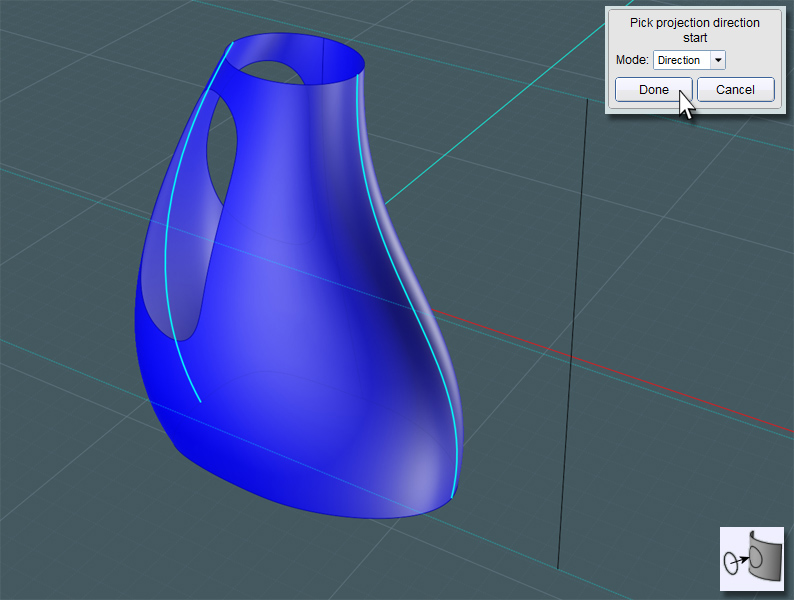
I then Offset two representative curves from this surface projection.
From the front view, one is outside of the surface area, and the other represents how far in I want the edge to be.
Then I Rebuilt these curves with the Refit option to give me better curves to work with.
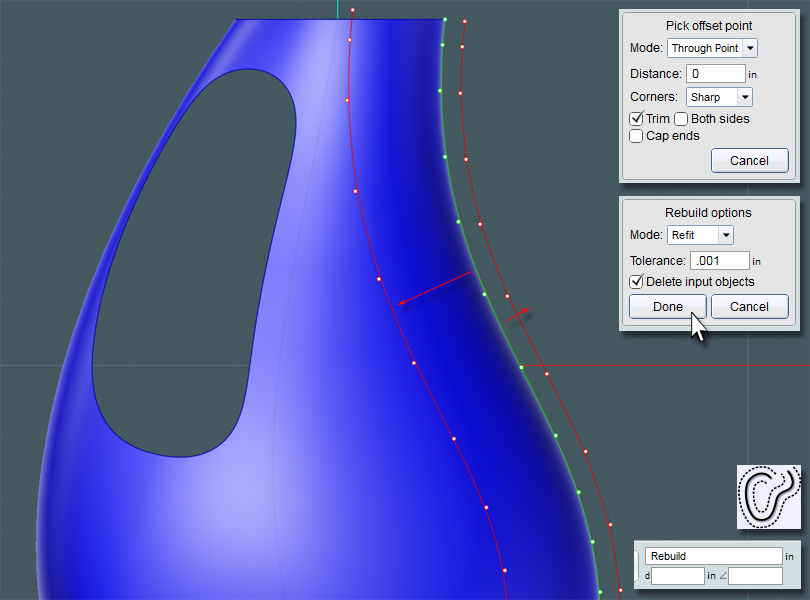
I Trimmed down my curves to represent the smaller area I want to work with.
Let's use the LineWeb script!
Find the LineWeb script files and discussion thread here:
http://moi3d.com/forum/index.php?webtag=MOI&msg=3666.10
I need to evenly distribute lines between the two curve paths.
Why, you ask?
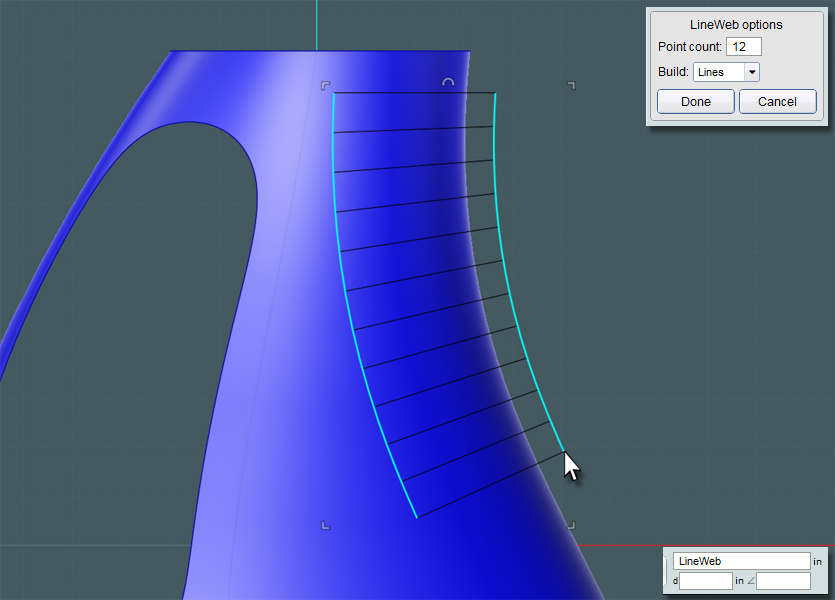
I take those line and then Project them to the bottle's surface.
MoI will actually take the reverse projection and seamlessly blend them into the front projection to make a single curve.
...you see where I'm going now?

Why, I'm going to select each curve in succession, and Flow them into a surface!
First, though, I need to consider how nice this surface is going to play with the Flow tool, and experience has taught me that I need to consider the hidden weighting distribution factors of the surface... Oh boy!!!
Don't worry about all that. If you Rebuild your profile curves with the Refit option, you'll get your nice Flow surface.
I now have a "patch" lying on the surface. Simply turn on the point structures to compare them. They are virtually coinciding, but constructed differently.

Be creative and use your skills to make some kind of grip detail. A logo would work here too.
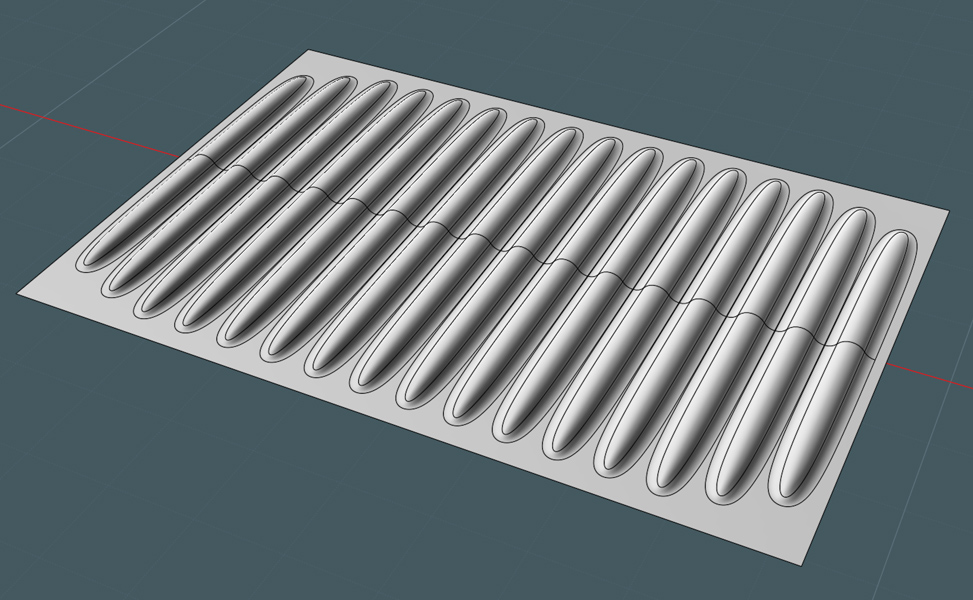
Oooh la la!
Ribbed for her pleasure.
Just Flow the original to the target surface. Make sure that the reference surface is exactly flat with the base of your original object.
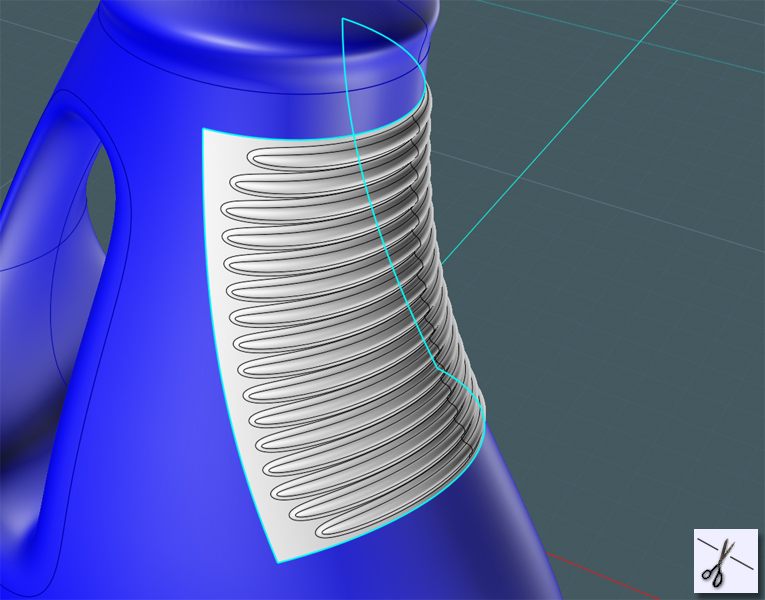
If you take the edge curves of your Loft target surface, you can Trim that area out of the main bottle's surface.
Simply Join the Flow result into the Bottle's main surface.
This has worked every time for me, so I think this method is sound.
Every good detergent bottle needs a label to sell it with. Make these profiles to create an interesting shape.
This will make the bounds for a blended transition to a recessed surface.
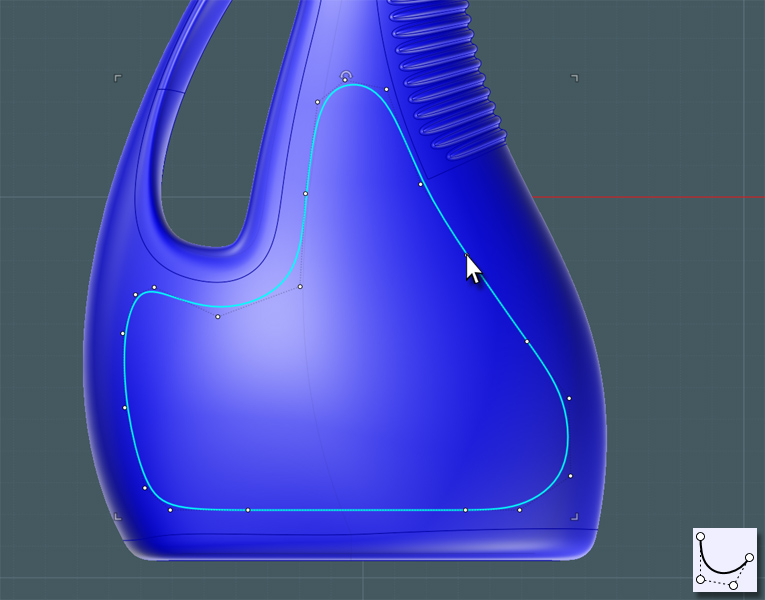
I trim these profiles into the main body and delete that transition part.
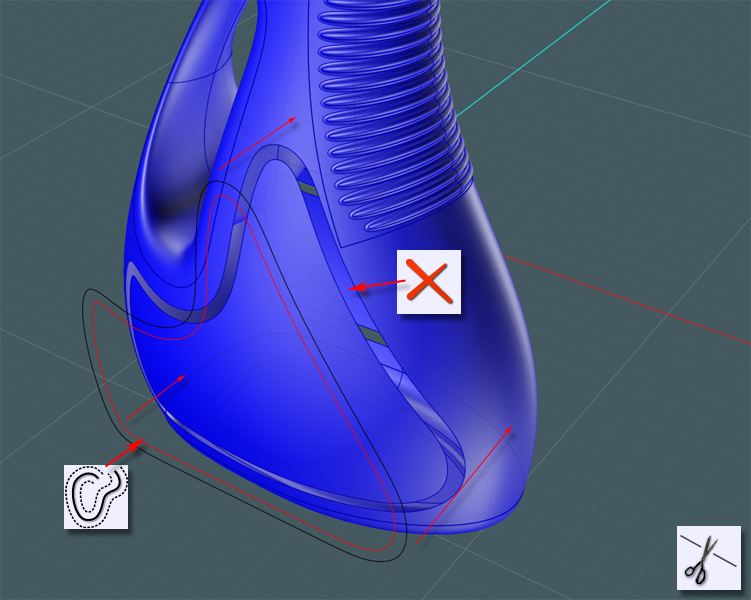
Move or scale in the inside part to create a recessed region.
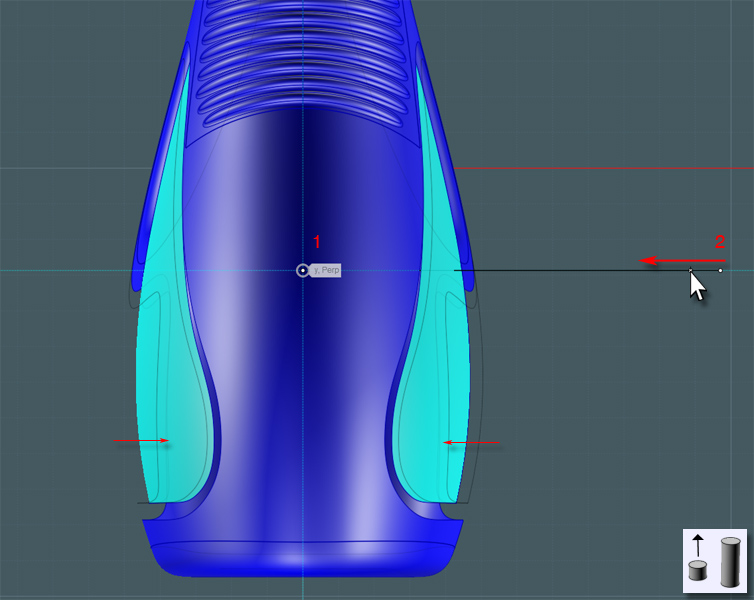
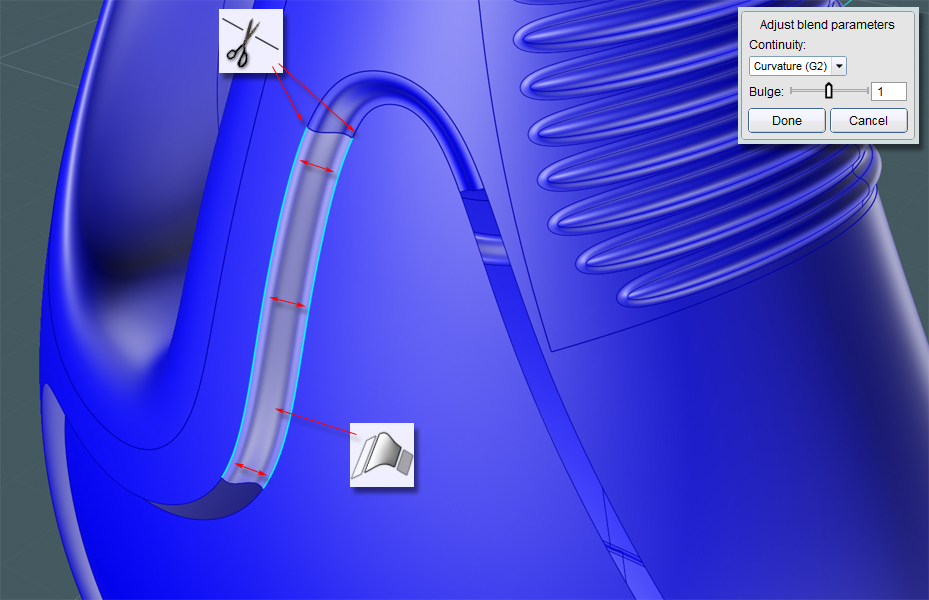
Do a G2 edge to edge Blend to complete the recess.
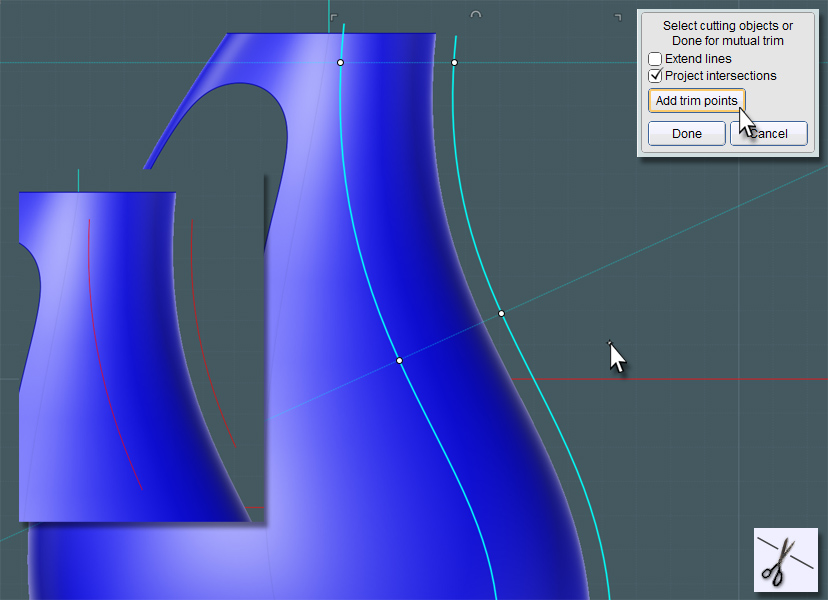
Notice that I added trim points at various places along the edge of the two areas.
Since MoI's Blend tool only allows for ONE control isocurve definition, the Blended surface will sometimes get twisted along the way.
To mitigate this, Trimming the edge curves will reduce the area Blend has to cover. And you'll have more controllable Blends.
Join everything together!
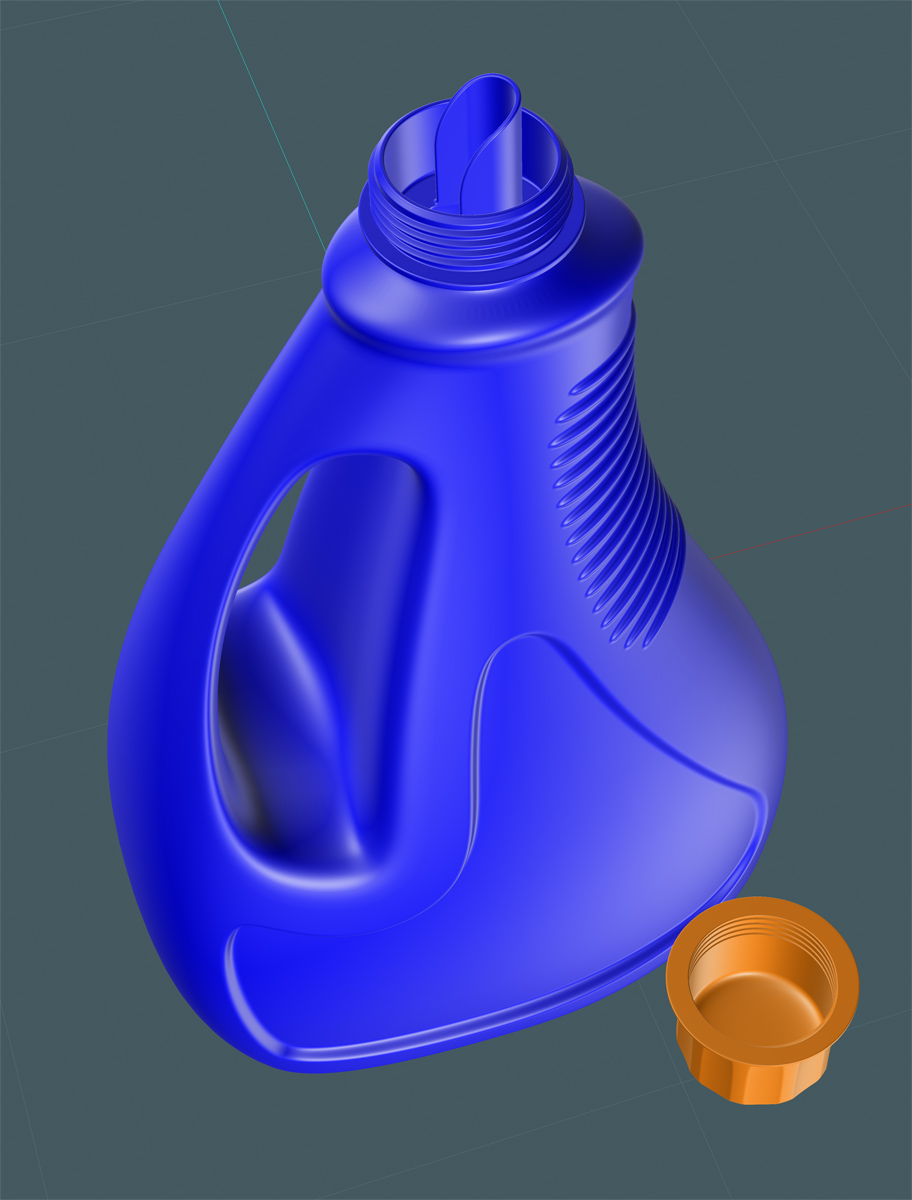
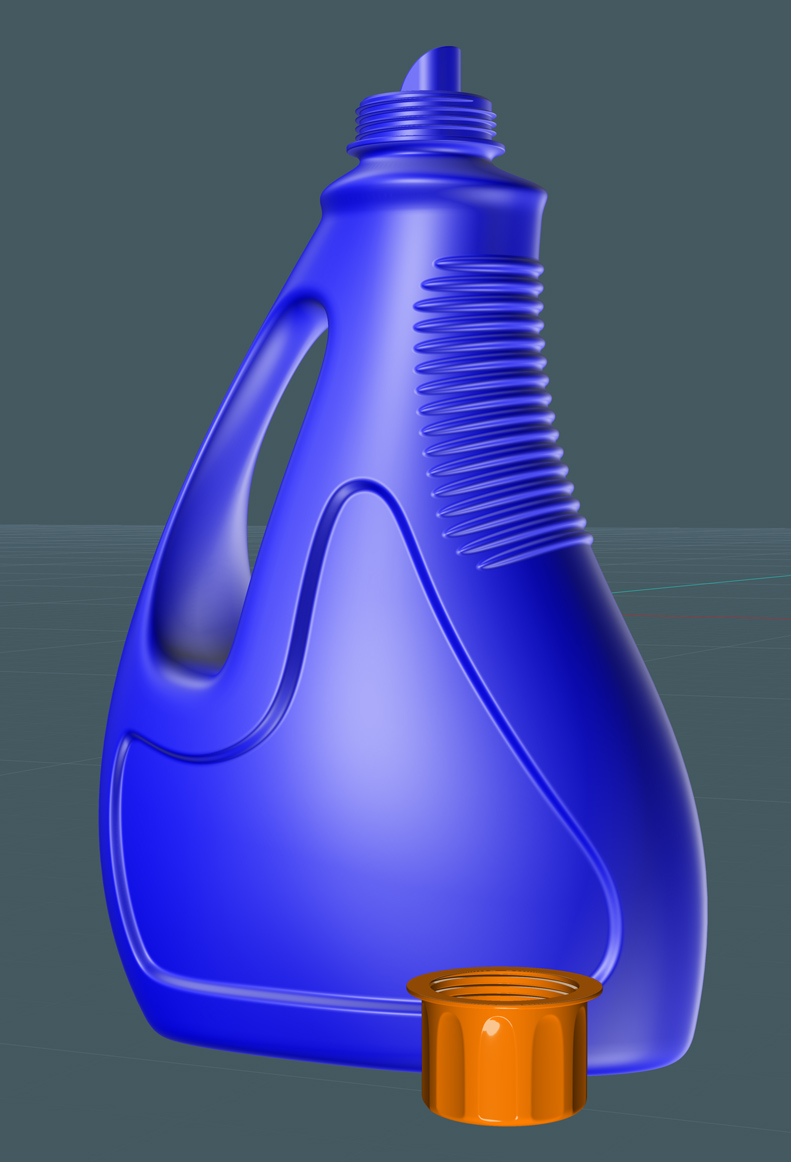
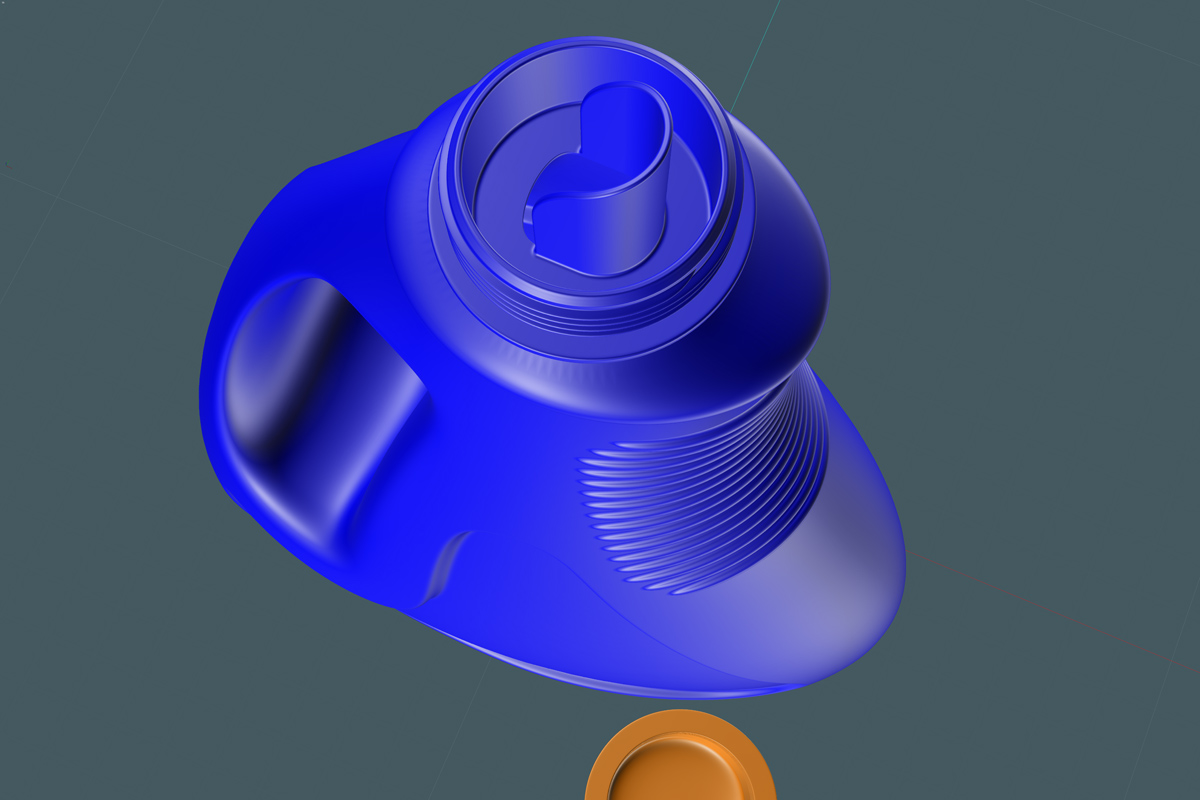
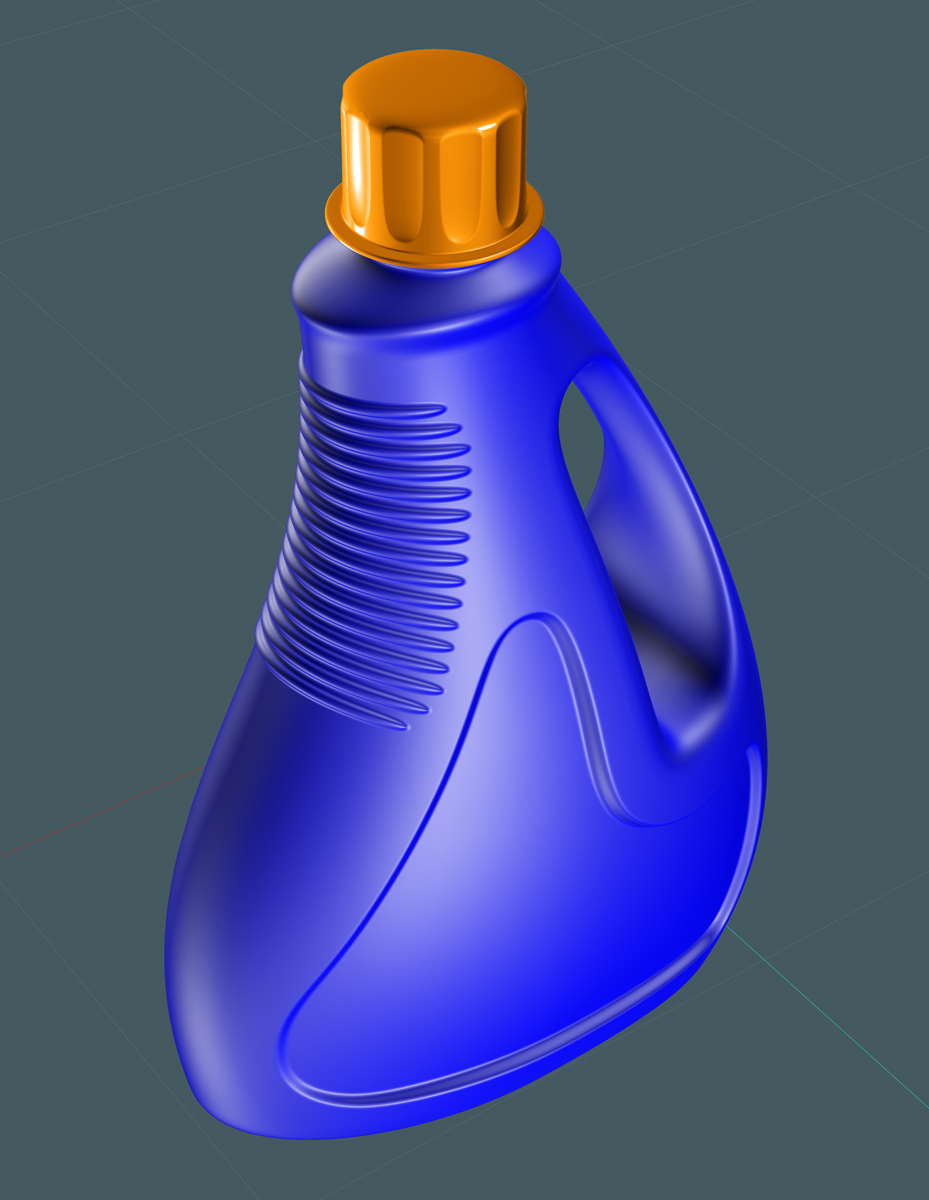
Here are some views of the completed bottle.
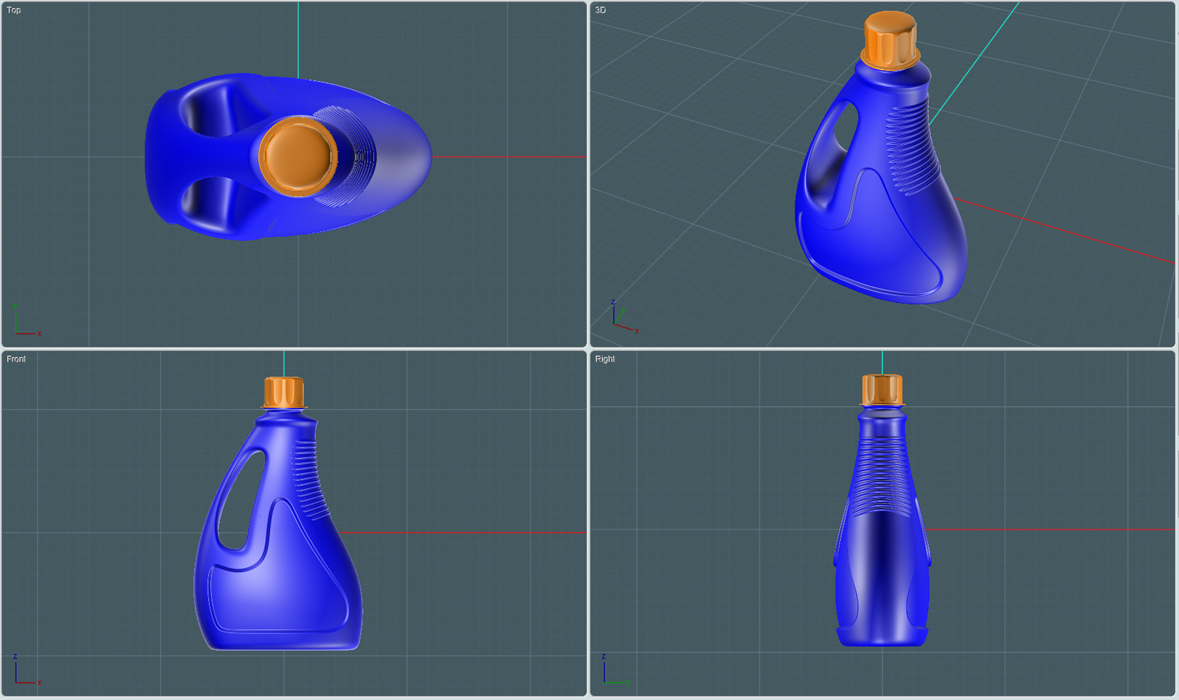
If you would like to take a closer look at this model, you can find it here:
http://www.mediafire.com/file/zk80y7p2stp81mt/bottle04_tutorial14.3dm
K4ICY Moi3D Resource Folder containing this model:
https://www.mediafire.com/folder/3tlre2zc6y1qh/MoI