I plan on modeling some type of flexible metal conduit hose for my shower head assembly in my bathroom scene.
The new V3 Flow tool is perfect for that.
The process also applies to modeling helically wound objects like telephone cords, and that is what this tutorial is on.
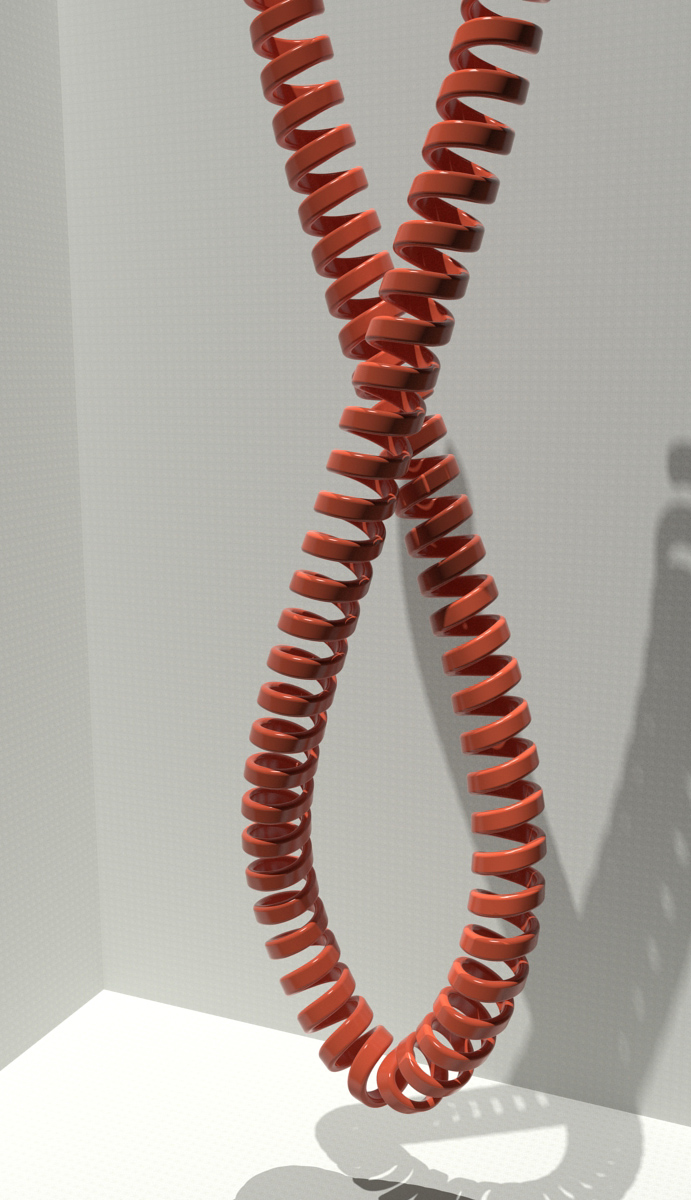
Here is an attractive
and realistic looking telephone cord.
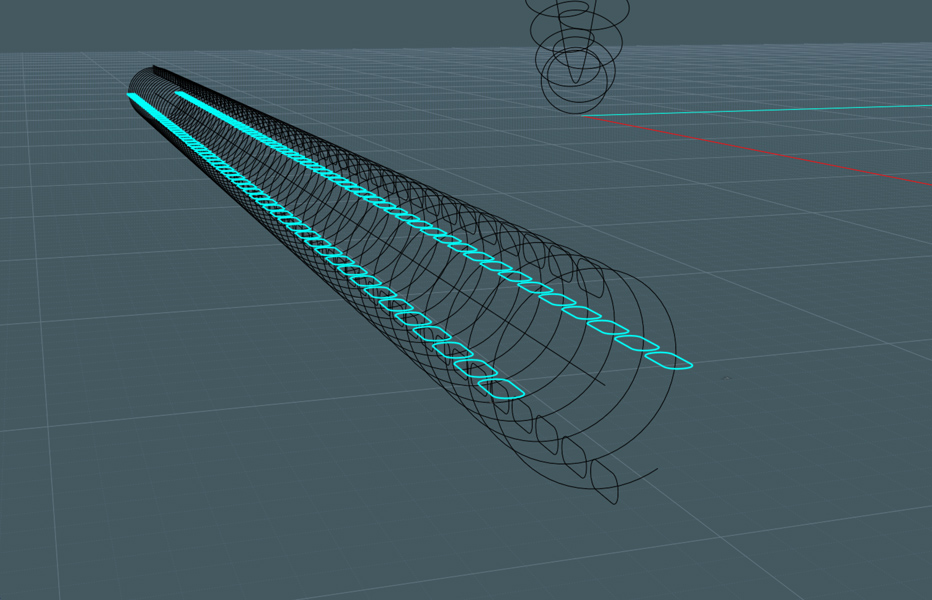
So... All you have to do is sweep a profile shape on a helix and use Flow to wrap it along a path...
Here is where this doesn't quite yield the best result:
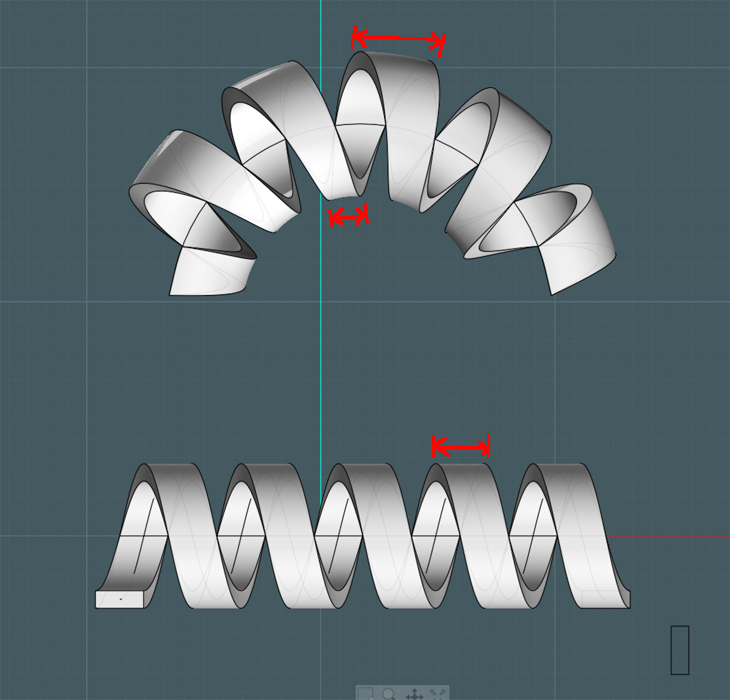
In this example you see what happens to objects that are warped on a Flowed path.
The objects inside of a bend are compressed and the objects outside are expanded.
This is okay if the item is not highly visible with detail, but what if you want more realism in the particular model?
Well lets make that cord...
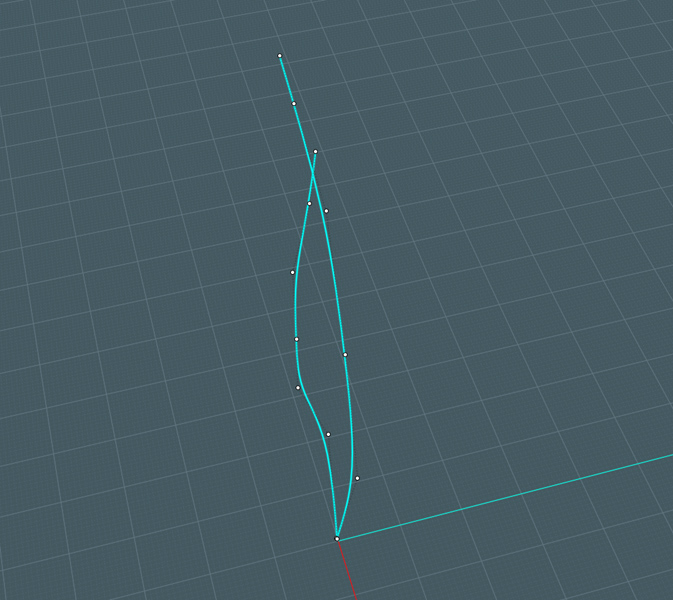
Start with a basic path:
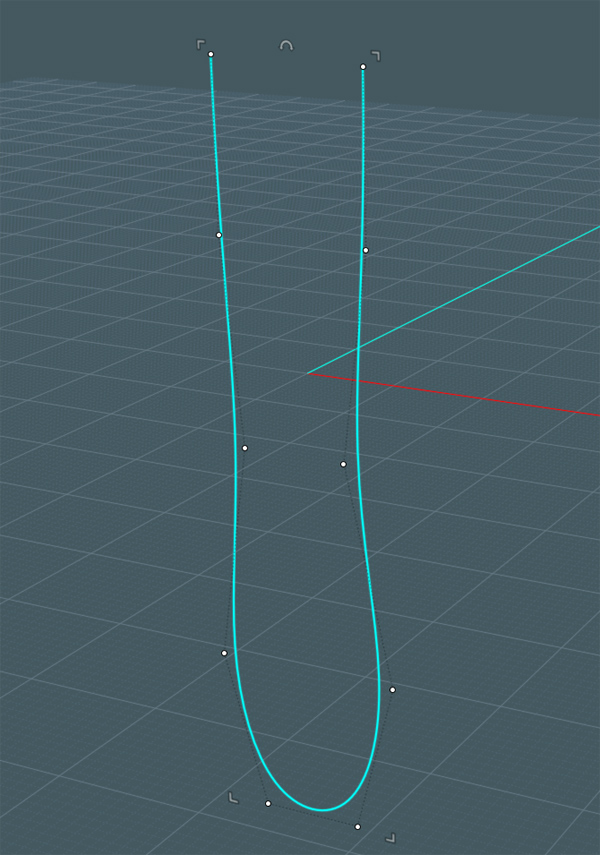
A nice hanging line shape. You can use a catenary curve or course, but telephone cords made from rubber and wire are more awkward.
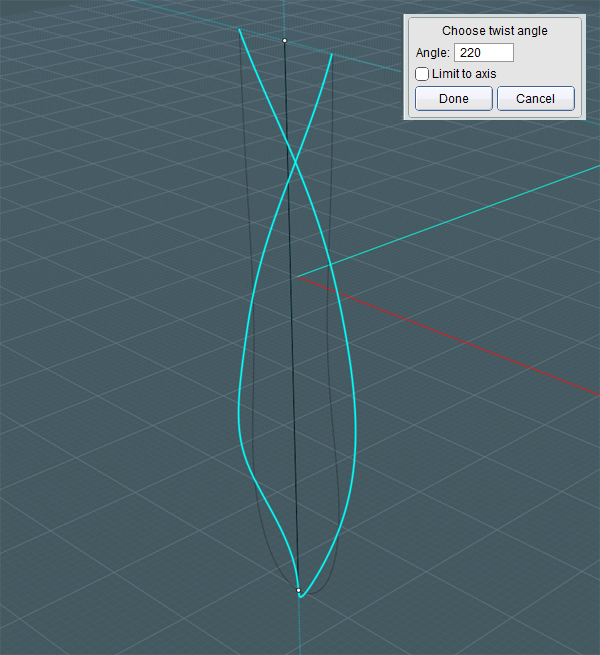
Lets use the new Twist tool!
This gives it a little more realism.
Please note that this is a path to follow here. Keep in mind that the cord is going to have x-amount of thickness. So don't let the curve come too close on itself.
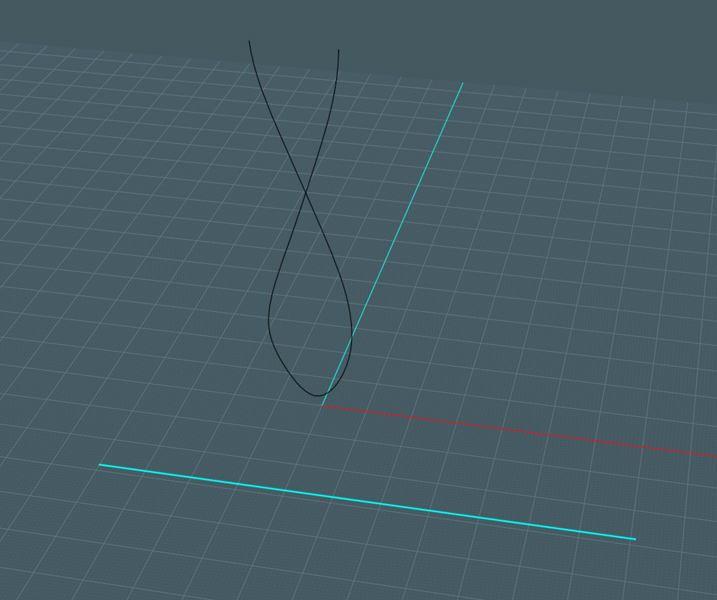
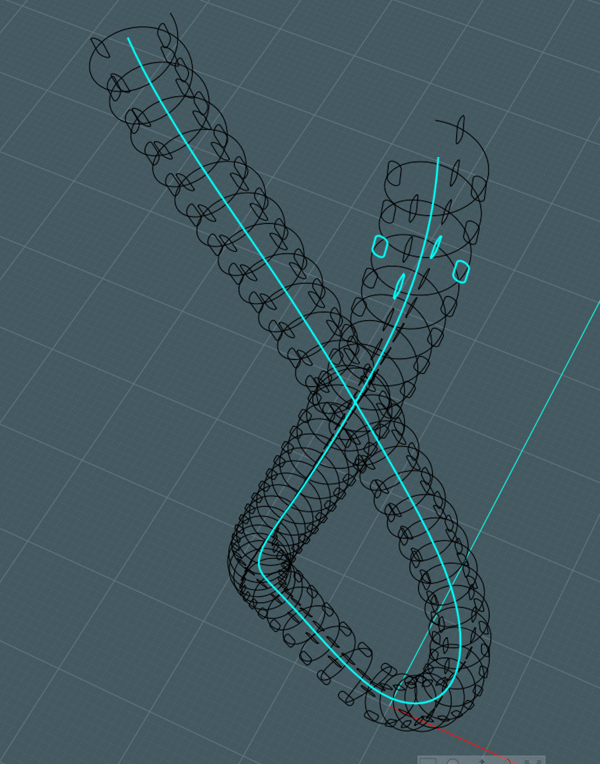
Hard to see here, but here is the curve with a little undulation added to the path:
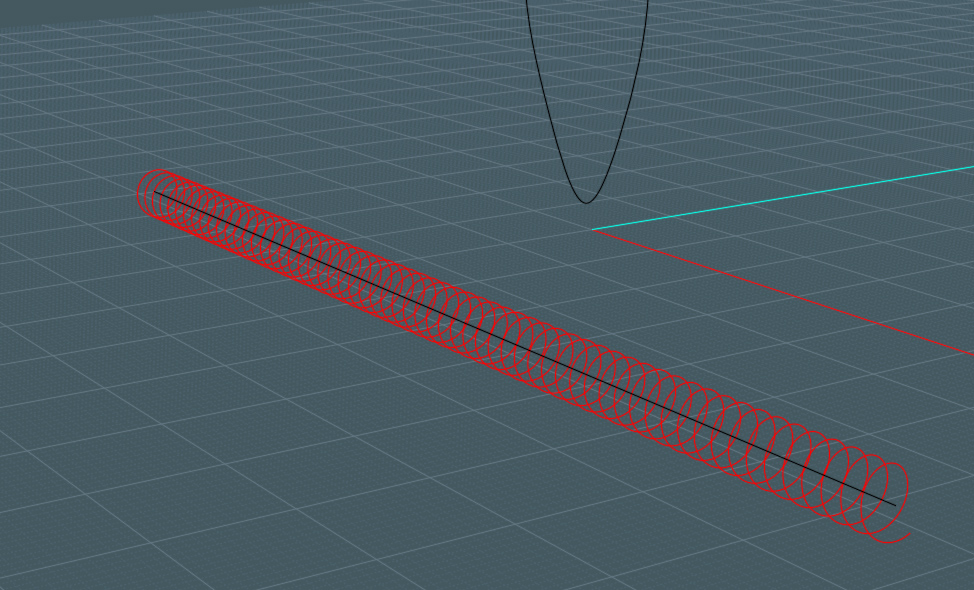
We need to make a straight reference line by which to draw our cords helix sweep path:
Here's the helix created on the reference line:
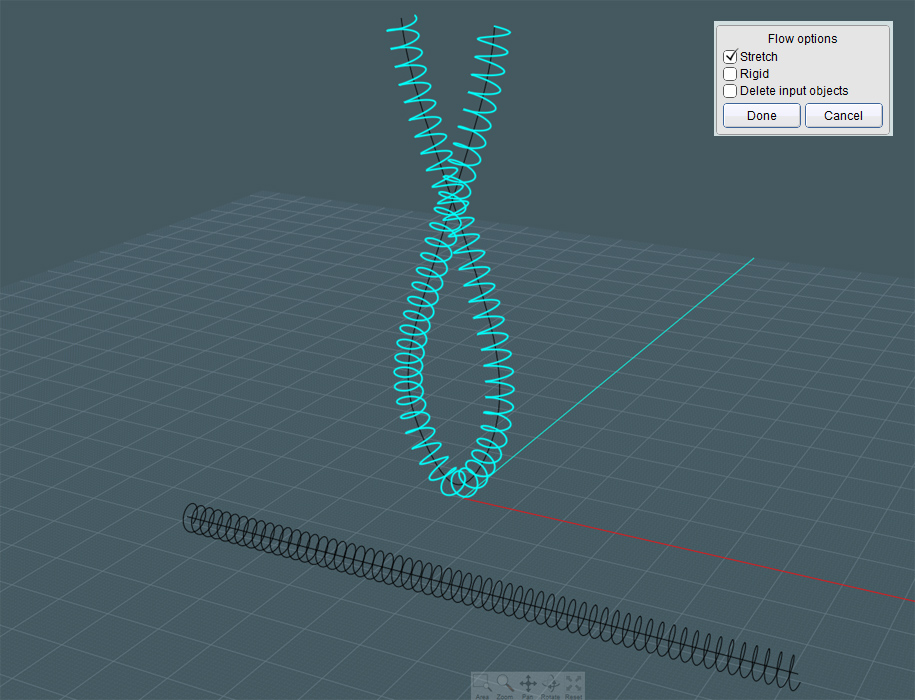
Here's the helix Flowed to the path:
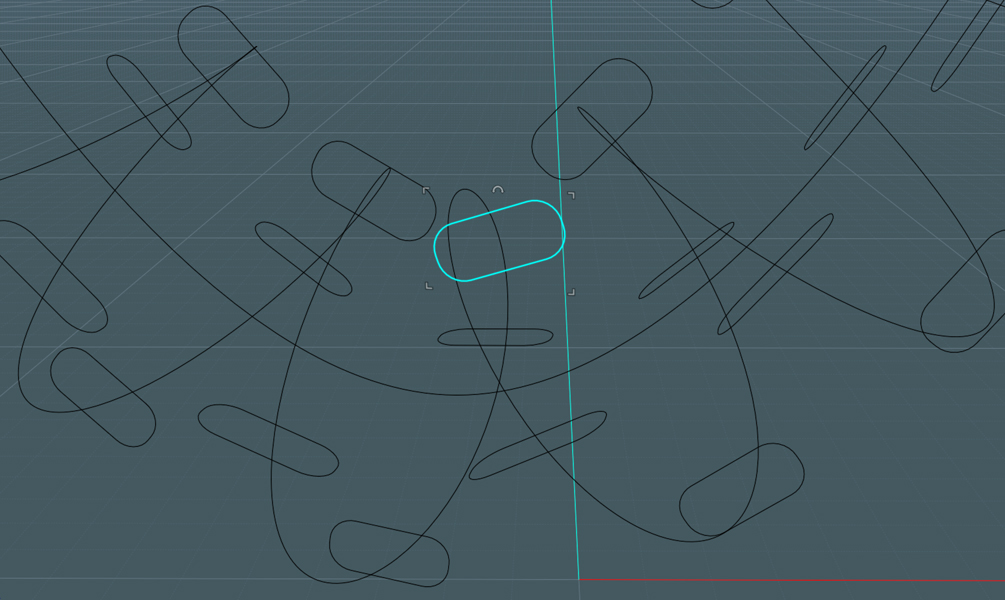
Next, let's draw the profile shape to Sweep along the final helix:
We are going to Flow the profiles on to the final Flowed helix path.
And we'll be sweeping the flow-placed profile ON the flowed helix.
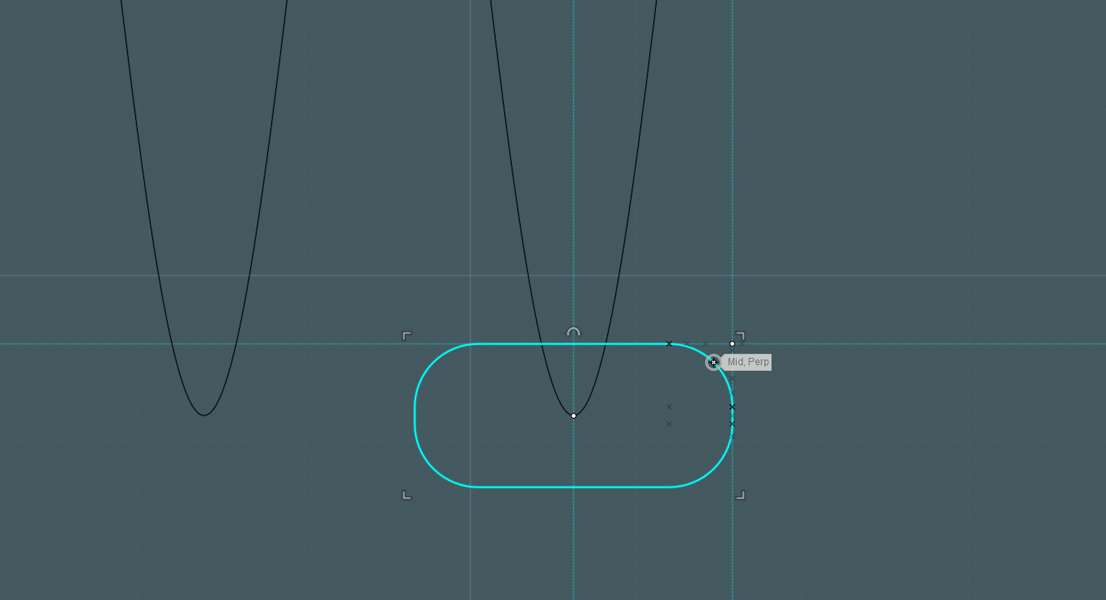
In this case, I want a rounded rectangle. If you create a similar object like a helical conduit made of metal, then perhaps a chamferred corner will do on the shape.
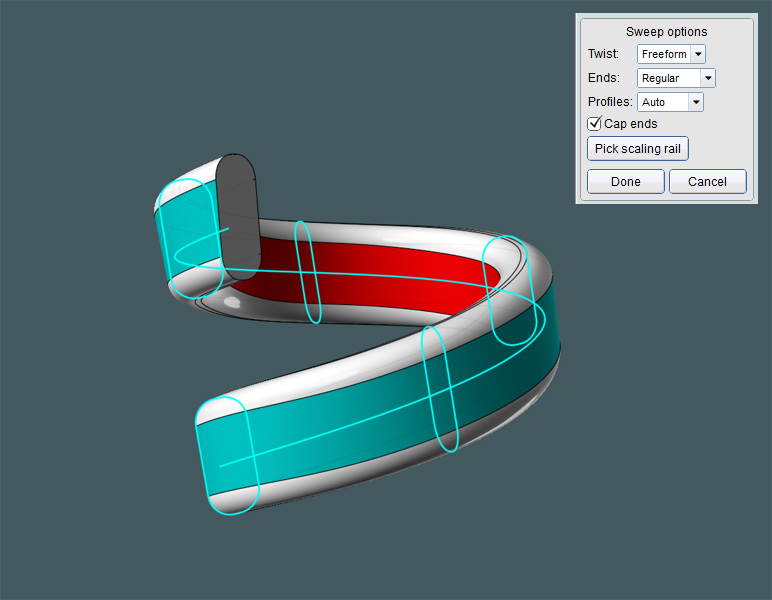
Here is a major issue!
There are a few different modes with the Sweep command that tell it how to carry the profile shape along the path.
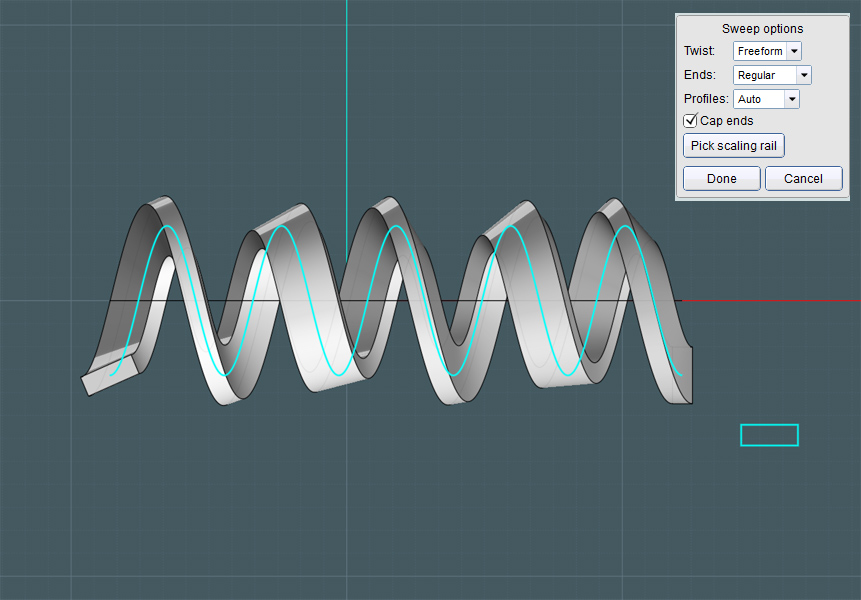
1) If you choose "Freeform" mode, the profile will kind of follow the path curve, making banks and turns to allow for a graceful sweep result.
2) "Straight" mode is suggested if you are moving the sweep path in one direction. (As shown in the example at the beginning.)
Here, you can see what happens if you don't choose a direction:
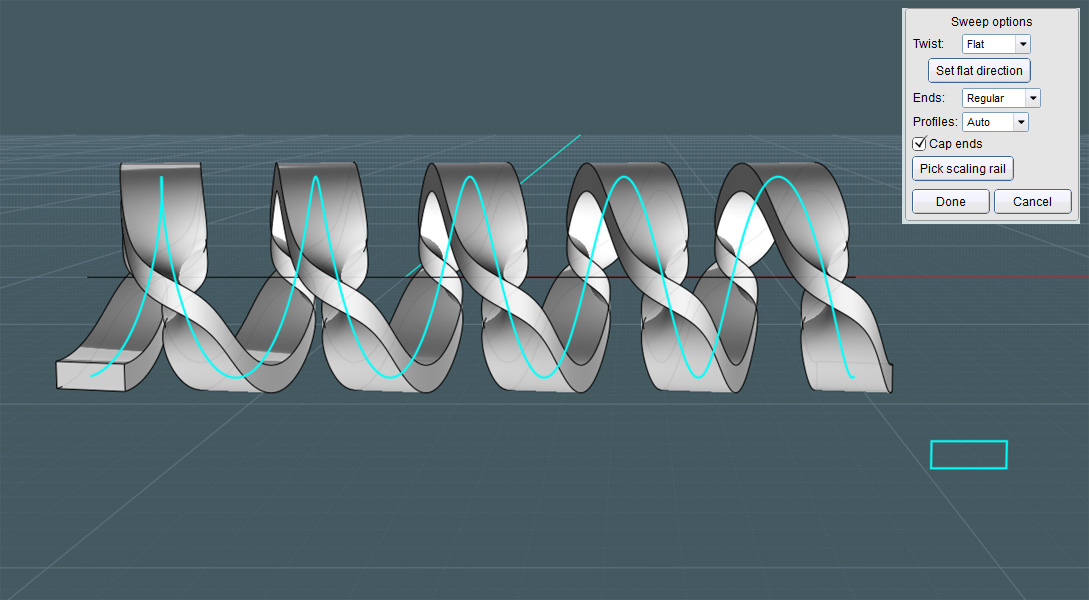
Kind of cool, actually. But not what I needed.
Some facts about MoI's Sweep command:
If a profile shape is place off and away from the "bounding box" area of the sweep curve, then MoI will automatically take the profile shape(s) into consideration and sweep them. As shown in one of Michael's videos, the Sweep tool will see them in order as you have them arranged off to the side and merge their shapes into each other as the go down the line.
But this option does not take into account your intended orientation.
To enforce an exact orientation along the path - the second option for the Sweep command is to physically place the profile objects
ON the path itself.
And just a few profile shapes along the away isn't good enough.
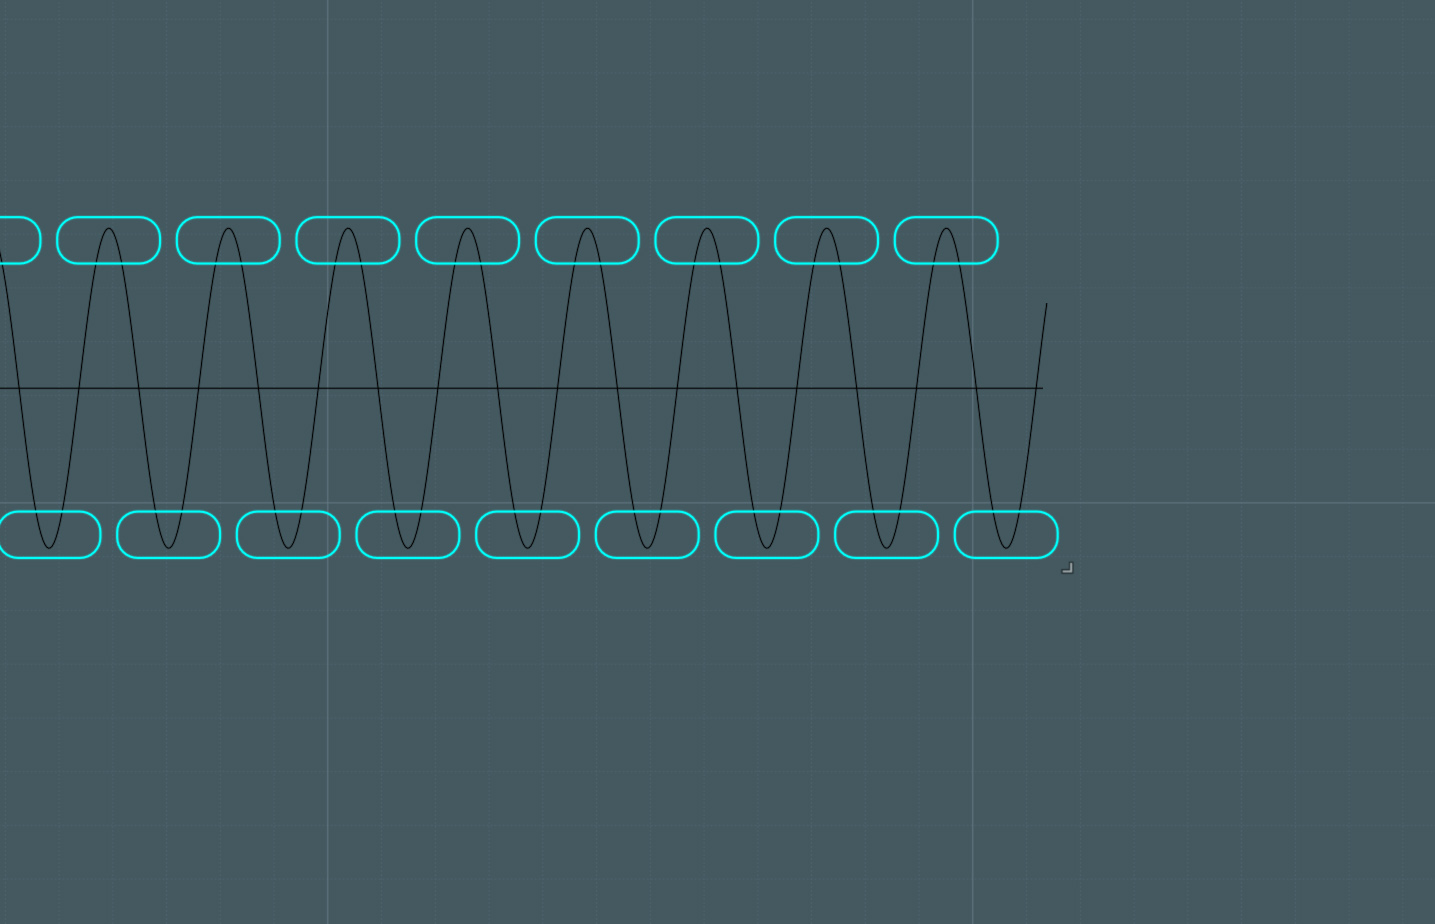
Here you see that I have used the Array Direction command to make copies that physically sit at some point along each rotation of the original helix object.
But this is still not good enough! Because the Sweep command is trying to match the shapes along a winding, and twisting helical path, you'll actually get a kind of funny blending effect as the long sides morph into the short sides and back.
You need to place copies along the path in EACH quadrant of the helix's rotation:
Now you think - All we have to do is Flow all of this to the path... Not exactly. If you do this, the Flow tool will warp your profile shapes.
This is a simple two-step process.
The first part, was done already. The helix was Flowed to the target curve with a regular flowing option.
The profile shapes need to be now Flowed as well!
But this time you'll need to activate the "Rigid" option.
And here we go... Now all of the profile objects are in place, except they retain their proportions.
Keep in mind that if the first helix object is stretched due to the difference in reference curve and target curve lengths, the profile shapes may actually need to be re-sized prior to flowing again.
You may notice that if your profile shapes are flowed on the target curve while they are kept rigid, some may now overlap.
This will cause a collision in your sweep path.
This may be allowable in your rendering if it is not too close, but you may want to now move them a bit.
This will actually make it look a little more realistic. A phone cord will behave in this way, but a metal flexible conduit pipe may not. You'll have to consider that.
Here you see what happens as you place the profile shape right on the path curve itself: A consistent sweep is created.
Here you go:
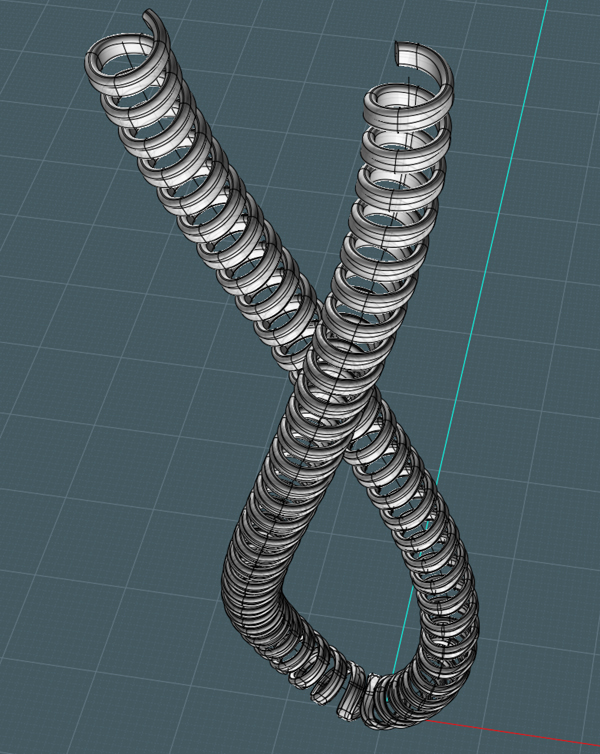
So to summarize: As with a real-life phone cord, the wire is shaped to conform to the helix configuration along it's implied path.
This is one way to mimic the same action and get a nice result using Flow and Sweep.