Part Five: Accessory Tray
One important piece of equipment is needed to make a good shower head rig - a useful accessory tray for holding shampoo bottles, soap, razors and the like.
This one will have a tray area just the right size to hold shampoo bottles, and will wrap around the vertical support tube on the rig.
It'll be slightly decorative and made from non-corrosive bronze or nickle alloy.
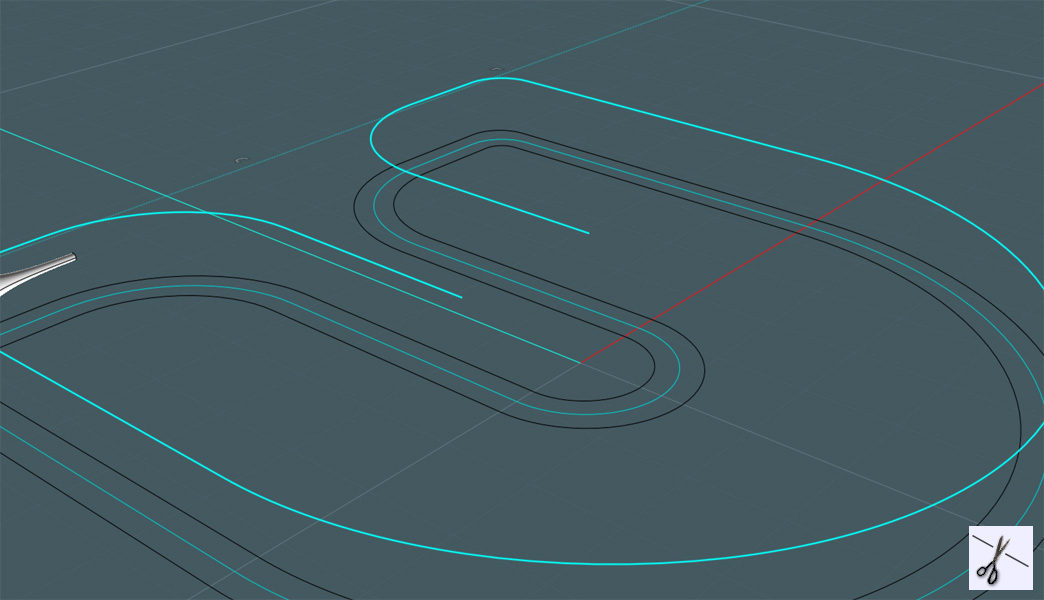
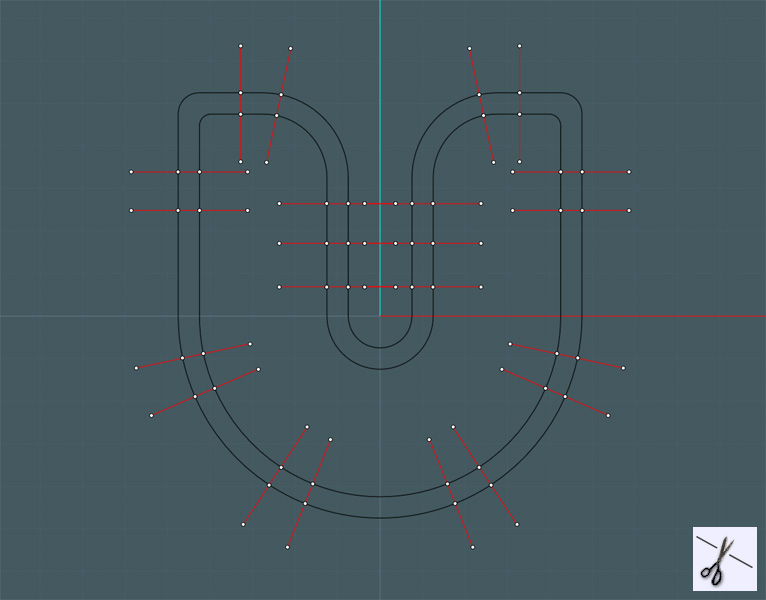
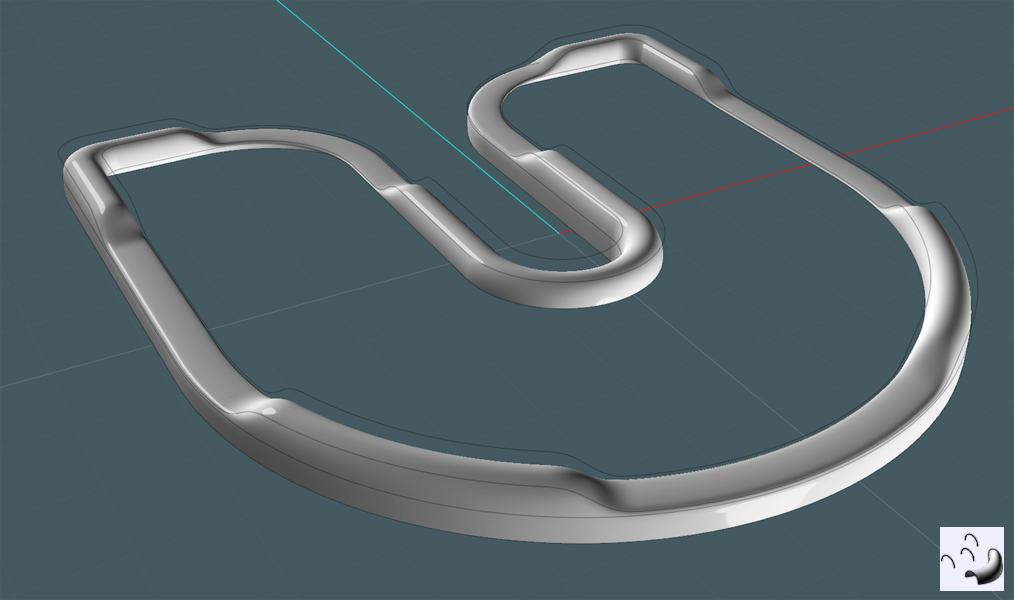
First, I need to establish some shapes in a 2D view:
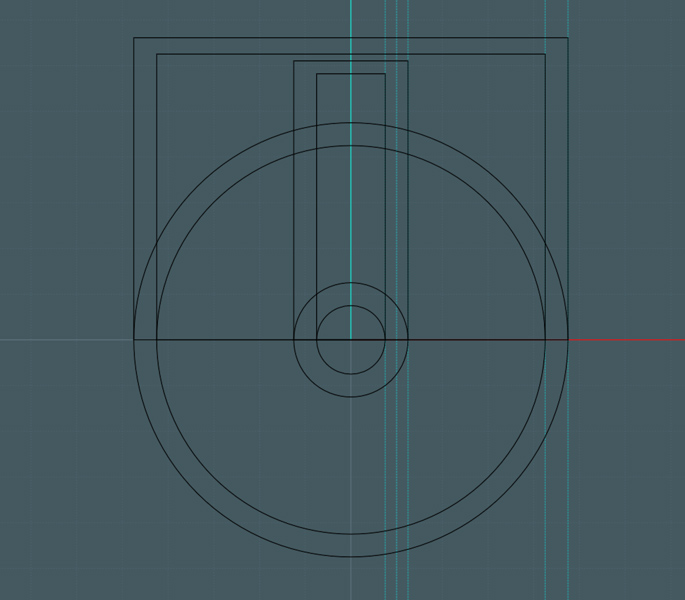
These will define the tray size and exterior retention lip.
Using MoI's easy to use 2D CAD tools, I work with the shapes, using unions and fillets to create the profiles I need:
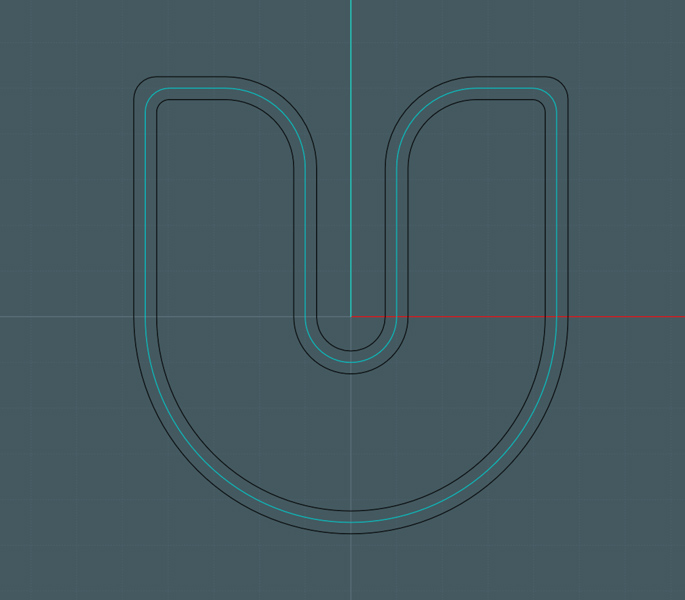
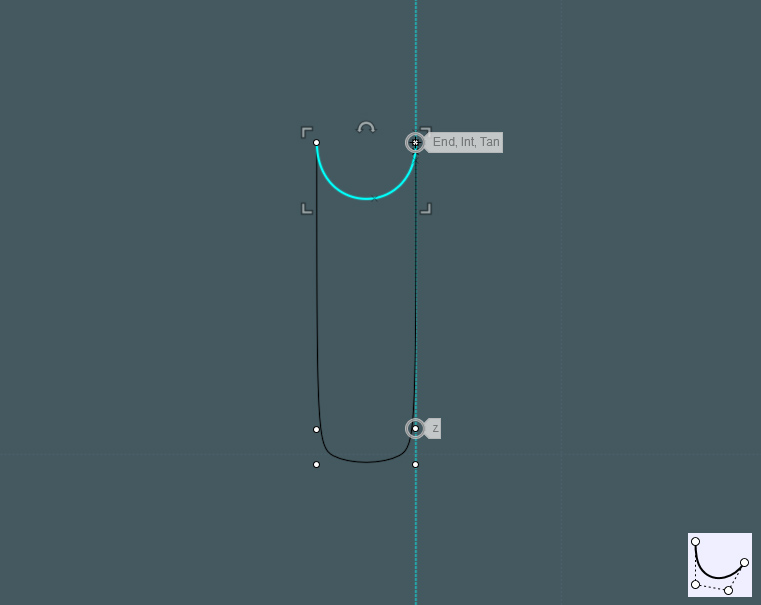
A 'U' shape is created with the center area the exact size needed to hug around the rig's center pipe.
A center-line profile is made for future reference.
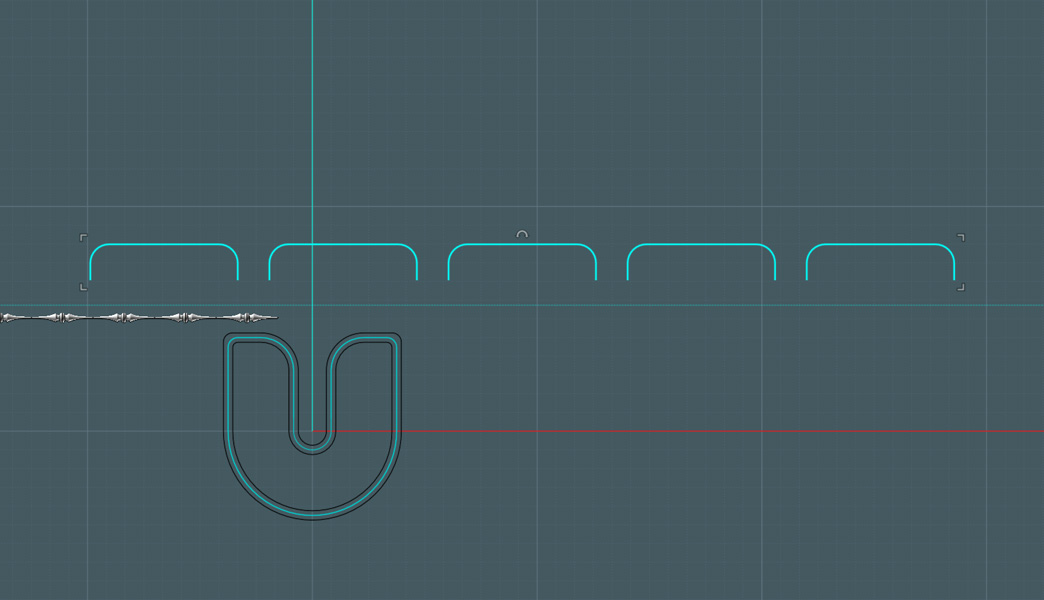
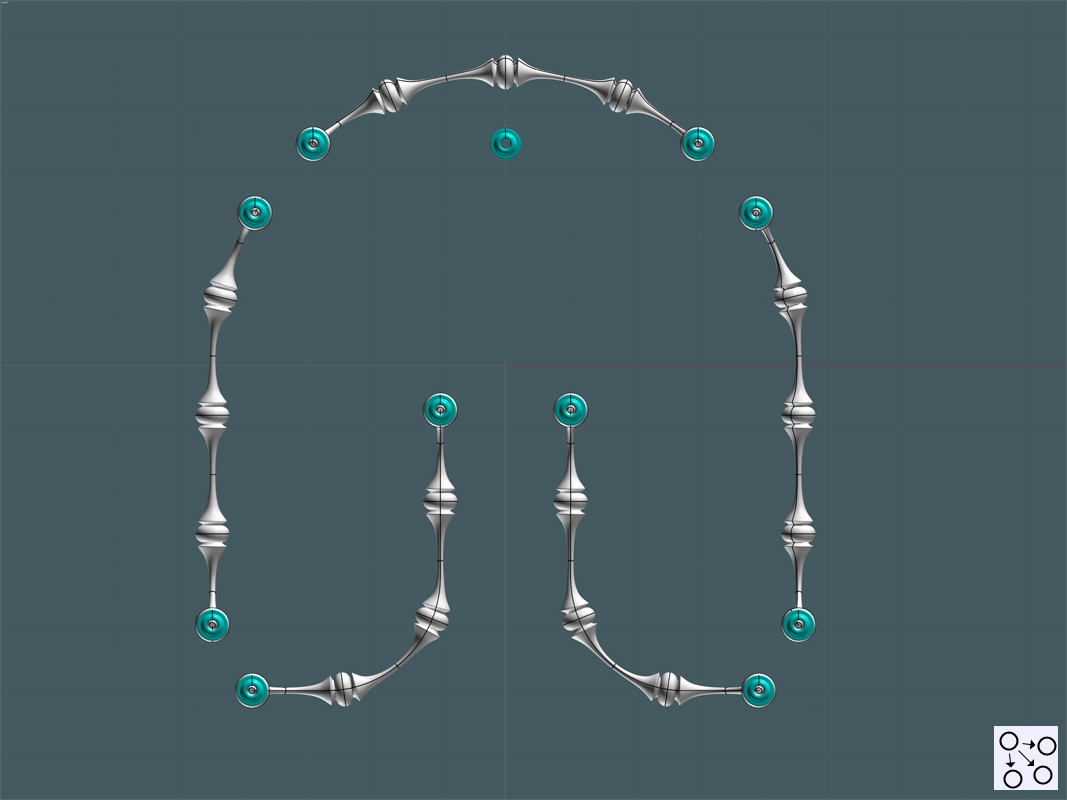
I need to make a decorative rail to help hold the items in the tray.
I start by making a nice profile shape, then revolve the shapes.
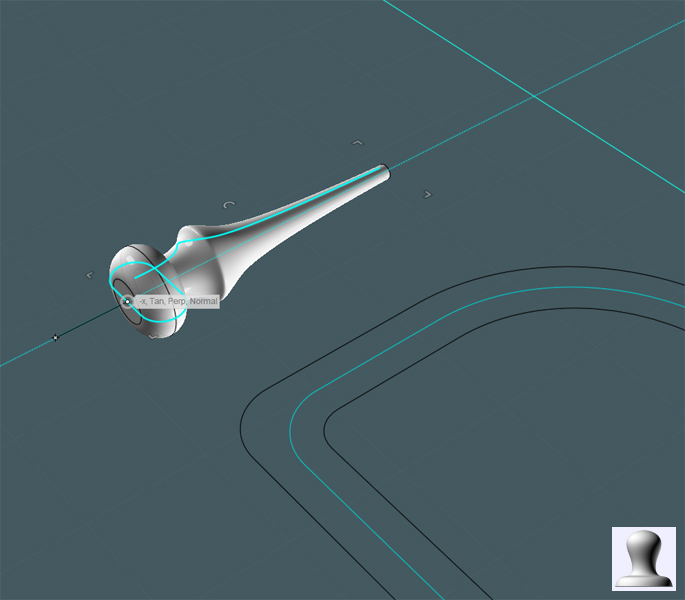
I make mirror copies of this shape to make a bar of some sorts.
The reference profile on the main shape is intended for the rail's construction.

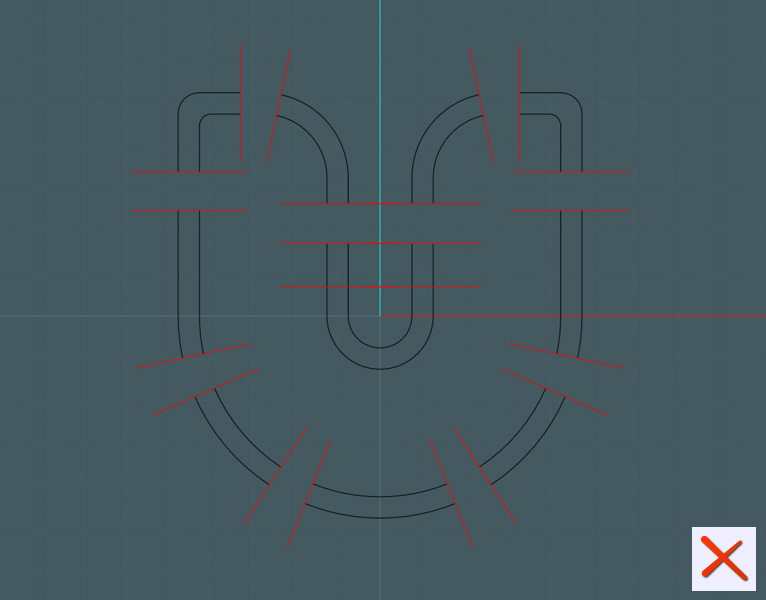
Here, I cut the inside part of the reference rail:
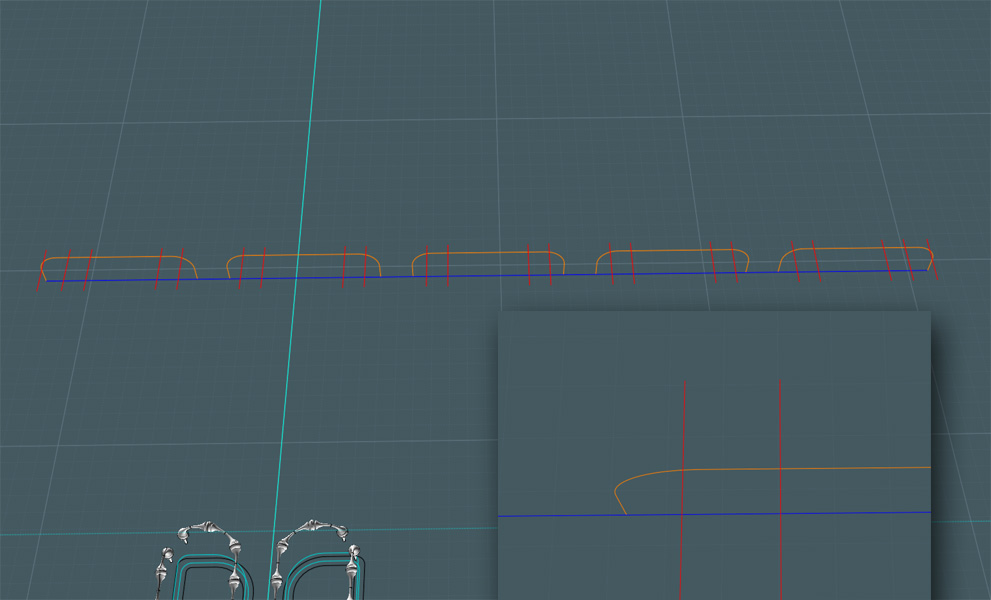
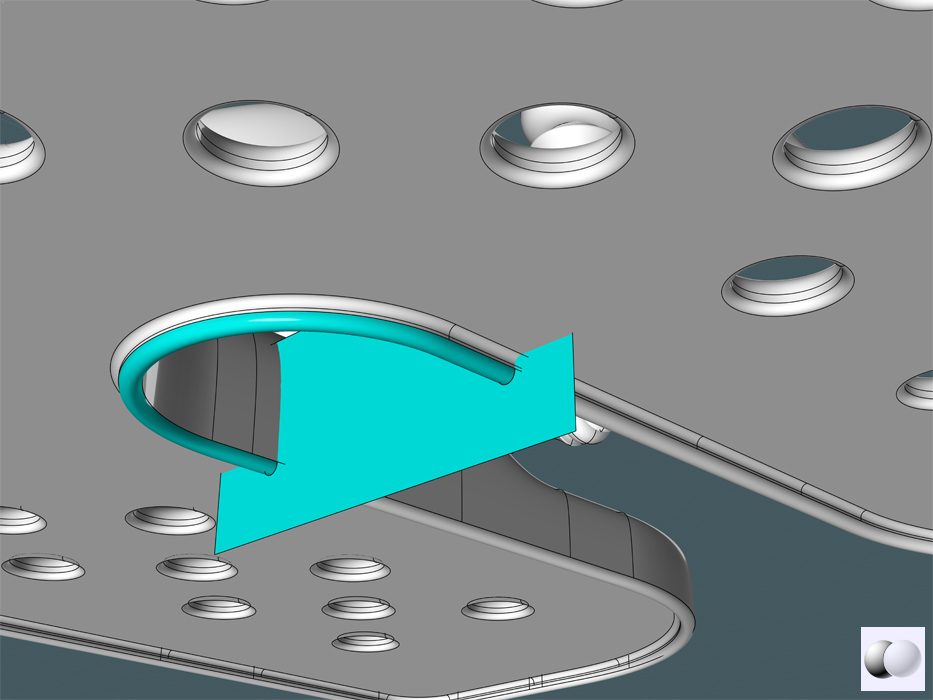
Back in the top view, I draw some shapes that I will make the rail objects follow.
I FLOW the shapes to the reference path:
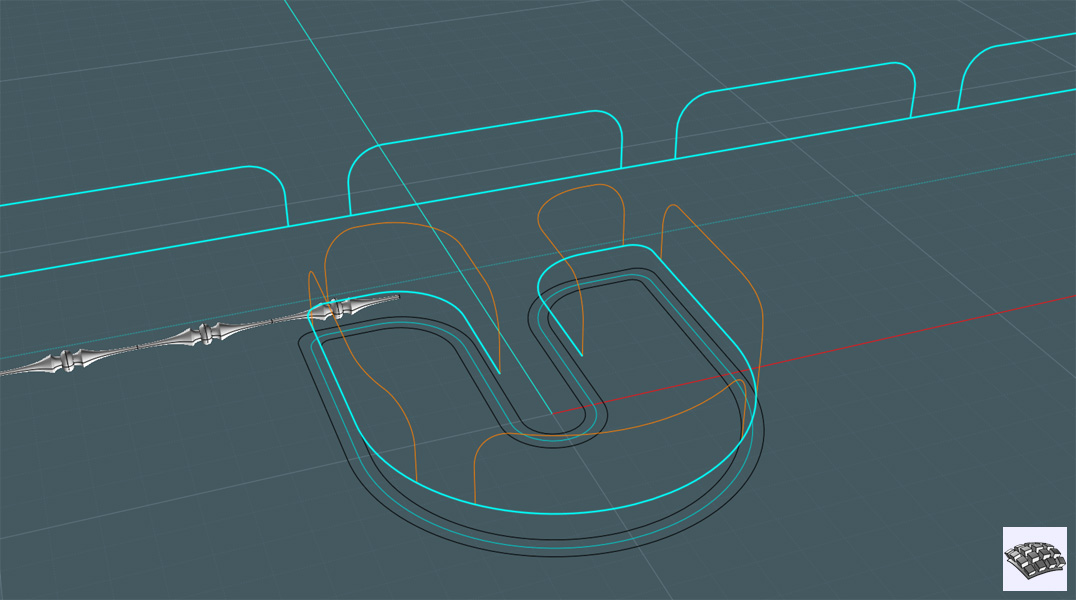
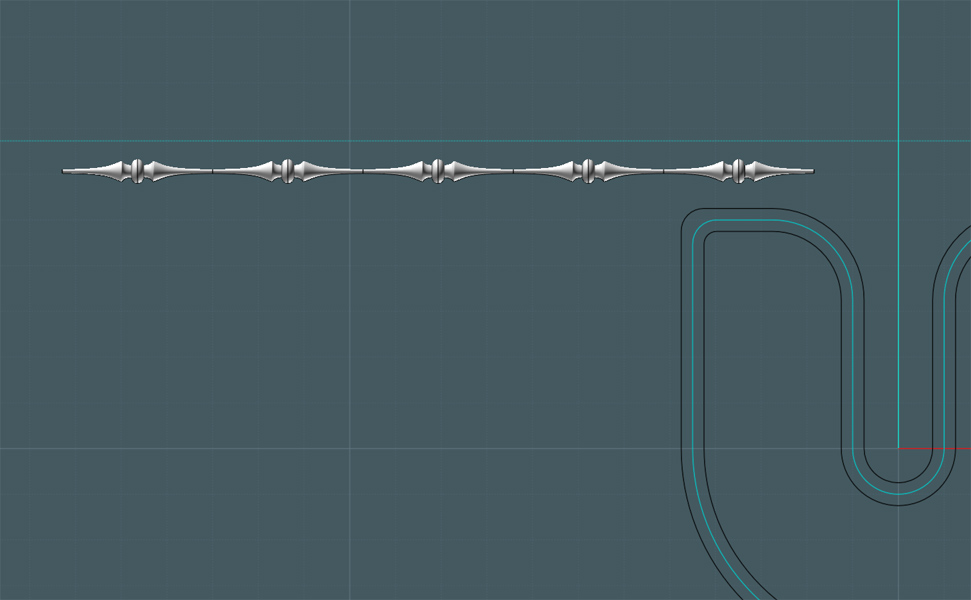
With the rail shapes, I made two sets of shapes, one a tapered shape and the other, a type of bead.
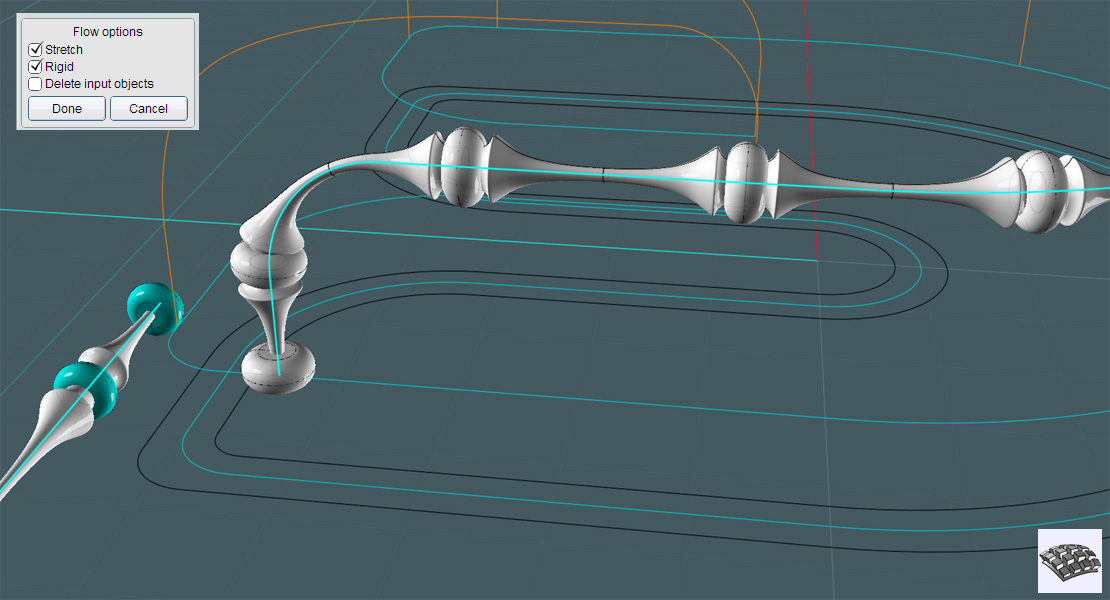
I flow the tapered sets to the new reference paths. Note that this Flow command was set with the "rigid" option OFF.
---Look! I Flowed to a Flow!
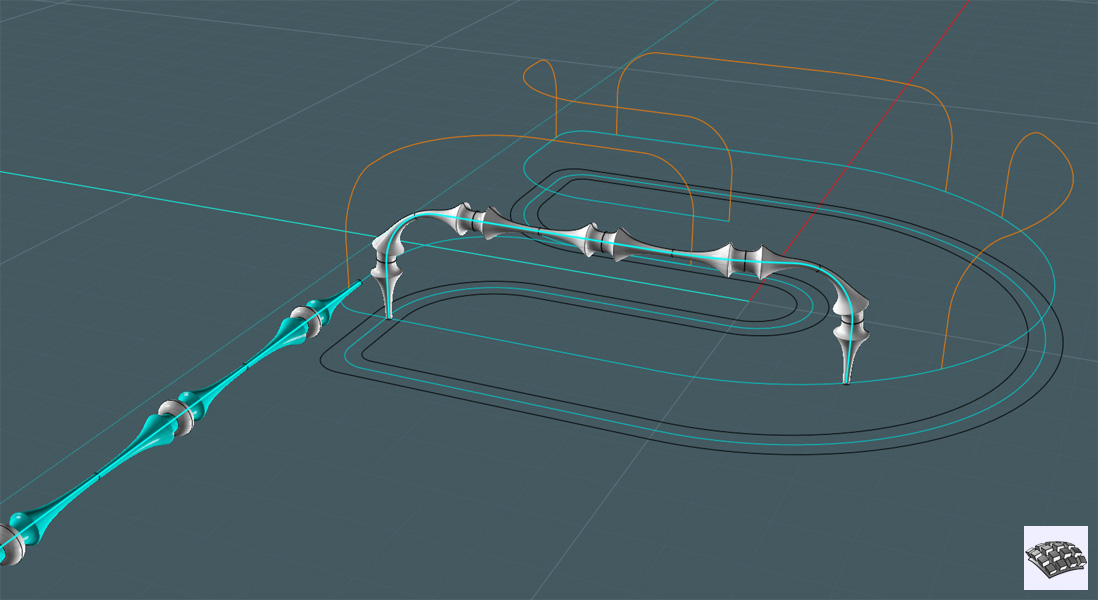
Here, I flow the beads to the same path. A temporary set of beads were placed at the ends so that the flow of each set would match.
This time the "rigid" option was activated to keep the original shape of the beads.
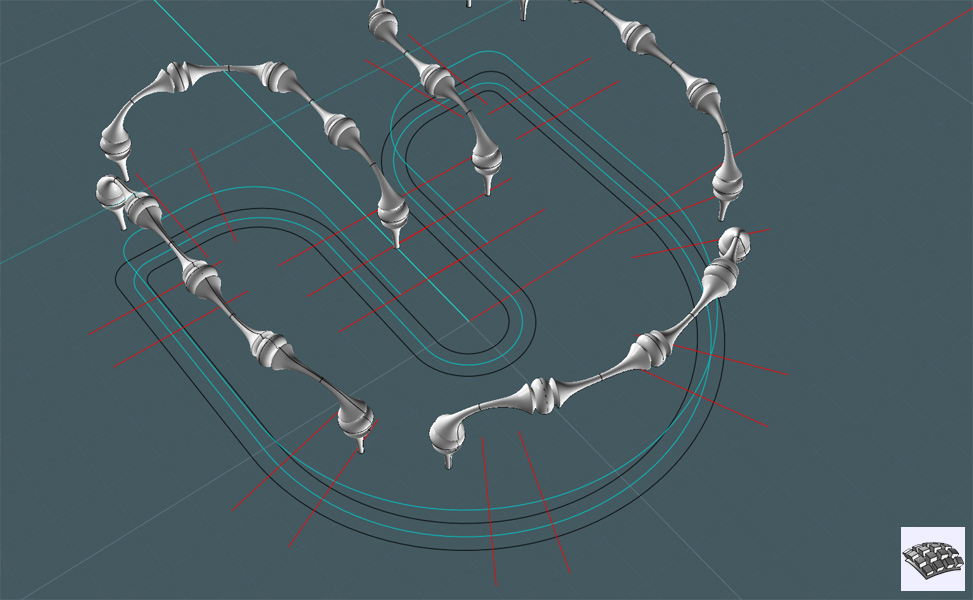
Here is the complete decorative tray rail, completely flowed to the reference paths:

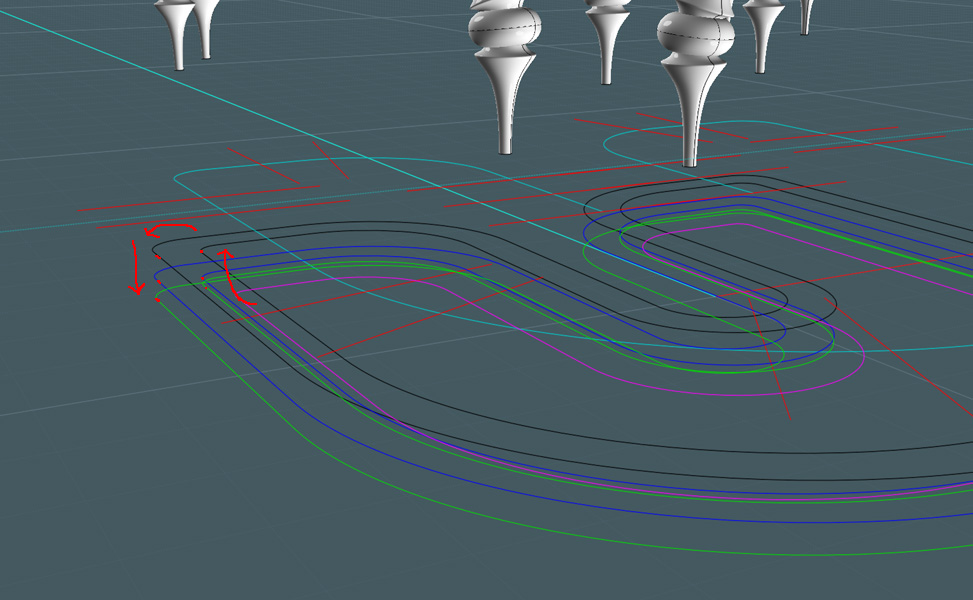
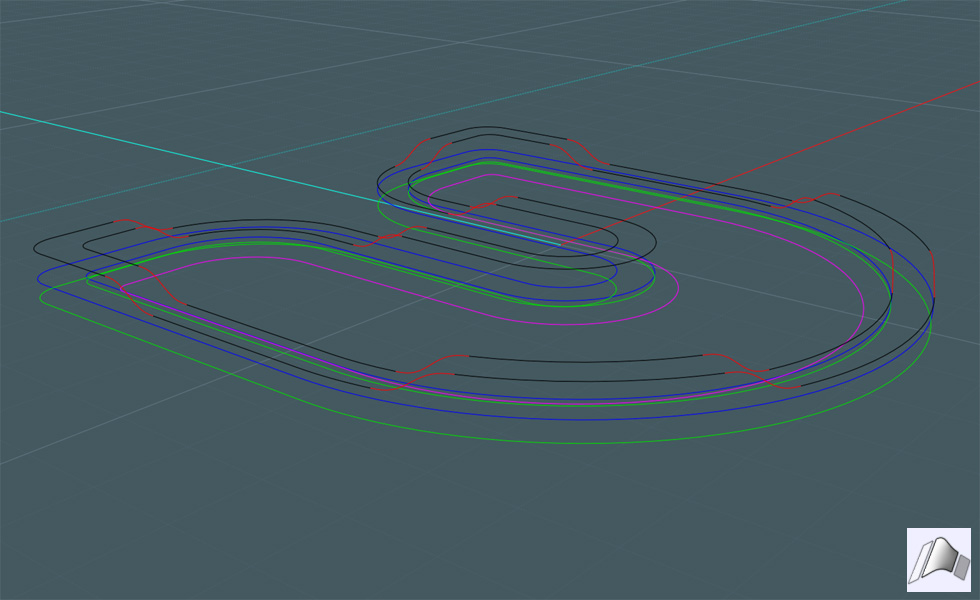
Here, I make some reference lines:
I flow the reference lines to the center reference line.
I'll use those references, but first, I need to Loft my profile rings so that they form the tray's ridge lip:
I make copies of those profiles in Z.
Here, I Trim the reference lines from the top set of profile rings:
And delete what I don't need:
I now move select portions of the separated profile rings - then I Blend their curve ends to make a vertical transition.
To make the Loft work smoother, I need to make a second set of profiles, but with a shorter transition. I use a copy of the new profiles and make a flat copy:
The flat copy is placed slightly lower than the top one.
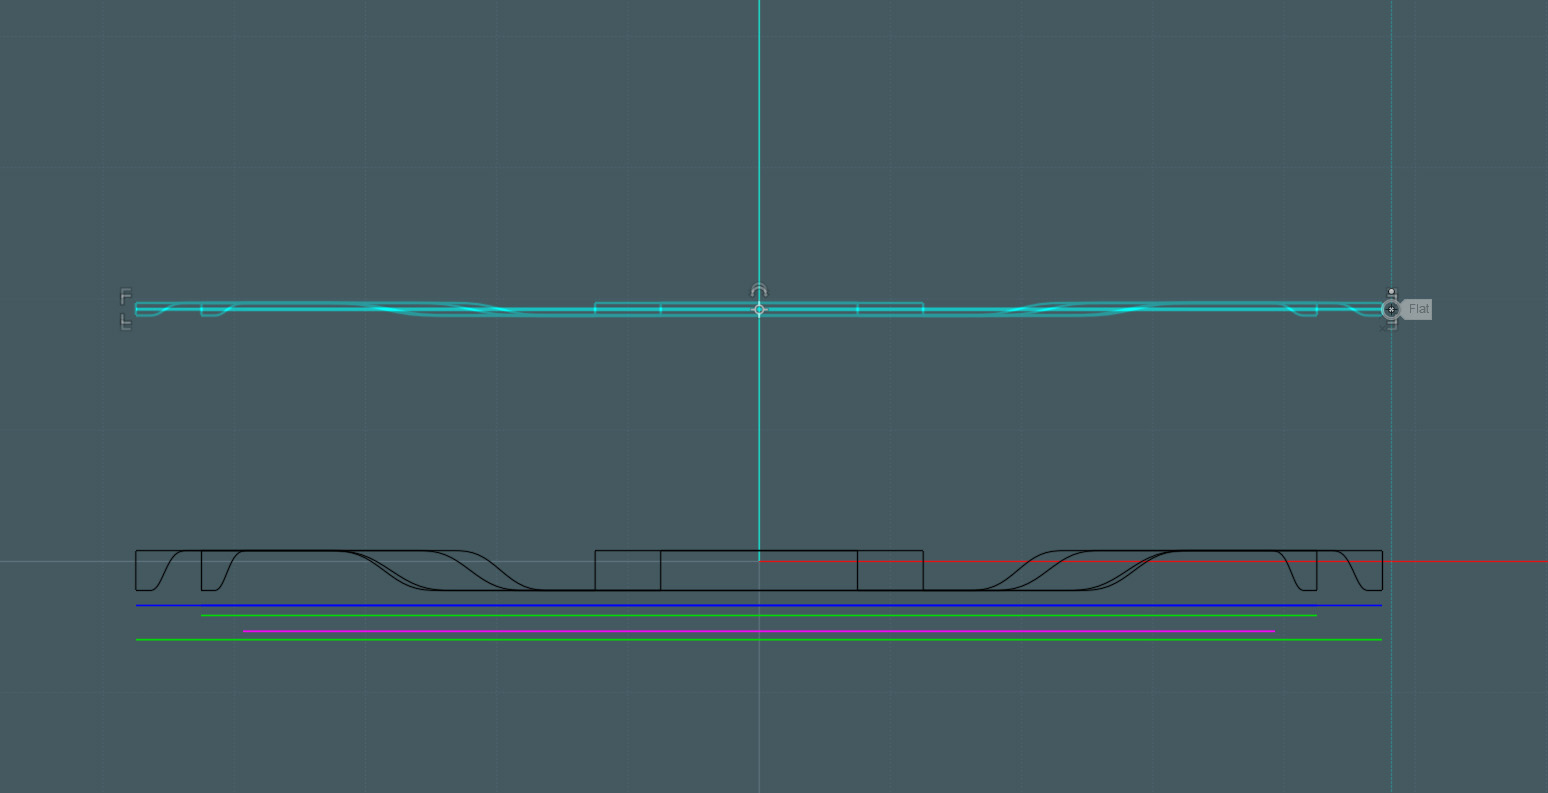
So when you Loft the sets of profiles, you get the nice ridge shown here:
Now I Blend the ridge surface edge to the edge of a Planar surface made with an offset of one of the inside profiles:
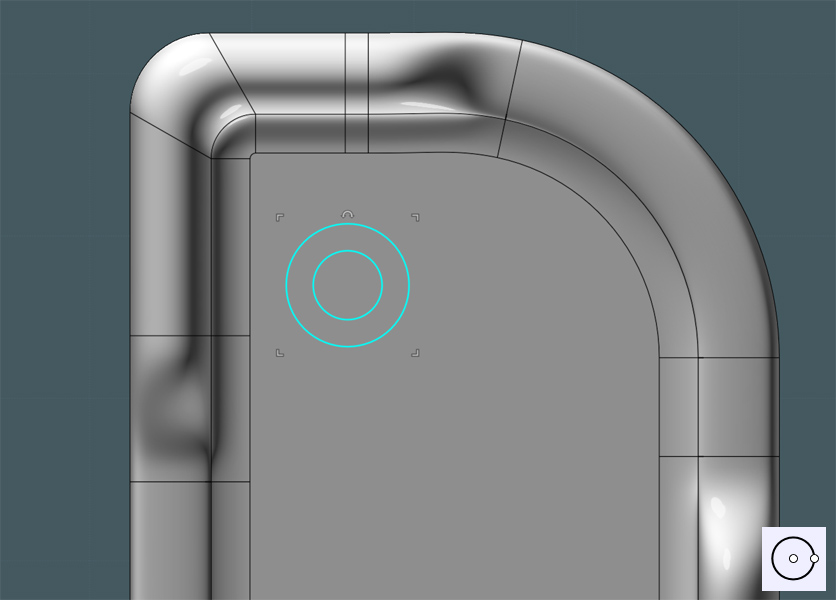
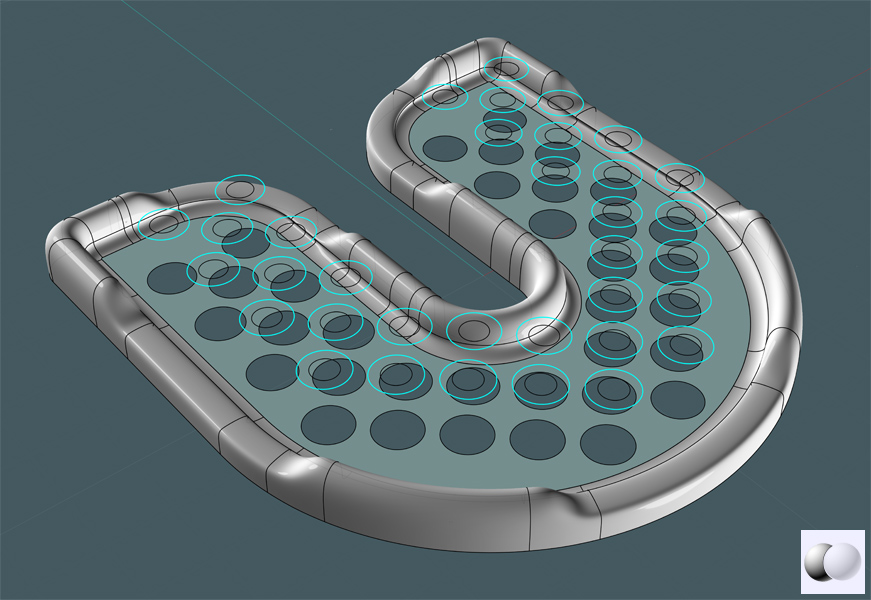
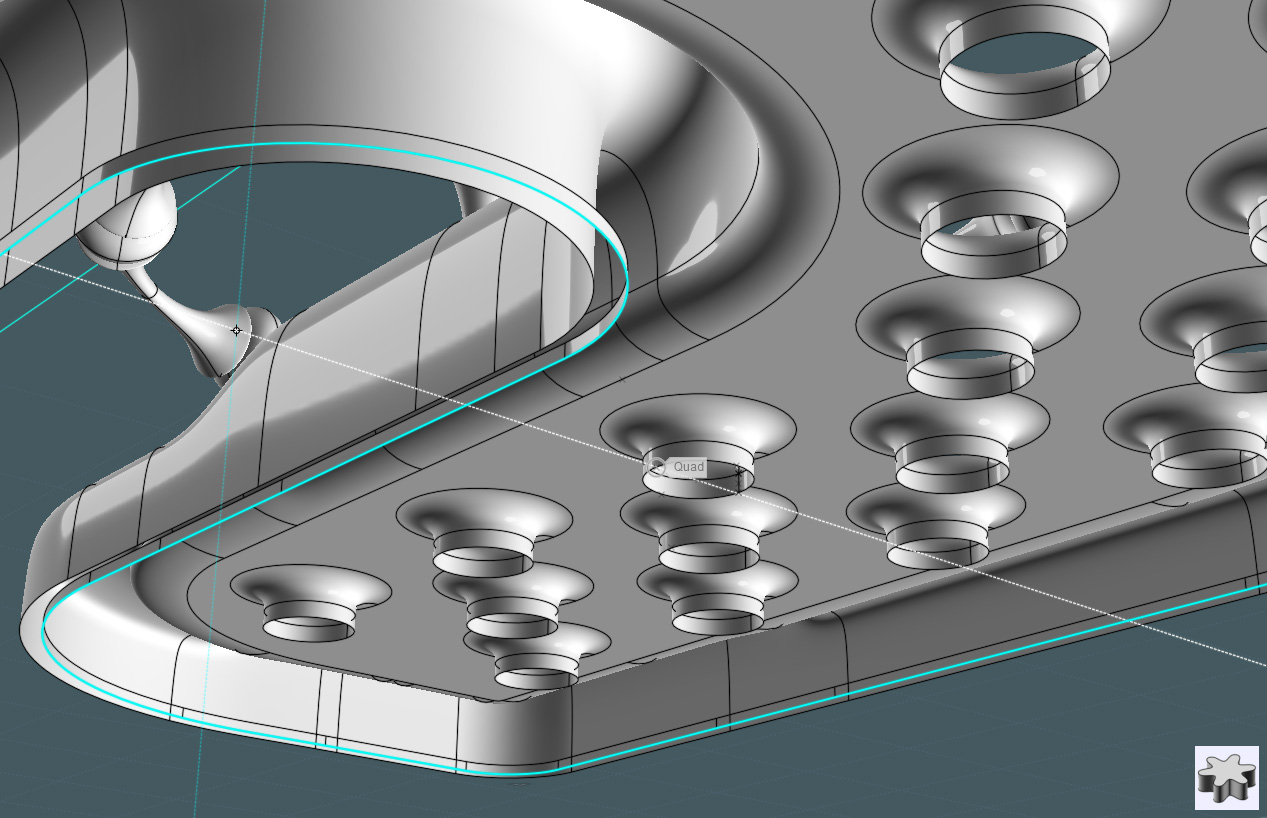
The tray needs drain holes...
I make some simple circles:
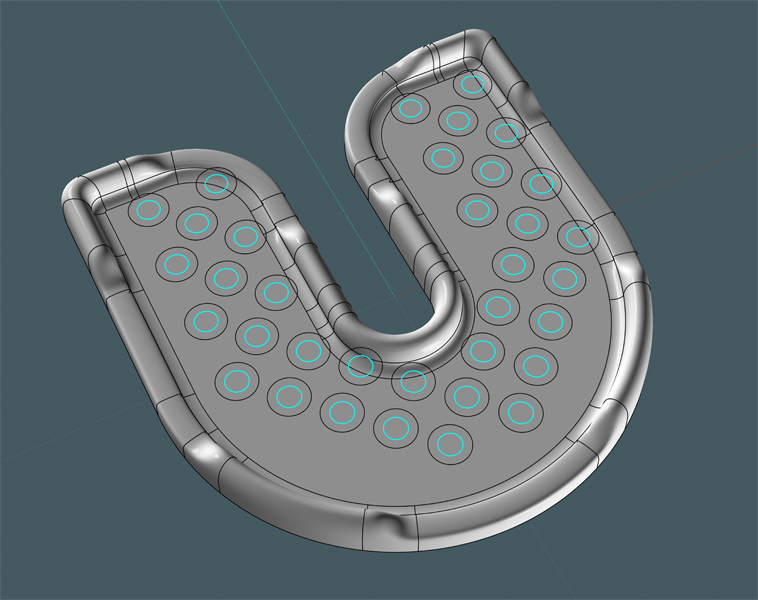
I then use the Array Grid command to make copies. The spacing was wider apart, then I copied the set and positioned it to make a checker board pattern.
I sized and positioned the circles so that they would line up nice on the tray floor. I deleted circles that did not sit complete on the tray floor.
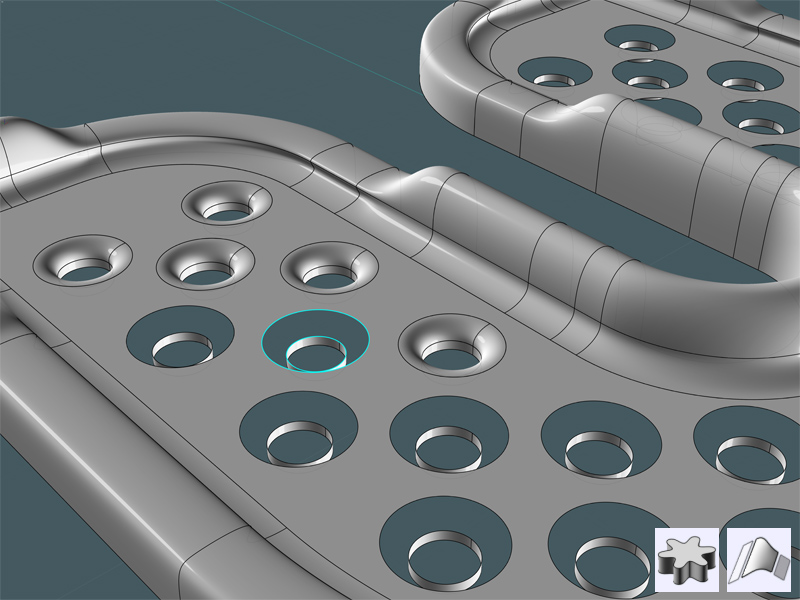
I trimmed the large circles from the tray floor surface:
I placed the small rings below the tray floor surface, then I extruded the small rings.
A Blend was made to transition from the edge for the holes to the top of the extrusion.
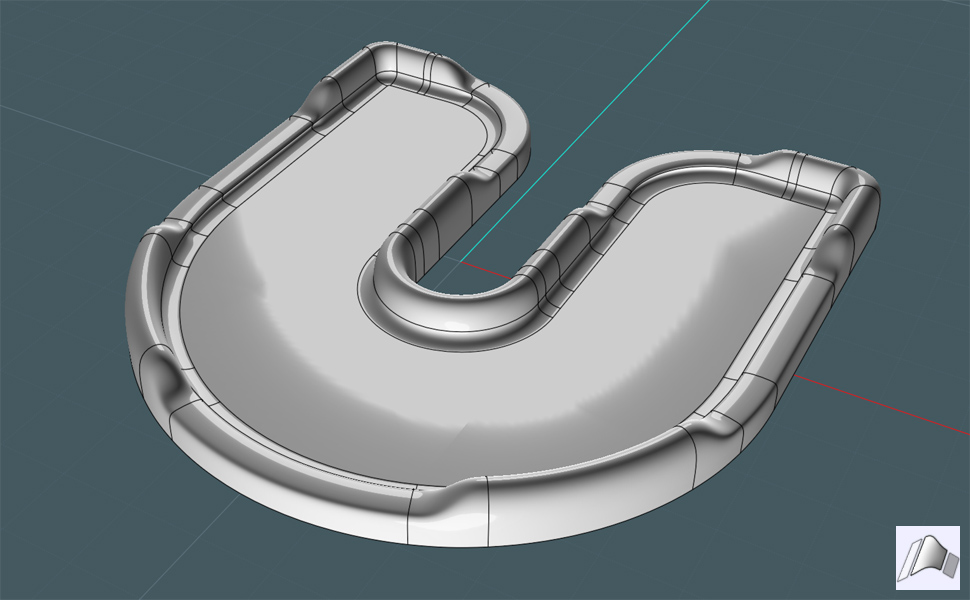
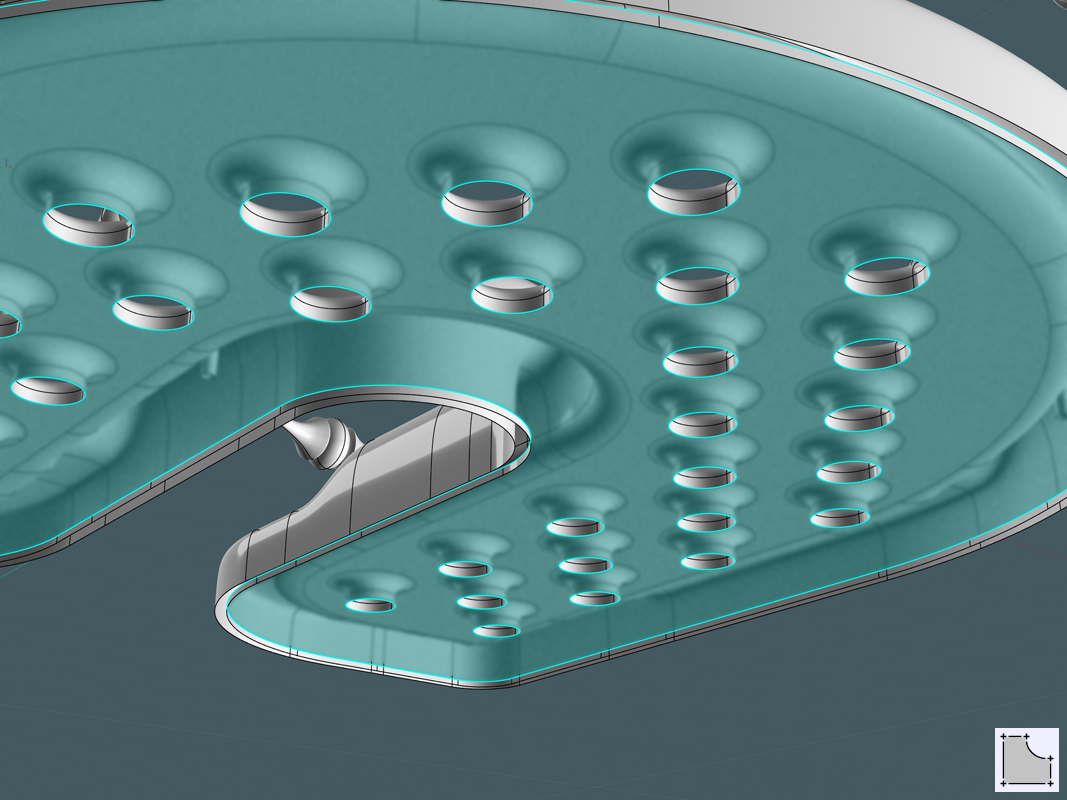
Here is a nice view of the completed tray with all surfaces Joined:
I need to add thickness to the tray surfaces to mimic a real life object.... unfortunately, Surface offset of multiple and complex surfaces is not a MoI's NURBS library strong suit. And understandably, this type of action is better suited for a application based on parametrics, which can negotiate these complex configurations.
So - I'll do the next best thing. Build the other side of the object so that it works.
I make an Offset of the edge profile:
I make an Extrusion of the profile offset:
The Extrusion command will let you snap to a point for inference, so I choose the bottom of the drain hole.
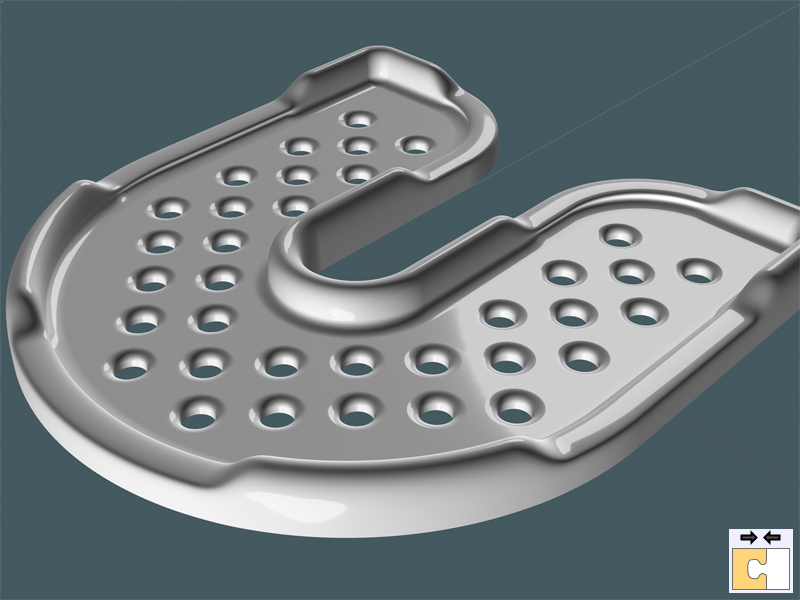
Here, I can now make a Planar surface with the selected rings of the holes and the other edge of the offset profile's extrusion:
I then give the surface a "frosted glass" material fill ---- Just kidding! A nice Photoshop effect to show the work...
I need to marry the small extrusion of the offset profile to the edge of the tray's ridge.
I can either Blend the edges of each surface, or in this case, I make a profile to then Sweep.
I then Sweep the profile on the rings made by the bottom edges on the tray.
To get the rails, select the surface edge curves, then use the Join command to make a new and separate curve path.
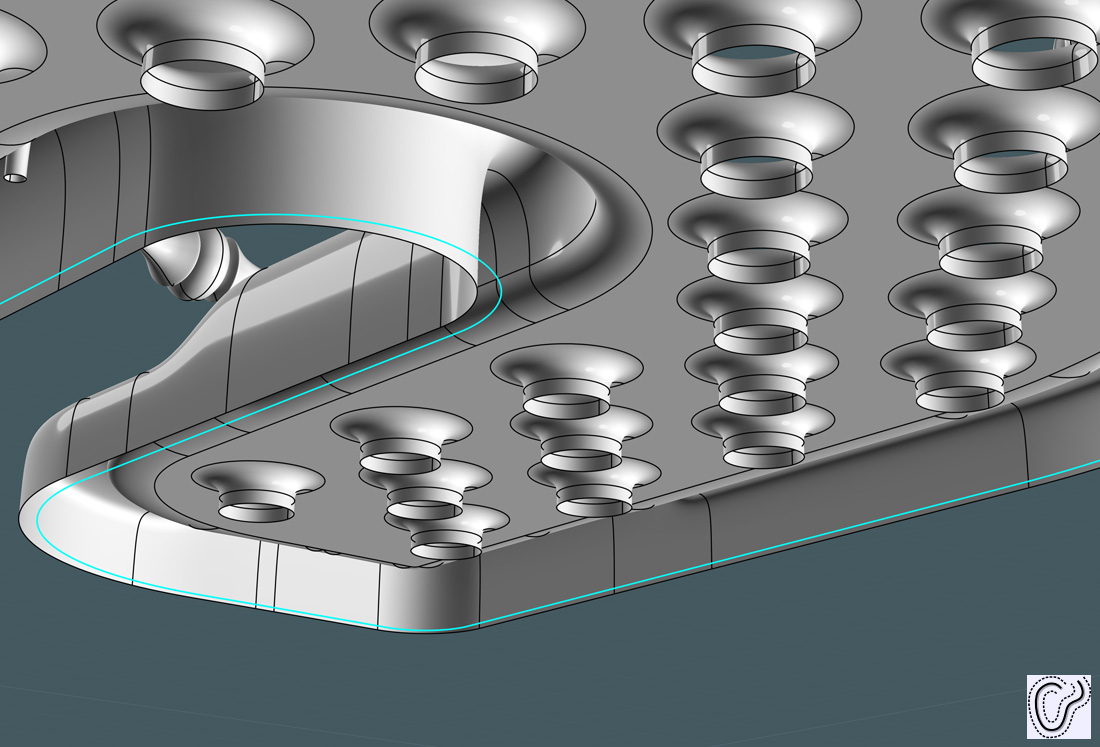
I joined all surfaces, then I Filleted the edges:

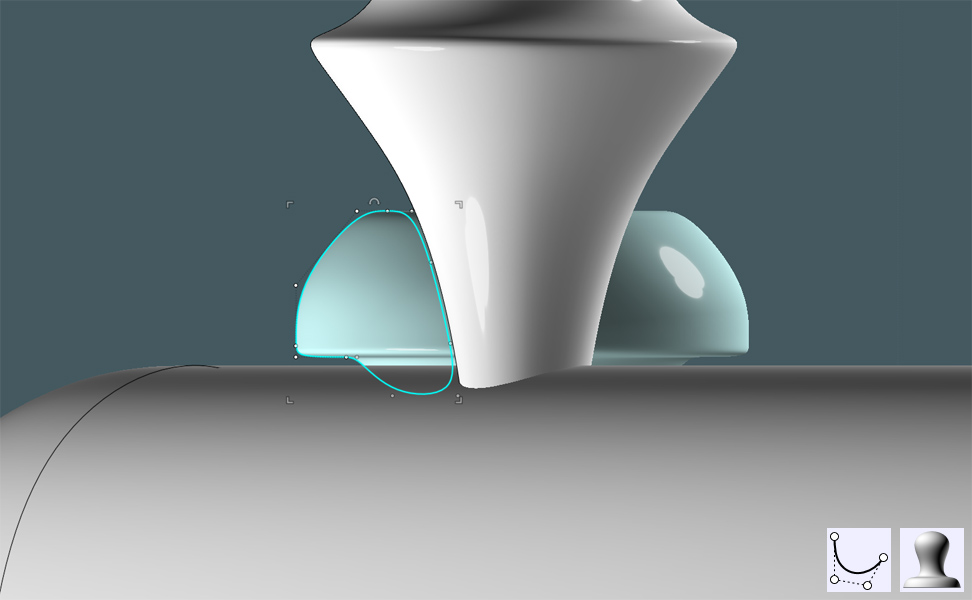
At the moment, the decorative tray rail just collides with the tray lip surface.
A Revolved profile can make a nice grommet.
Using the Bottom View, I use Copy to arrange the grommets to the end post of each decorative rail set:
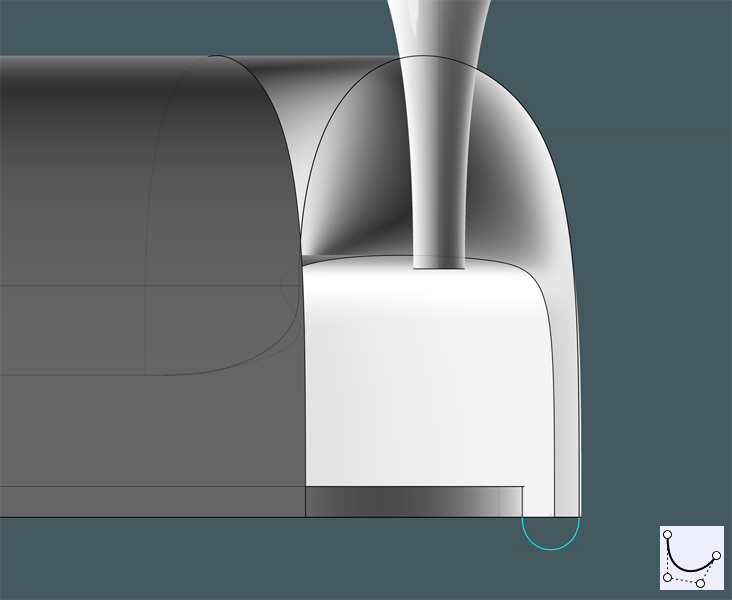
I need somewhere to attach the tray to the shower head rig pipe...
I use an object to trim into the inner portion of the bottom ridge lip.
I'll make a taller lip surface. Using the existing lip profile, I'll draw another one:
I use Orient Curve to place a copy at the center location to re-enforce the new lip's shape.
(Michael - I swear, this is the first time I've ever used the Orient Curve tool! :-) )

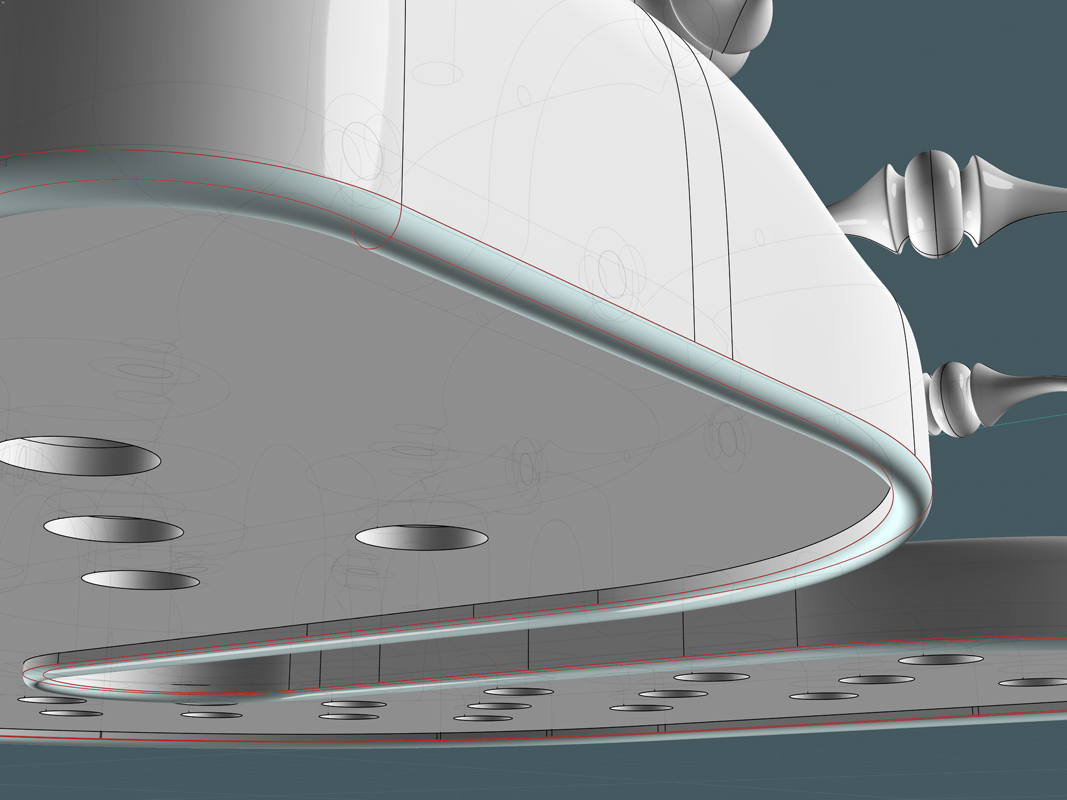
I use Sweep on the profiles and two rails to make a new ridge:
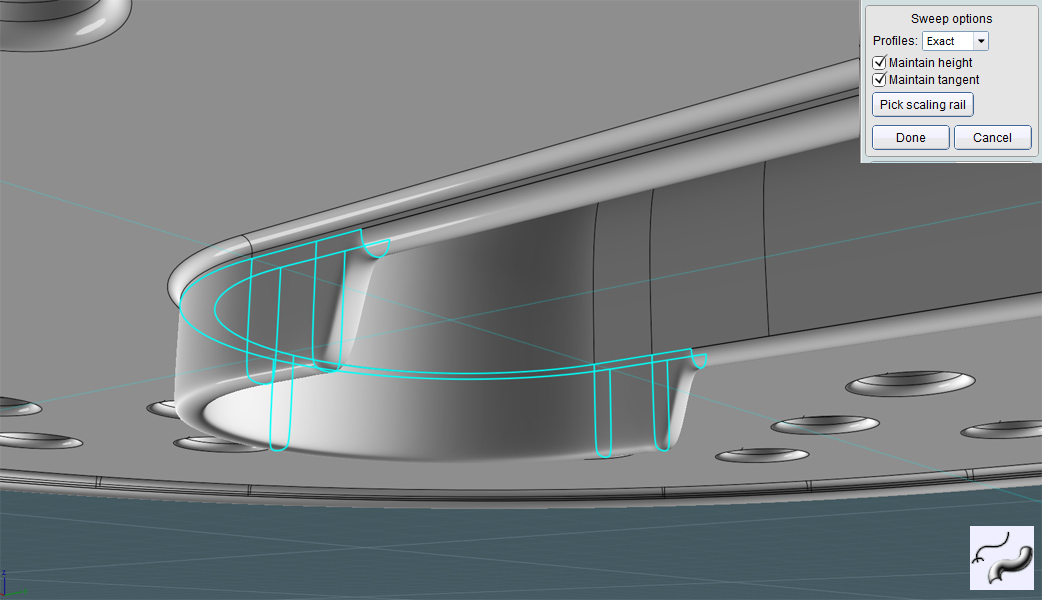
When I looked at the real-world dimensions of the tray, the new lip was too skinny to do any good.
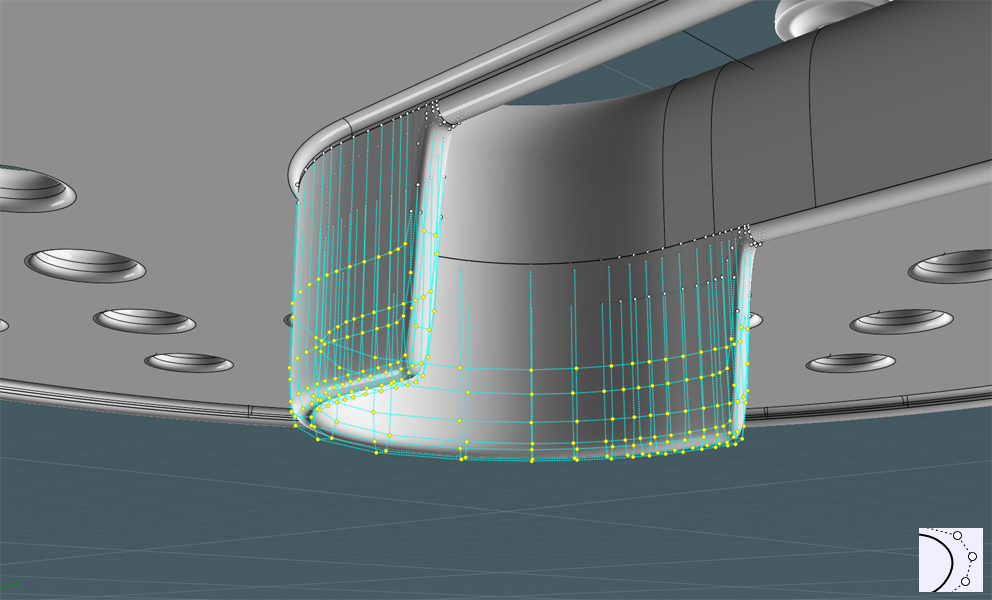
I then turned the control points on and then stretched them until the lip was an inch tall.
I drew two shapes, so that I can make a bulge area to accept a tensioning bolt.
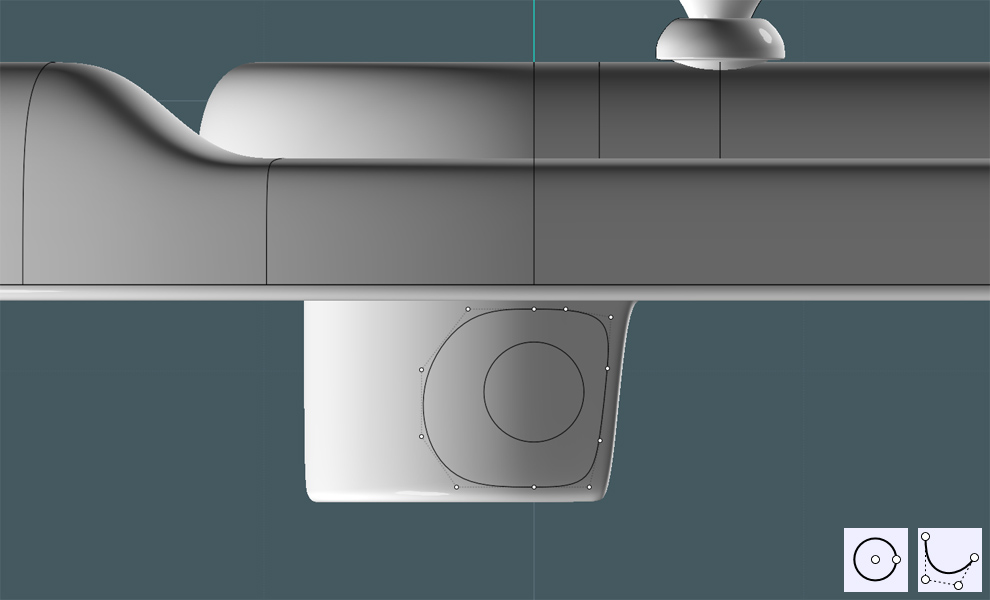
I projected the outside profile and trimmed the projection out of the lip object:
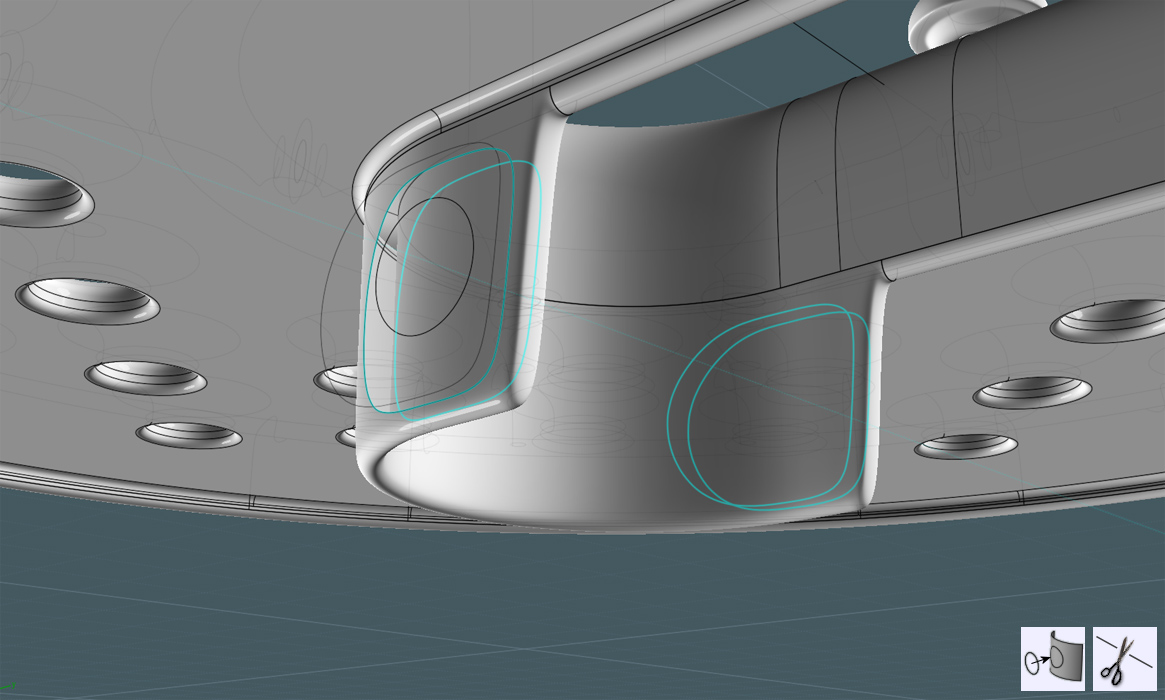
I Blended the opening edge to a planar of the smaller circle:
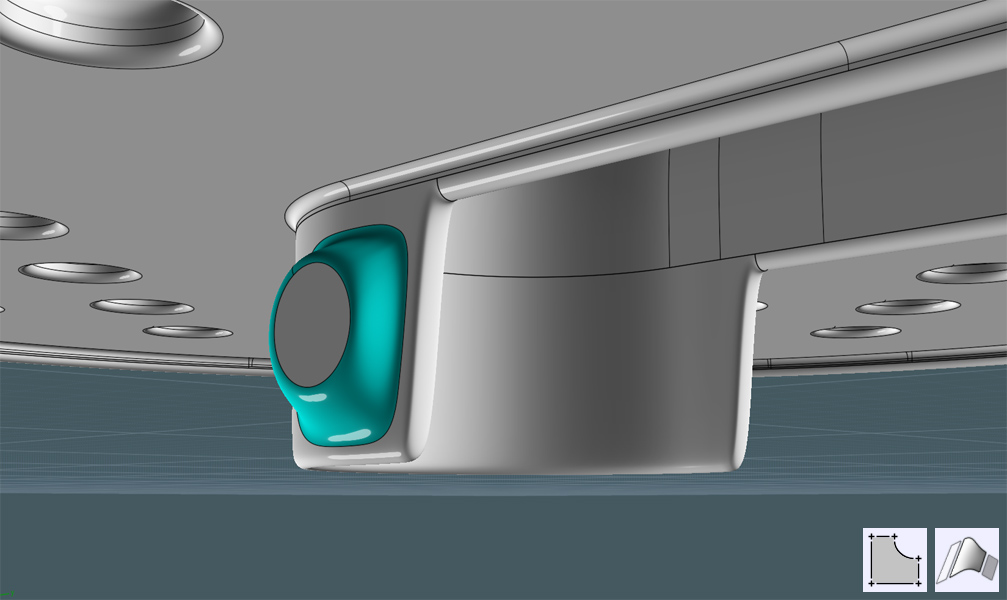
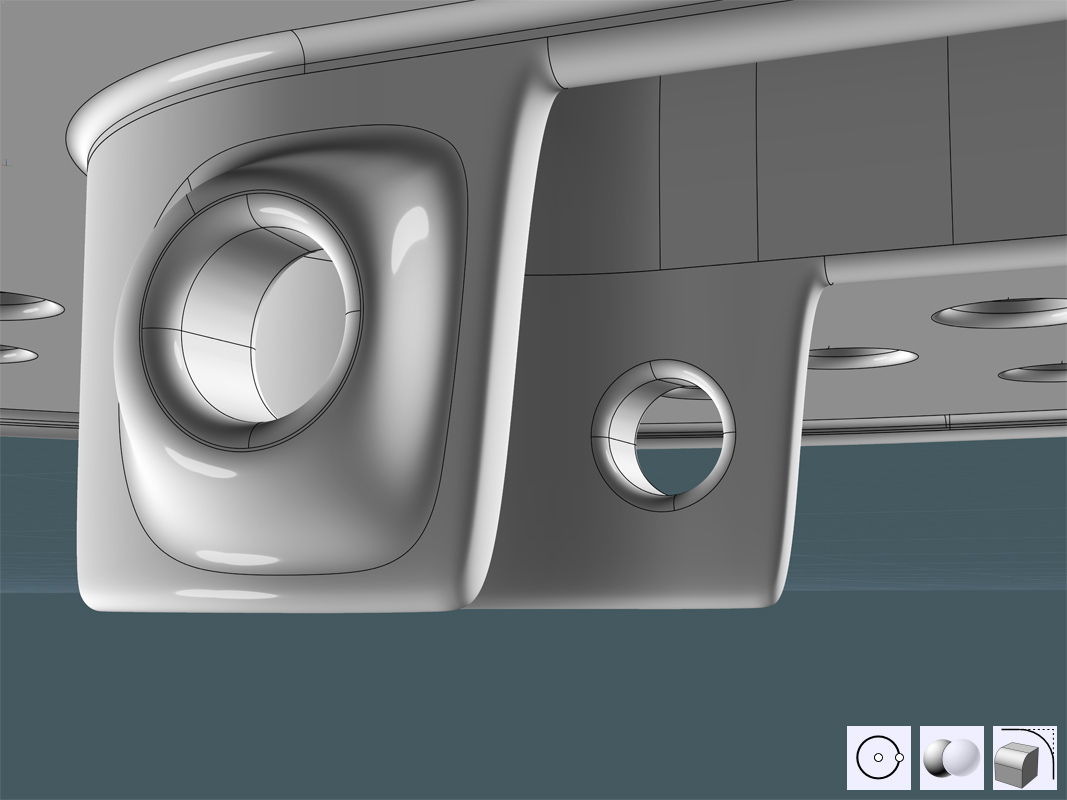
I make ports for the bolts by making a smaller circle, then Boolean Differencing the circle, then Filleting the hole edges.
(Actually, since the object was not a solid, I had to Loft the hole edge rings to make the inside walls.)
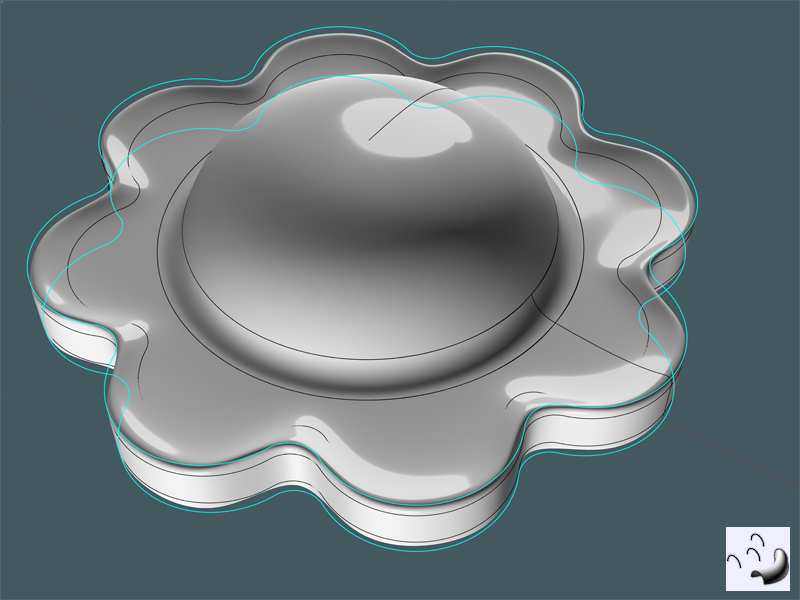
I made another floral looking knob by making profile rings and lofting them:
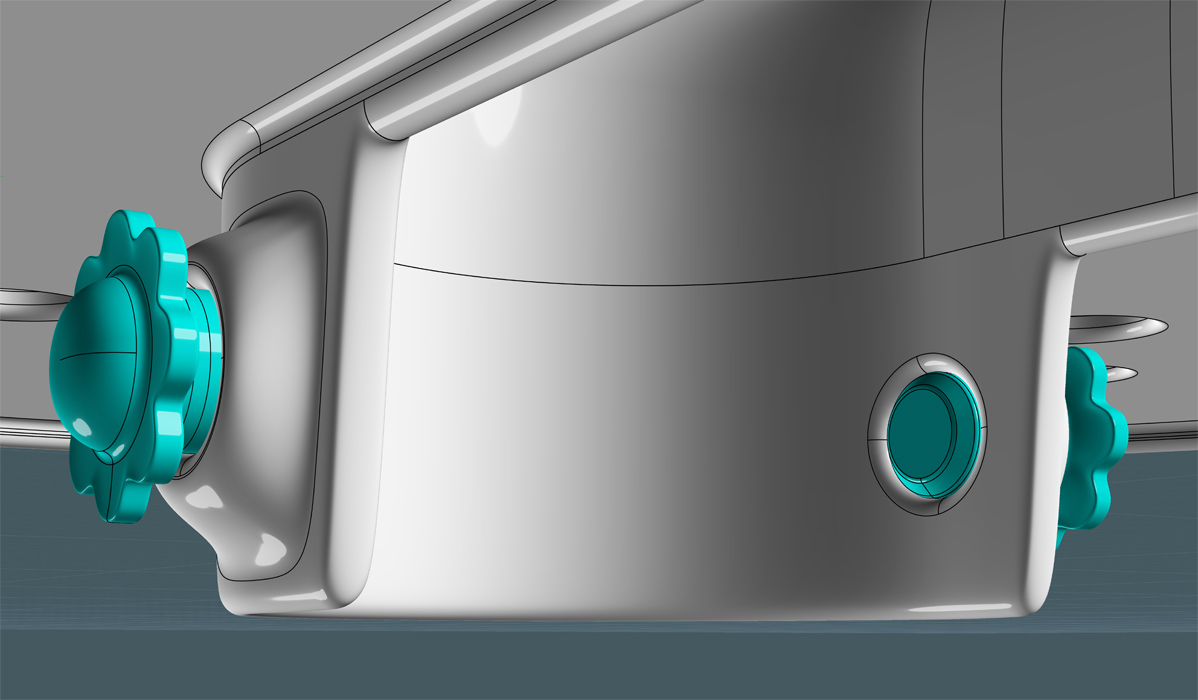
I position the bolts to their places:
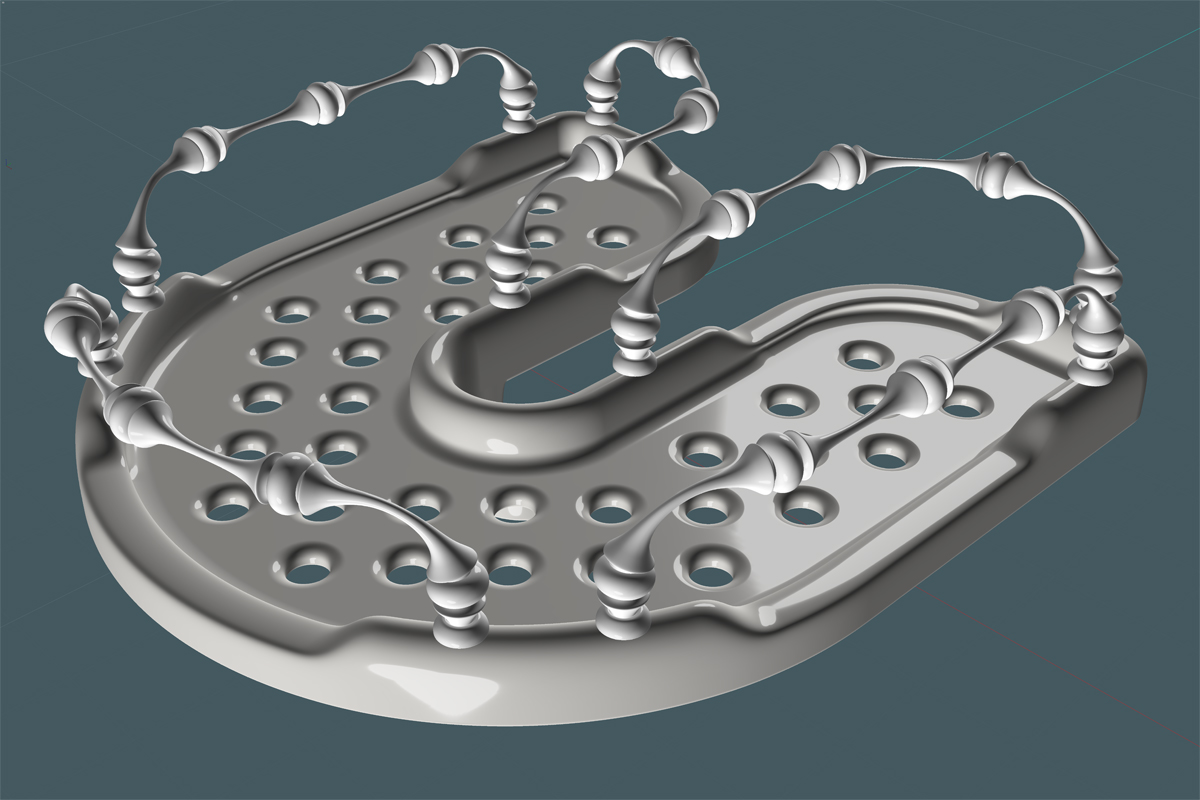
Here is the final Accessory Tray (from the top view)
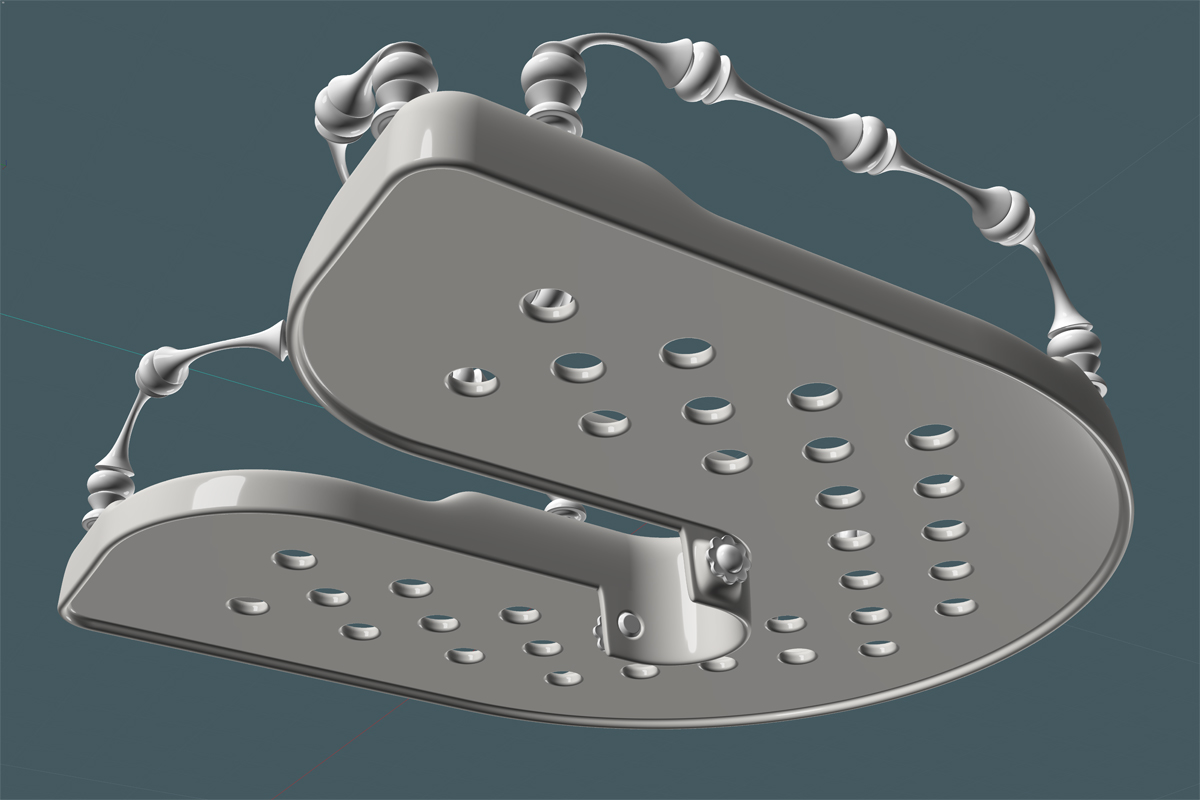
(And from a below view)
Next: A mechanism to hold the shower head to the rig, and a connecting hose.