Have you tried the "Draft" or "Showroom Shine" lighting effects in MoI? Then convert to B&W in your photo editor. That may be all you need.
If you want to experiment further:
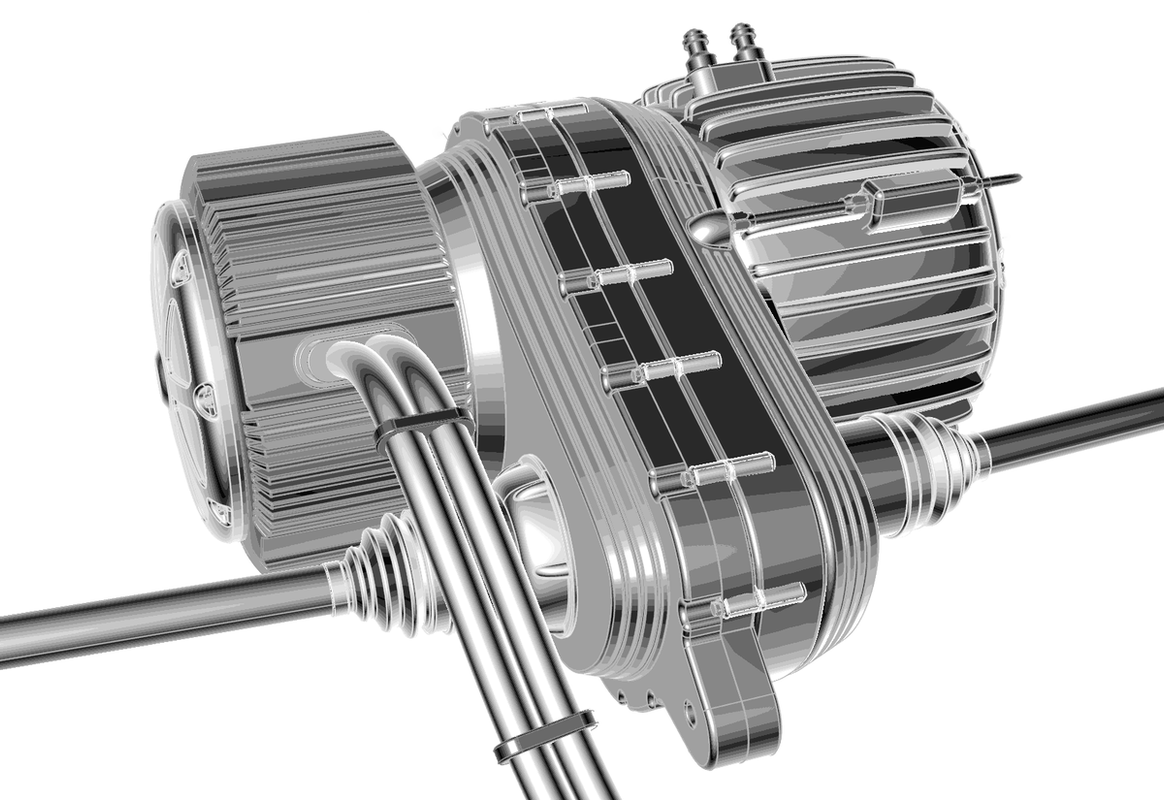
I used Affinity Photo to make the image below from my MoI model. Photoshop will work also.
1. Turn off grid lines and set your BG color to white in Moi.
2. Use the "Showroom Shine" lighting effect in MoI. This adds highlights to the model. (Experiment with other lighting styles as well)
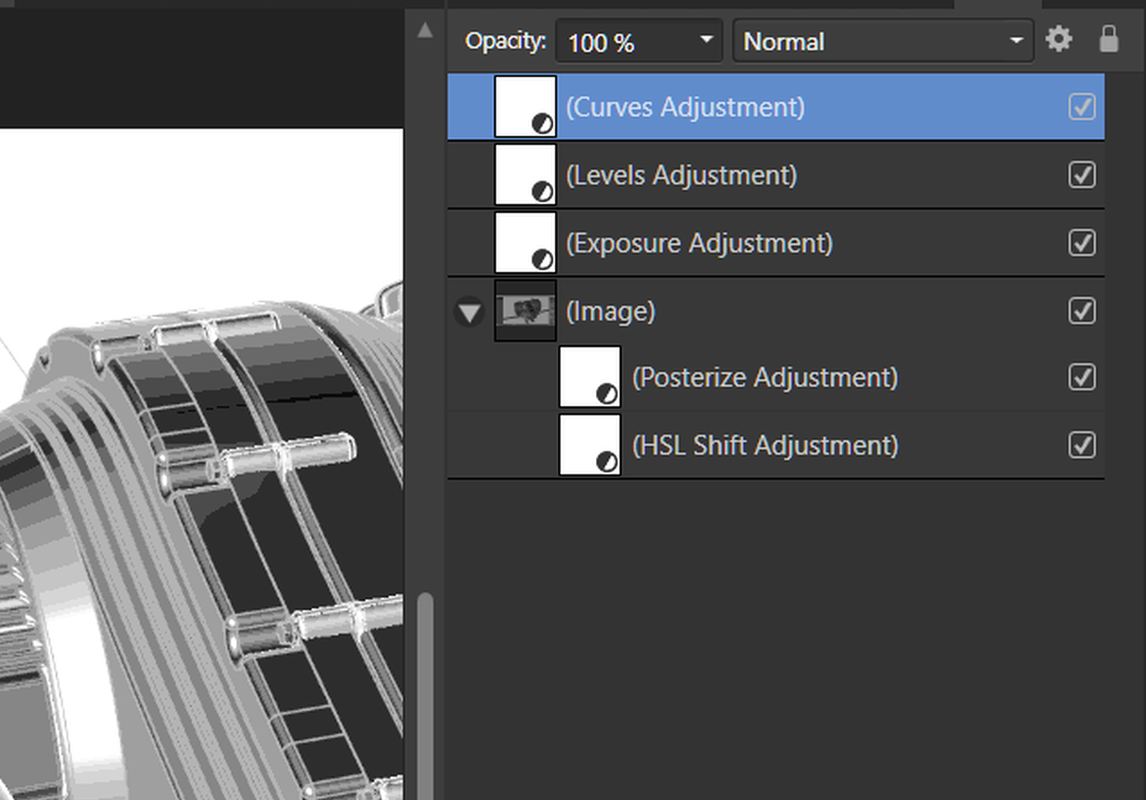
3. Take a screenshot and bring it into Affinity Photo.
4. Add an HSL adjustment layer and set Saturation to -100%. This make the image grayscale.
5. Add a Posterize adjustment layer and set levels to 22. Now the image is divided into 22 shades of gray. (Experiment with any number from 4 to 25)
6. Add a Levels adjustment layer to the top of the layer stack and reduce the White level down to around 80%, and the Black Output Level up to around 10% (until the image looks balanced).
7. Add an Exposure adjustment layer to the top of the layer stack and set exposure to 1.2 to get a white background.
8. Add a Curves adjustment layer to the top of the layer stack and pull the center of the curve upward for best overall balance of tones.
The colors (shades) used for your various model objects will affect the result as well. Avoid all darker or all lighter shades.
Ed Ferguson
 |